Let’s go camping! I’ll bring the steak to grill, the potatoes to bake, the entire martini bar, and enough bug repellant to upset every bug in a ten mile radius. I’ll build the fire, too. And maybe we could string a few lights for decoration… because we’ll definitely need all of our outgoing Instagram photos to look juuuust outdoorsy enough. We’ll eat really well and just happen to look really great doing it! Let’s not forget our matching flannels. Obviously.
Now if I could just borrow your sleeping bag, and tent, and bear stick, and wolf-away ninja sword, and spider vacuum, and any other terribly essential camping survival gear… we’ll be good to go! Are we going to need a fire extinguisher? Please say no.
That… or we could just stay home, eat steak in the courtyard, and crank up the oven for a moment to enjoy these toasty chocolate scones. It might be easier than the whole camping endeavor. Maybe.
My friend Tracy sent me a text last weekend. It was a photo of a toasted marshmallow-y scone-y deal from Shortcake during her recent trip to Los Angeles. Los Angeles is like the opposite of camping, so naturally they have to add camping elements to their food.
Tracy’s text message was full of enough high-fives and exclamation points to coax me into making my own version of Campfire Scones. This feels quite right! Thanks, Tracy! No tents.
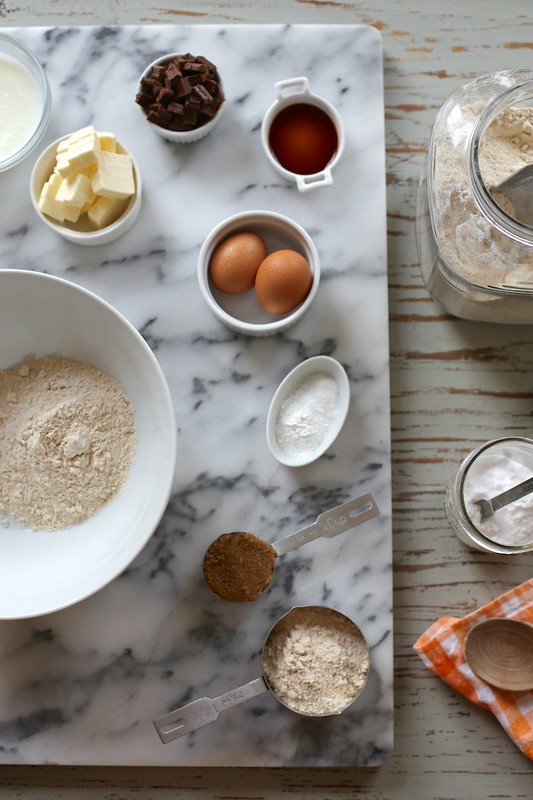
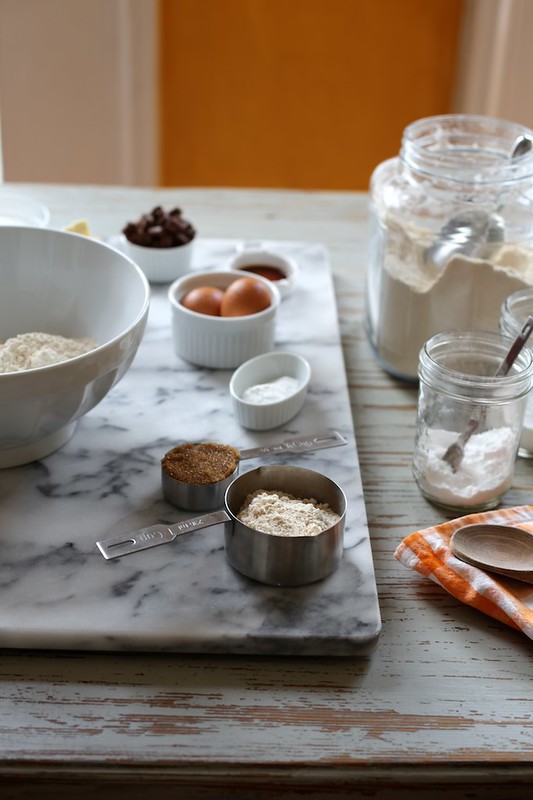
I used White Whole Wheat flour as the base of these scones. It’s hearty whole wheat flavor without the heaviness of traditional whole wheat flour. Best of both worlds, right? I am trying to simulate a graham cracker feel by using whole wheat flour and I think it really works!
The brown sugar adds a depth along with the sweetness. I like that subtle bitter taste that molasses adds.
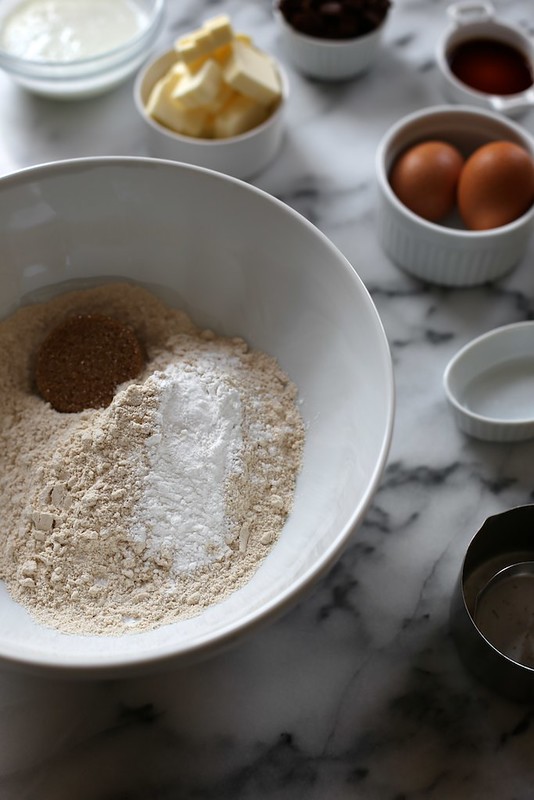
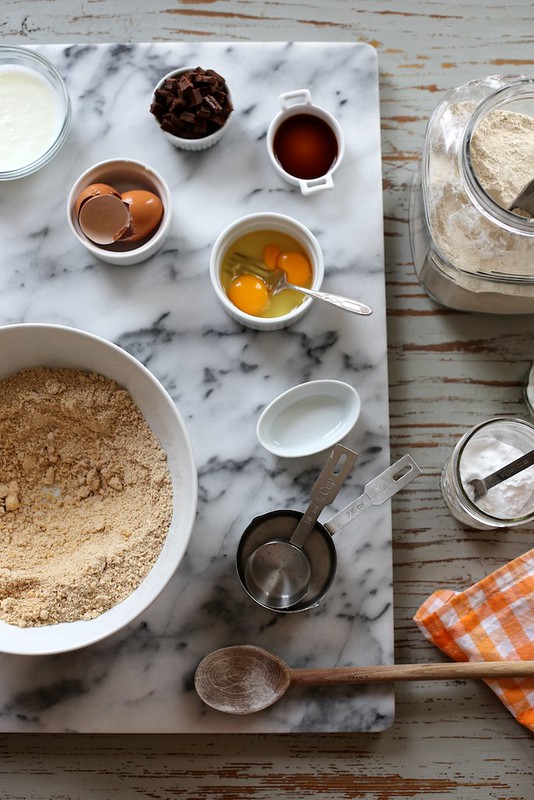
All of the dry ingredients are whisked together in a bowl… as we do.
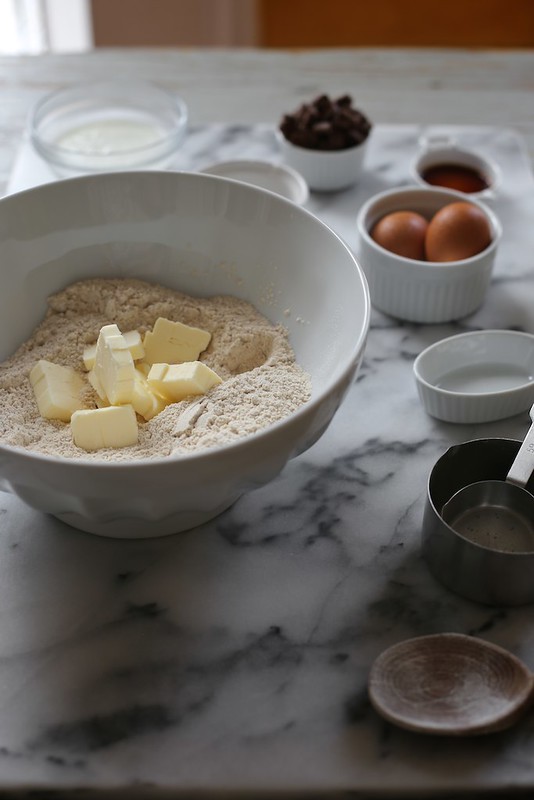
Cold butter is added to the fluffed dry ingredients.
Work fast. It’s hot out! Work that cold butter into the dough. It’s like we’re making biscuits. It’s always like we’re making biscuits.
Once the butter is worked into the dry ingredients, we have a crumbly mixture. Nothing a few beaten eggs can’t remedy.
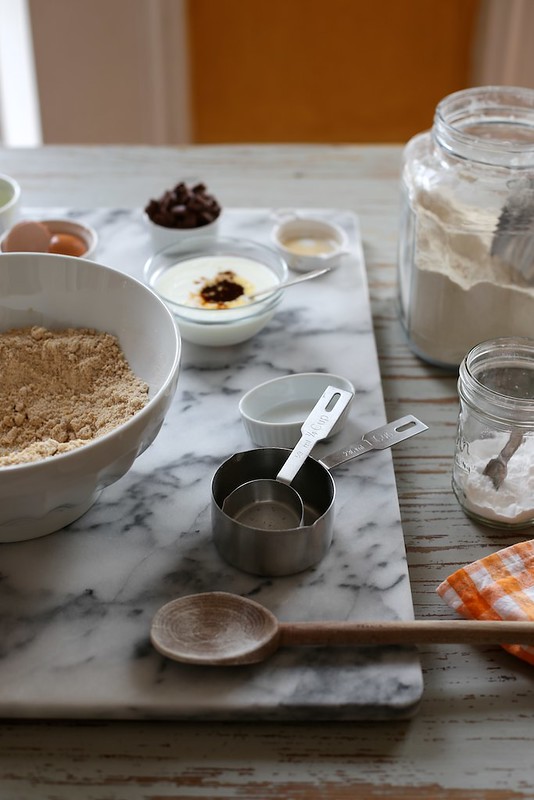
Eggs are stirred together with buttermilk and vanilla extract.
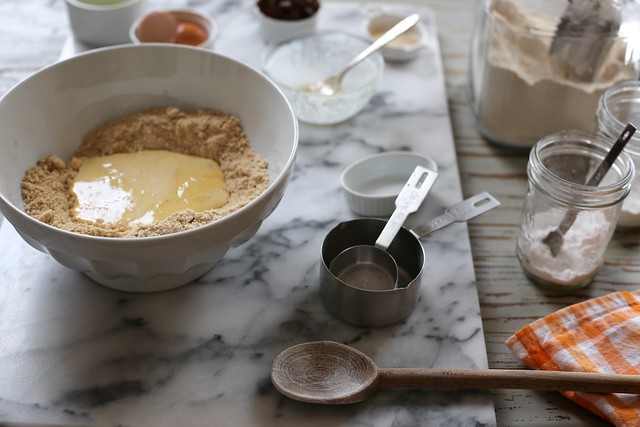
The whole wet-ingredient-jimjam is poured into the crumbly dry ingredients.
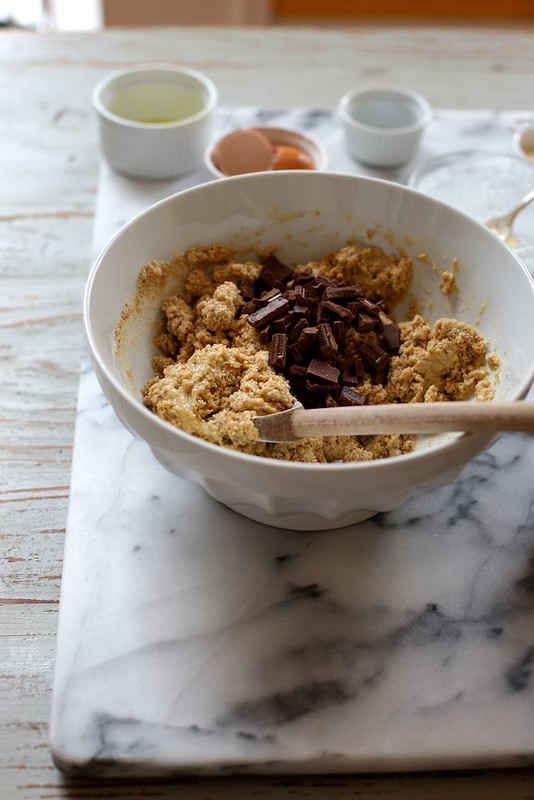
Chocolate, too! This is still a campfire-inspirted situation!
I used a milk chocolate because I really wanted the scones to resemble s’mores. Also, the scone batter itself isn’t very sweet, so the extra sweetness from the chocolate totally makes sense.
The dough is more wet than your typical scone dough. It’s more the consistency of a drop biscuit. Don’t worry! That’s right!
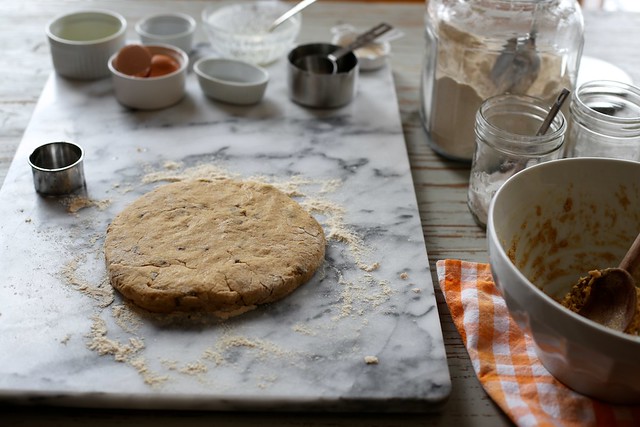
The dough is placed on a generously floured surface and simply pat into a 1-inch disk.
It looks like a giant chocolate chip cookie I want to put my face in.
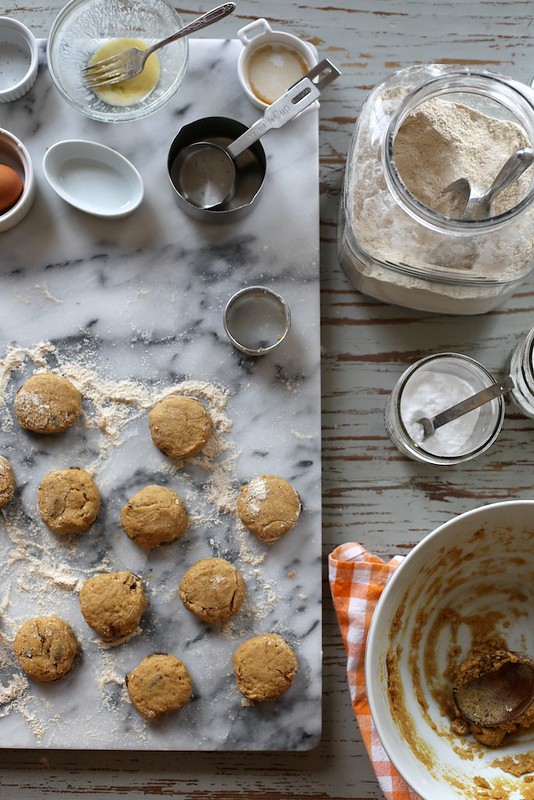
A small, round biscuit cutter will do the trick!
A little refrigerator time followed by a little oven time!
While the scones baked, I whipped up a glossy egg white meringue. Essentially it’s a Seven Minute Frosting recipe with egg whites and sugar beaten to a tizzy. It comes together in just about the amount of time it takes to bake the scones. Efficiency!
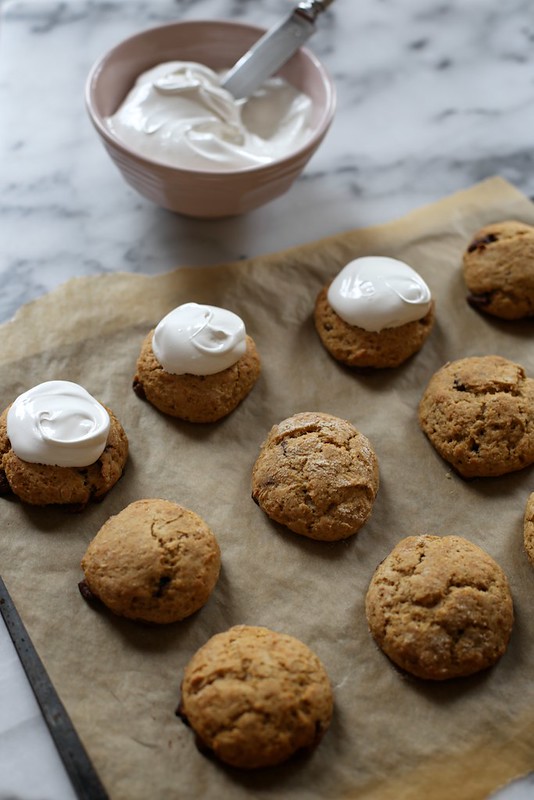
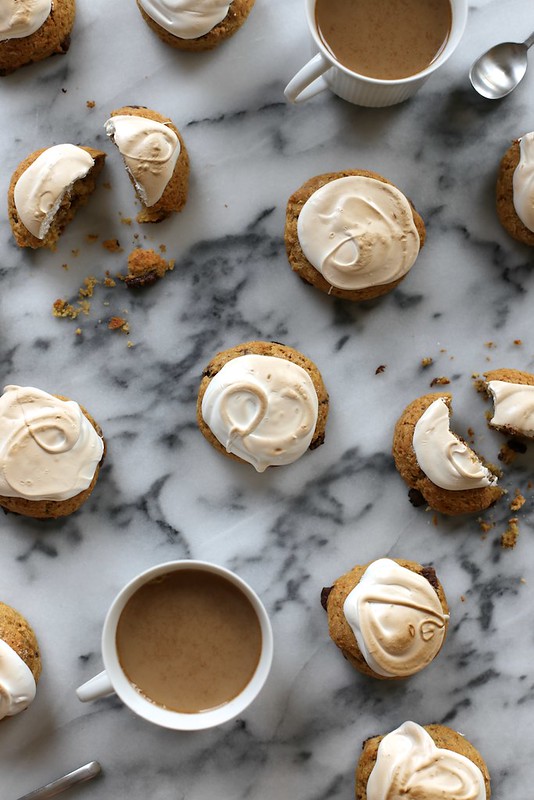
The baked scones are cooled just slightly and generously topped with the sticky meringue.
Things are starting to feel really exciting!
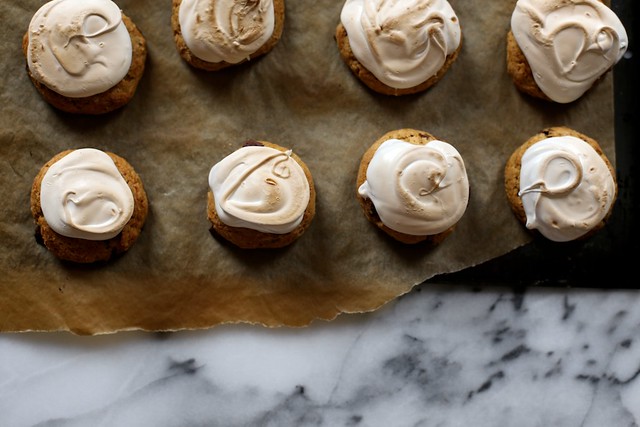
Toasted in the broiler for juuuuust a bit. Golden brown, fluffy, and warm. These scones are sweet and nearly perfect!
Hearty wheat, chocolate-studded, subtly sweet, and topped with toasted marshmallow-inspired meringue.
No need for bug repellent, but we will need a tremendous amount of coffee and some sort of summer-inspired flannel shirt… just to get in the mood.
Campfire Scones
makes 12 to 14 small scones
For the Scones:
2 cups White Whole Wheat Flour
1/4 cup packed light brown sugar
2 teaspoon baking powder
1/2 teaspoon baking soda
3/4 teaspoon salt
6 tablespoons cold unsalted butter, cut into cubes
2 large eggs, beaten
1/3 cup plus 1 tablespoon cold buttermilk
1 teaspoon pure vanilla extract
1 cup milk chocolate chunks
For the Meringue:
2 large egg whites
3/4 cup granulated sugar
1/4 cup light corn syrup
pinch of salt
1 teaspoon pure vanilla extract
In a medium bowl, whisk together flour, brown sugar, baking powder, baking soda, and salt. Add the cubes of cold butter and rub the butter into the dry ingredients. Some of the butter bits will be the size of peas and others the size of oat flakes.
In a small bowl, whisk together eggs, buttermilk, and vanilla extract.
Add the wet ingredients all at once to the dry ingredients. Stir gently to incorporate. Add the chocolate chunks and stir to incorporate. Try not to over-stir the mixture but make sure all of the flour bits are incorporated. The batter will be slightly wet, the consistency of drop biscuits.
Dump the dough onto a well floured work surface. Flour the top of the dough as well. Pat the dough into a 1-inch thick circle. Use a 1 1/2 to 2-inch biscuit cutter. Place the scone rounds on a baking sheet lined with parchment paper. Gather the dough scraps once all of the scone circles are cut out, pat it out once again and cut any remaining scones. Place all of the scones, on the prepared baking sheet, and allow to rest in the refrigerator while the oven preheats.
Place a rack in the center of the oven and preheat oven to 375 degrees F.
Once the oven has preheated, place the scones in the oven to bake. Bake until browned and cooked through, 12 to 14 minutes. Remove from the oven and allow to cool slightly. Place a rack in the upper third of the oven and increase the oven temperature to the broiler setting.
I made the meringue while the scones were in the oven baking.
To make the meringue, in a large pot, bring about 2 inches of water to a simmer.
In a large, heat-proof bowl, whisk together egg whites, sugar, corn syrup and salt. The mixture will be grainy, because of the sugar.
Place bowl over simmering water and whisk as it heats. The sugar will dissolve after about 5 minutes. Keep and eye on the mixture, it shouldn’t get warm enough to cook the eggs.
Transfer the egg white and sugar mixture to the bowl of an electric stand mixer. With a whisk attachment, beat the egg whites, on high, until stiff peaks form (about 5 minutes) The mixture will be fluffy and glossy and look like melted marshmallows. It’ll be sticky too. Beat in the vanilla extract last. Spoon the mixture generously on top of the baked scones. Place the meringued scones under the broiler keeping a close eye on them. They can burn in under a minute. Remove from the oven and serve warm or at room temperature. Scones are best served the day they’re made.
53 Responses
Yes! I’ve eaten Hourie’s S’mores that originated at ShortCake many times and wondered about the magic that may go into them…hoping she makes s’more (<—ha!) LaBrea Bakery next.
these scones are too good, love those perfectly toasted tops!
S’mores is one of those flavors that legitimately makes everything better….pop tarts, pie, brownies, ice cream. But scones is a first. I think you’re onto something here :)
Joy, I made these with homemade marshmallow instead. TOTAL campfire experience Did you use the 7min frosting b/c you wanted the dollop swirl shapes on top? I tried letting the mallow sit for a bit before I topped the scones and still couldn’t get the DQ signature top. NBD, still taste great.
#biscuitsforever, amen? These look amazing!
I’m in love with this brilliant and delicious recipe! This is definitely going to be part of my summer picnics.
mmmm
xx
daniella
simplybeautifulelegant.blogspot.com
Such a creative idea, Joy, and what striking photos!
So I had a bit more of an authentic experience with these than I had planned on… Turns out the back edge of my parchment paper stuck up off the pan a bit more than I realized, so when I put it under the broiler, it caught fire. (Oops!) I wasn’t able to blow it out like a giant birthday candle, so I just shut the oven door. It pretty much burned itself out by the time the meringue was toasted, and the scones were none the worse for the experience (maybe just a little extra toasty around the edges, but in a very authentic marshmallow-toasted-over-a-campfire kind of a way). Just thought I’d share so that hopefully no one else will have the same adventure. The scones are awesome, though–very tasty!
Love this! So funny :) Going to try this soon..and maybe Instagram the results, with some twinkle lights artfully hanging over the table with the flannel cloth and the ceramic camping plate with a pile of these yummy scones taking centre stage.
Whilst I was going through the beautiful instruction photos, I felt like I had a mini camping trip of a few minutes of my own!!!! Such A BEAUTIFUL post!!!!!!! Loveeee these campfire scones!!!!!! Need to make these ASAP!
Scones are one of my biggest weaknesses/indulgences ever. Can’t wait to try!
Ya know I wanted to be a good girl…then there was you & these! Oh well, I’ll make these, meet Renee, (reviewer who wants these on the beach w/chai, I’ll have espresso)…and munch on carrots & drink hemp protein shake, (nasty) for a month…I have graham flour so I’m thinkin’ 1/2 & 1/2 & maybe agave IDK or I’ll just copy everything…You rock thx bunches for everything…
Trying to impress some people for a job. I think this might just do the trick. <3 <3
This is the ultimate summer recipe! I love this!
Love the whole wheat-ness of all these – it looks perfect for camping, except they would last about 9 seconds if I brought them anywhere. It does make me want to go camping though! It’s cold in SF so we don’t have the heat just yet.
where did you get your beautiful marble cutting/rolling out board? I am so smitten and have been wanting one like it! also, love the s’mores recipe so much and can’t wait to make it!
crate and barrel!
I made these tonight and didn’t make dinner because I ate 2 as soon as they were done under the broiler! Amazingly delicious, dangerous!
What can we use as an substitute to corn syrup for the meringue?
Try using honey instead!
Oh, I think I’ve found the perfect recipe here….I’m drooling and can’t wait to attempt to make these yummies!
Could I substitute regular white flour?
sure!