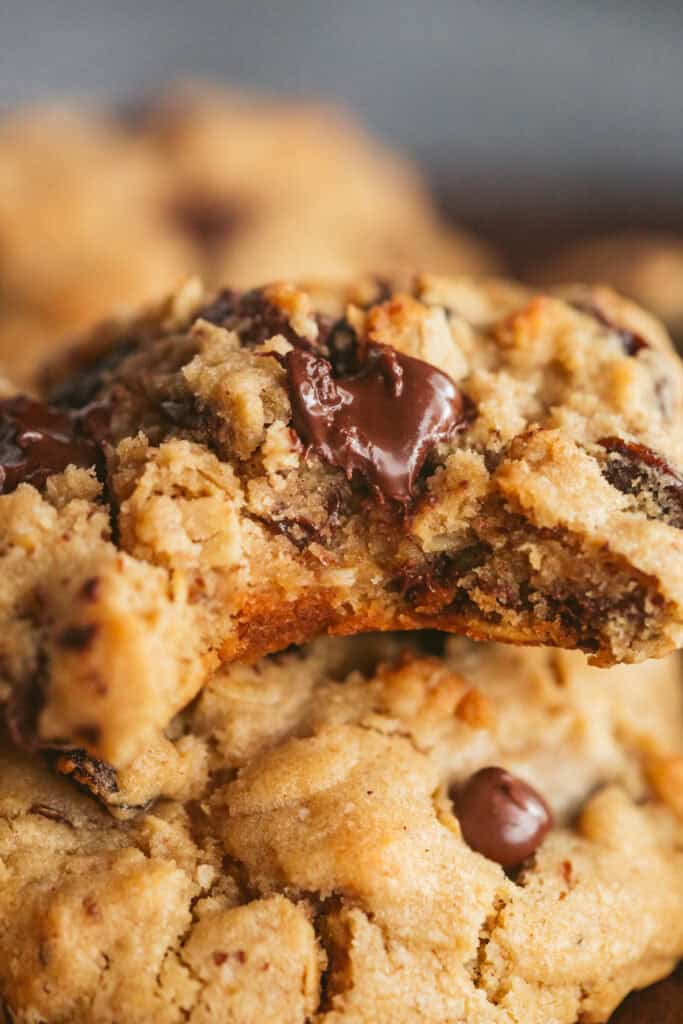
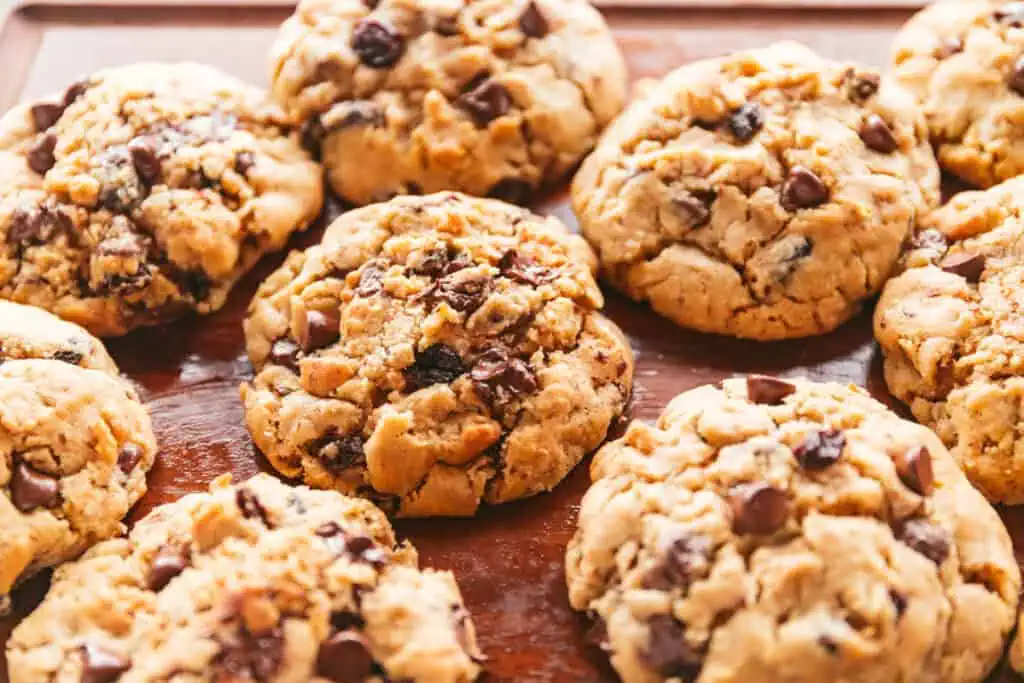
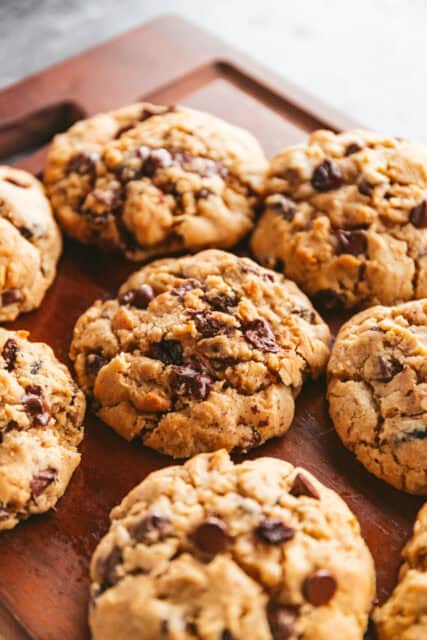
Bakery-style nursing cookies made with oats, flax, brewer’s yeast, and chocolate chips. Thick, chewy lactation cookies baked tall with crisp edges and soft centers – perfect for new moms and absolutely stocked in my freezer.
A few weeks ago I shared my pregnancy news with you and goodness, friends… you showed up! Your notes, your stories, your “me too’s” — so many of you have walked the long road I’ve walked. Years of hoping, procedures, waiting rooms, bravery! There’s something deeply steadying about knowing we’ve done hard things in community, even if that community lives through a screen and a mixing bowl.
One of the sweetest surprises of this season is that I’m pregnant right alongside several of my girlfriends. Two here in Bellville, one in Houston — which means there are group texts devoted entirely to heartburn, round ligament pain (who approved that particular sensation?), and how many milkshakes we’re drinking a week (I kid you not). It is equal parts miraculous and chaotic. Mostly, it’s comforting.
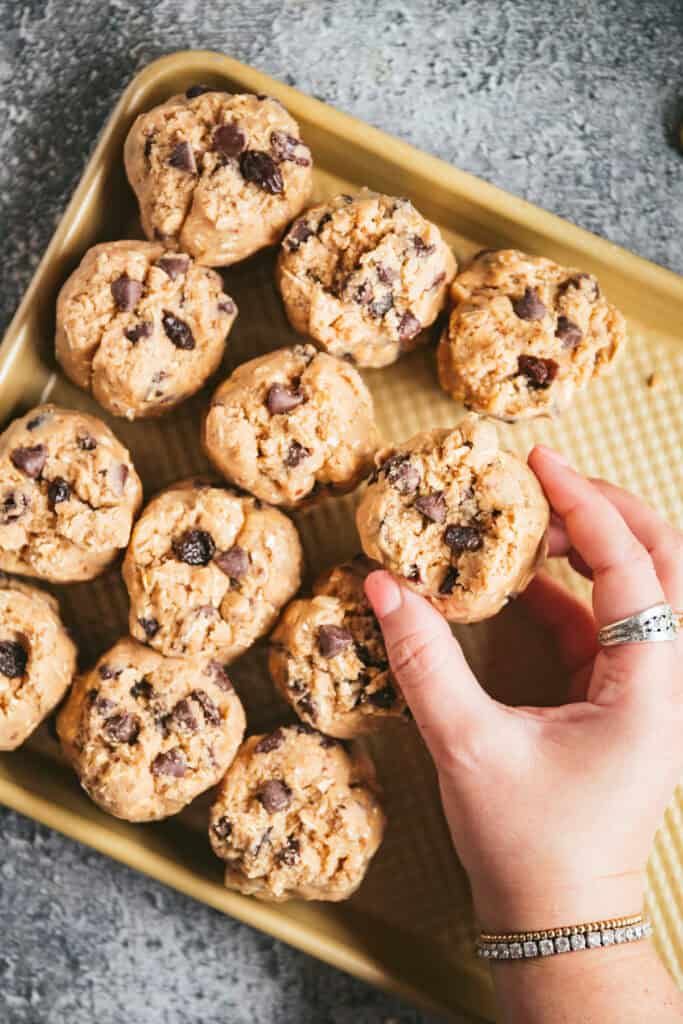
So just before this big baby arrives (God willing) I’ve been making batch after batch of these cookies. Scooping the dough high and tall, sliding the trays into the freezer, stacking little mounds of future comfort. I probably should have started my postpartum meal prep sooner since my standing time is now limited. I didn’t know my standing time would be cut short so suddenly. There should be soups and casseroles neatly labeled and lined up, but instead, there is a freezer full of sturdy, chocolate-studded nursing cookie dough ready to bake at a moment’s notice. I’ll just call this a good place to start and hope mom and dad will make us some of dad’s perfect split pea soup and mom’s meticulously diced fruit salad when they come to town in a few weeks.
If you don’t need a nursing cookie, this recipe is fashioned after The Texas Bakehouse Chocolate Chip Cookie and will absolutely work without the brewer’s yeast.
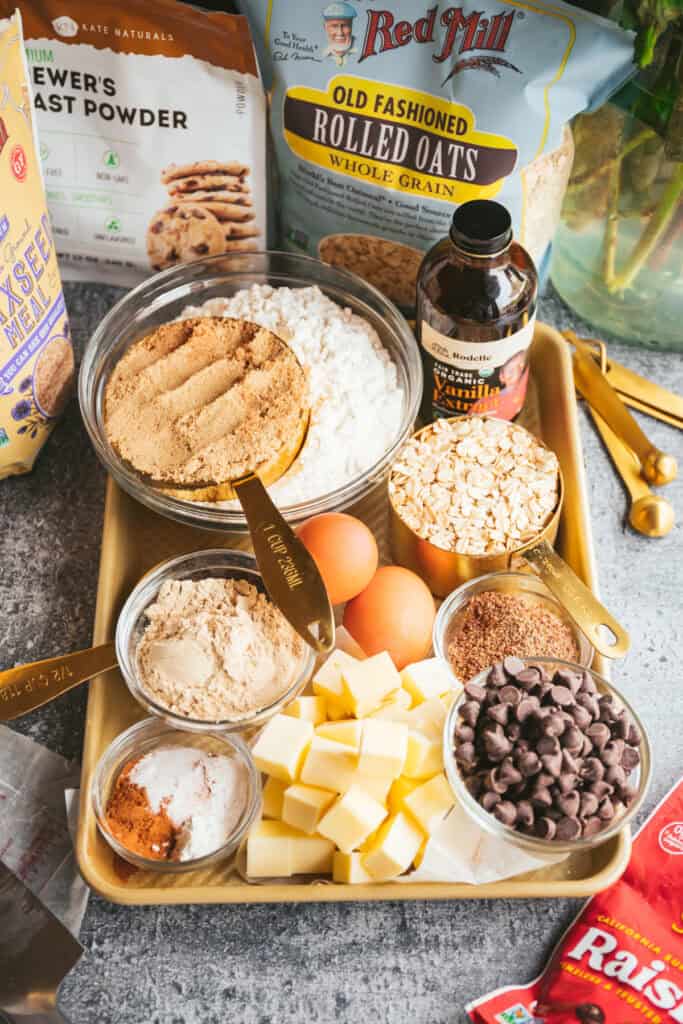
Here are the ingredients you’ll need to make these bakery-style lactation cookies:
• All-purpose flour – the backbone of the cookie. It gives these bakery-style beauties their height and structure so they bake tall instead of spreading thin. I have been using Stone-Ground All-Purpose Flour from Barton Springs Mill for my Bakehouse bakes and it’s fantastic!
• Old-fashioned oats – chewy, hearty, and classic in any nursing cookie. Oats add texture, substance, and that comforting oatmeal-cookie familiarity.
• Brewer’s yeast – might not be stocked in the pantry but it’s essential for a nursing cookie as it is believed to support milk production. It melts right into the dough.
• Ground flax seeds – adds fiber, omega-3s, and a subtle tenderness to the crumb.
• Baking powder – essential for the cookies to rise just right.
• Baking soda encourages browning and those golden, crisp edges we love so much.
• Ground cinnamon adds just enough warmth to make the kitchen smell like comfort. It rounds out the oats and balances the sweetness.
• Cornstarch is the softening agent. A little secret for a tender center and bakery-style chew.
• Salt is always the necessary contrast in baking. It sharpens the sweetness and makes the chocolate sing.
• Cold salted butter – We blend, not cream. Cold butter keeps these cookies structured and thick, giving you crisp edges and a soft, almost caramelized center.
• Light brown sugar – Adds moisture, chew, and a whisper of molasses warmth that makes these cookies feel grounded.
• Granulated sugar – For spread control and those delicately crisp edges.
• A Large egg binds everything together and adds richness.
• Egg yolks add extra fat, extra tenderness, extra chew.
• Pure vanilla extract is the steady background note that makes the whole cookie taste like itself.
• Chocolate chips – Pockets of sweetness. Perfect!
• Raisins – Little jewels tucked between oats and chocolate.
Alright, let’s get out hands dirty!
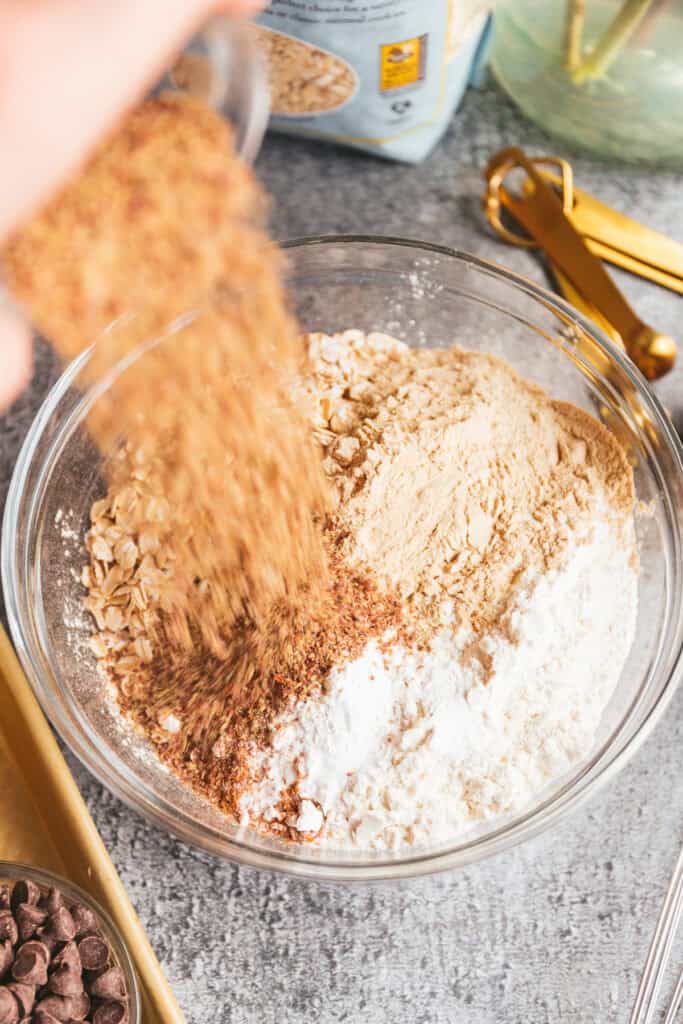
Start by whisking together all of your dry ingredients in a medium bowl: the flour, oats, brewer’s yeast, flax, baking powder, baking soda, cinnamon, cornstarch, and salt. I like to give it a really thorough whisk so the yeast and flax are evenly dispersed. Brewer’s yeast has a tendency to clump if left unattended (don’t we all), so take a moment here.
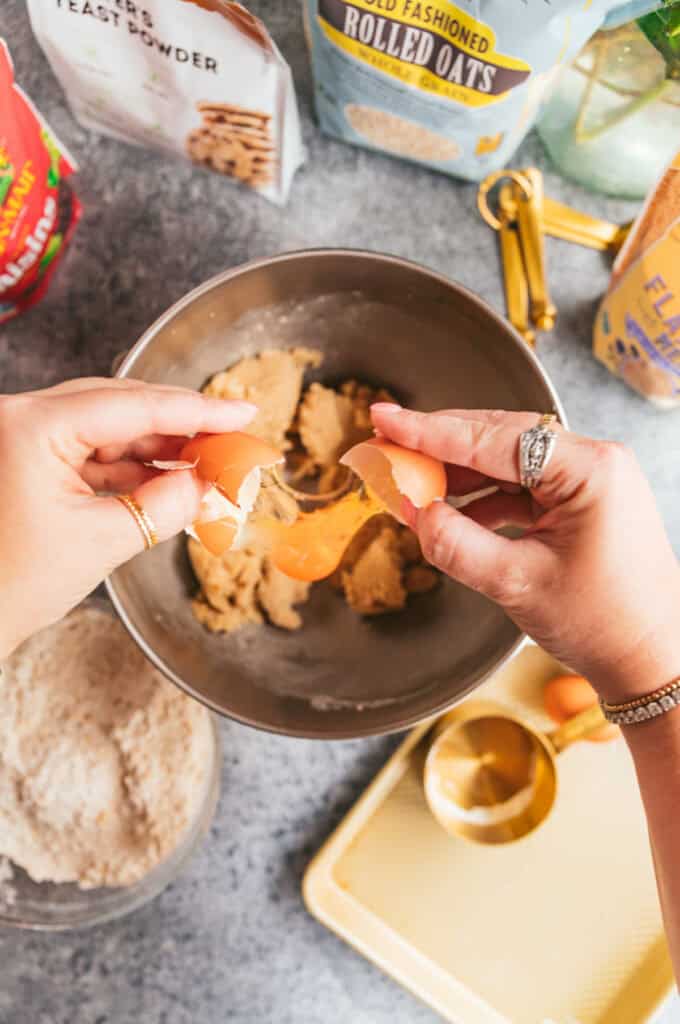
Next, we move to the butter and sugars, and here’s where restraint matters. In the bowl of a stand mixer fitted with the paddle attachment, combine the cold cubed butter with the brown sugar and granulated sugar. Mix on medium-low speed just until the butter breaks down into small pieces and the mixture looks mostly cohesive. We’re blending, not creaming. We don’t want to whip in air — that would encourage spread of the cookies. These are tall, bakery-style cookies, and they need structure. Pause to scrape down the bowl (always scrape down the bowl), making sure no sneaky butter chunks are hiding at the bottom.


2 Responses
Congratulations Joy!!! I made similar cookies when I had my only son (at the age of 41-let’s hear it for “geriatric” pregnant women!). Unfortunately, even with cookies and pumping, I was not able to produce enough milk for my kiddo. There were SO many emotions because I wanted to breastfeed. My husband was amazing in supporting me in the transition to formula. Needless to say, the many pre-made, frozen lactation cookies were still a delicious treat during those first several months of having a new baby. Not that you need a stranger’s advice, but give yourself grace because things never go as we think they’ll go. Many many blessings to you and Will and your little one!
Hi Joy! I’m 8 weeks postpartum (also ivf/ c-section journey). Just made a batch of these – thanks for the recipe!
I had a friend make me flax meal peanut butter balls that are super quick to make and excellent to store in the fridge for middle of the night snacks. It’s a recipe on the back of the Trader Joe’s flaxseed meal bag. Highly recommend storing a batch for yourself – I’ve made them weekly!