This is total brain food.
If you think you know what I mean by that… think again.
This is the sort of dish that you can make seated at your kitchen counter, or at your the desk that you’ve cleared off, or sitting on the floor beside the coffee table. This is the sort of dish that you sit, and make, and think with your brain… while you let your fingers do the working.
Taking the time to making these little pockets is the slightly more productive equivalent to standing in the kitchen with buttery crackers, peanut butter, and Lucky magazine.
Taking the time to make these little treats is also the equivalent to listening to Van Morrison’s Veedon Fleece on repeat. It’s just good for the brain.
If you don’t know… now ya know.
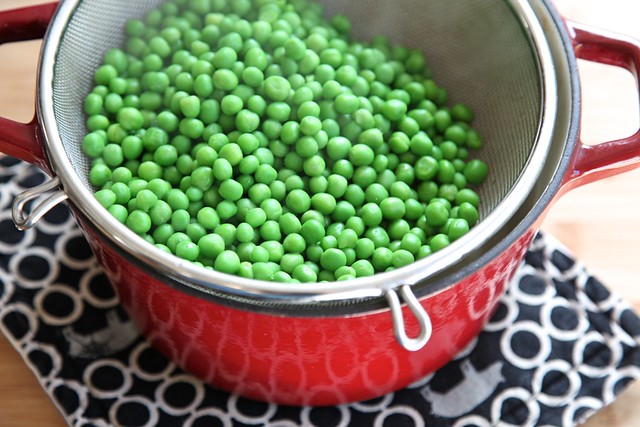
This is no time to celebrate fresh peas. But! Frozen peas, brought to life with boiling water. We’re good to go!
…I should tell you how many times a week I defrost peas and call them dinner. It might make you worry about me.
Essentially, we making little ravioli pockets with pulverized peas.
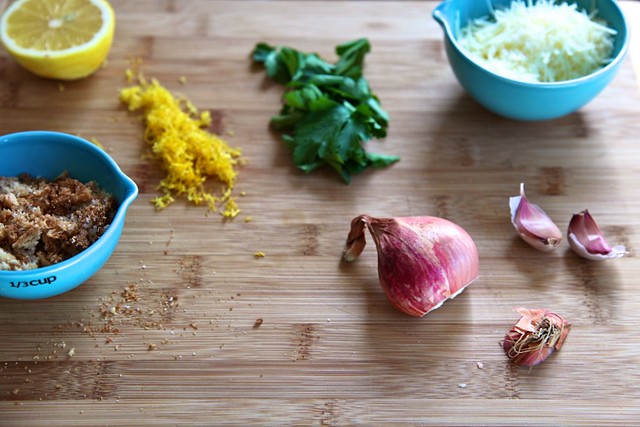
We’ll mix the peas with lemon juice and zest, bread crumbs, garlic, shallots, parsley, and cheeeeeese!
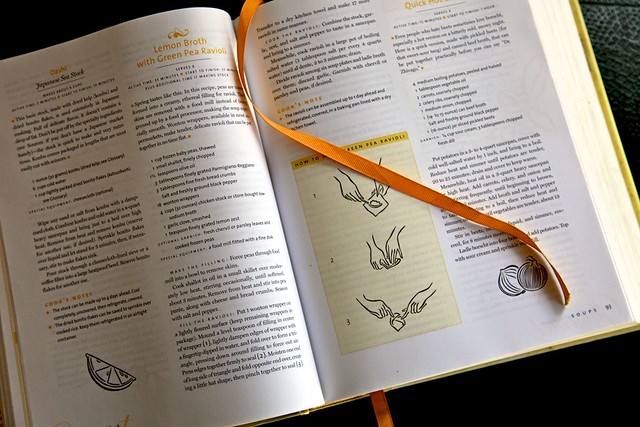
This recipe is inspired by The Gourmet Cookbook…. my old standby.
The recipe combines pea ravioli with a lemon chicken broth… gorgeous! Think about it… maybe this is your dinner style!
Here’s the thing that we need to talk about.
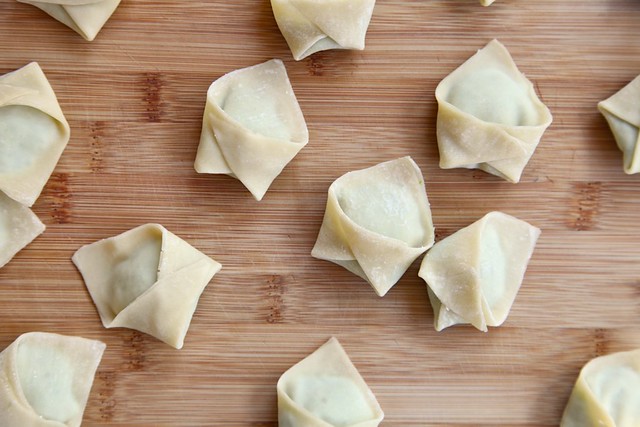
I made these ravioli pockets using pre-made wonton wrappers. The kind of wrappers that are already perfectly portioned for fried wontons, boiled ravioli, or decadent Nutella pockets.
I know…. it seems like once you know how simple it is to make pasta… you’re not allowed to cheat with wonton squares.
But this is real life. I don’t have a pasta roller. And I have to desire to use a rolling pin and fight to make perfect little squares.
Wonton wrappers!! You can find them in most groceries, in the refrigerated section.
Let’s just go with it.
Pea pesto is easily brought together in a food processor. The toughest part about this step is, um… actually having a food processor.
I have this blender and mini food processor combo. It has made me happy. Boom.
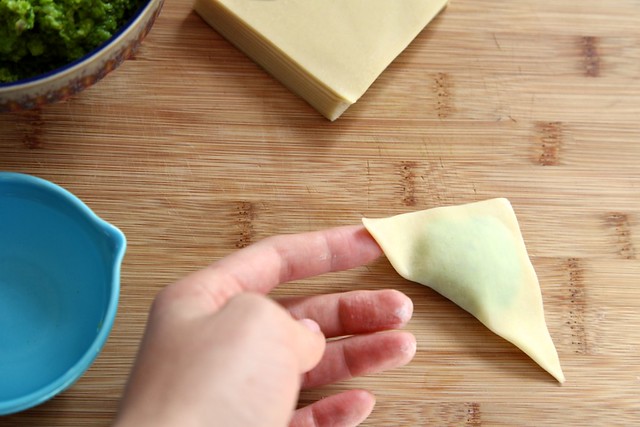
Two edges of the ravioli square are moistened with water, using your finger. Then the edges are formed into a triangle and pressed together. Give it a good press.
Oh… also.. my watch calls it 11:07. Fyi.
After the pocket is well sealed, bring together the two far corners. We’re going to glue them together…
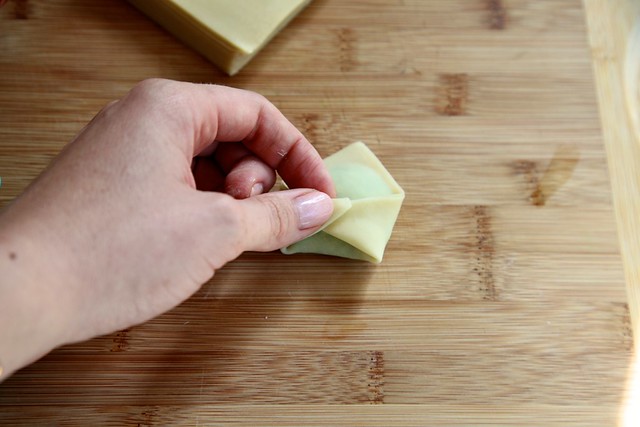
With just a dab of water… the corners get pressed together.
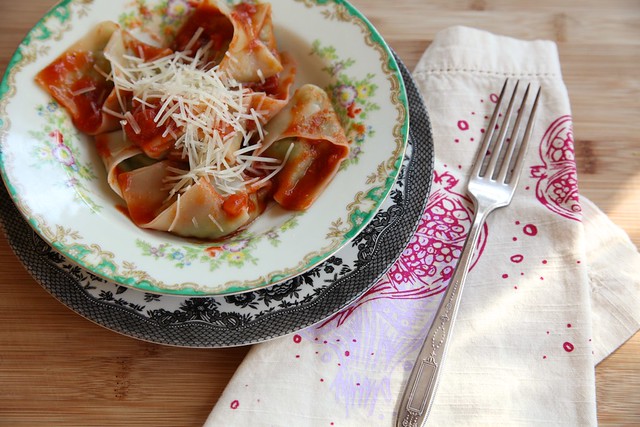
These little ravioli cook up in boiling, salted water in about 2 minutes. Top with spicy tomato sauce and you’re good for dinner!
A few helpful notes:
– Ravioli will begin to stick together if filled and left to sit atop one another. Lay them flat, separated by parchment paper, and refrigerate.
– Ravioli can be spread in a single layer and frozen. To enjoy, place in boiling water until they float and are warmed through.
– Don’t have a fancy food processor? I totally get it! These ravioli can be made with store bought pesto… no problem! Spruce pesto up with whole peas, chicken pieces, or bacon bits (not store-bought!)… use your imagination. Enjoy the project!
– Kids can help! I think they can, at least. Cats can not help. That much has been determined.
– Ravioli can also be filled with sweet treats. I’m thinking Nutella. If filled with chocolate hazelnut spread… consider pan frying until crisp. Boiled Nutella would be weird.
– Relax and enjoy making these. Don’t worry about the fancy food processor or pasta roller that you might not have. Cooking is all about making what you have work for you. Let’s just chill and do.
Green Pea Pesto Ravioli
makes about 2 1/2 dozen ravioli
adapted from The Gourmet Cookbook
1 package prepared wonton wrappers
1 16-ounce bag frozen peas, blanched until just cooked through
1-2 small cloves garlic, minced
3 tablespoons diced shallots
1 tablespoon lemon zest
juice of 1 lemon
1/4 cup chopped parsley
1/3 cup bread crumbs ( just toast some bread and crumble it up)
1/2 cup grated or shredded Parmesan cheese
1/4 cup plus 1 tablespoon olive oil
salt and pepper to taste
Bring a pot of water to a boil. Add a bit of salt. Boil the frozen peas for about 3 minutes, until just warmed through. Drain and set aside.
In a food processor, combine, peas, garlic, shallots, lemon zest and juice, parsley, bread crumbs, and cheese. If your food processor is small, you may need to do this in two batches. That’s fine too. Pulse until peas are broken down and the mixture is well incorporated. With food processor on, drizzle in the olive oil until you have a thick and glossy pesto. Remove from food processor and place in a bowl. Taste and season with salt and pepper.
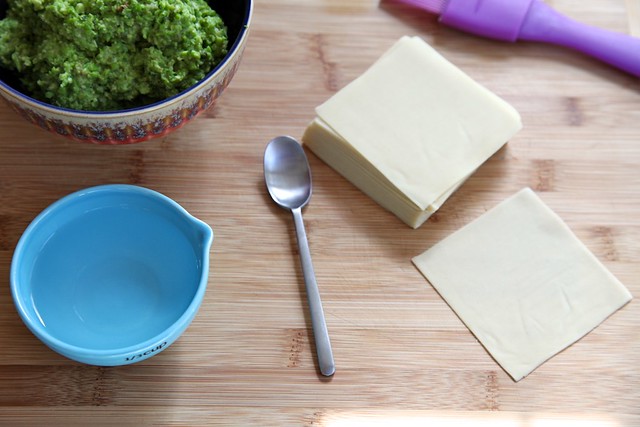
To assemble the ravioli you’ll need the wonton wrappers, a bowl of the pesto, a small spoon, a small bowl of water, and a bit of time.
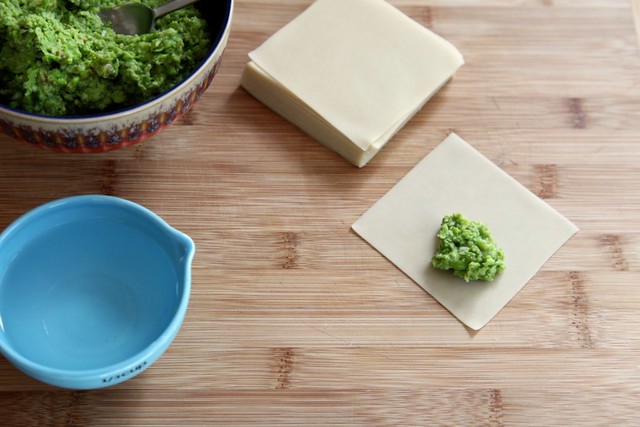
Place a square in front of you so that it shapes a diamond. Place a generous teaspoon of pea pesto on the bottom half of the diamond.
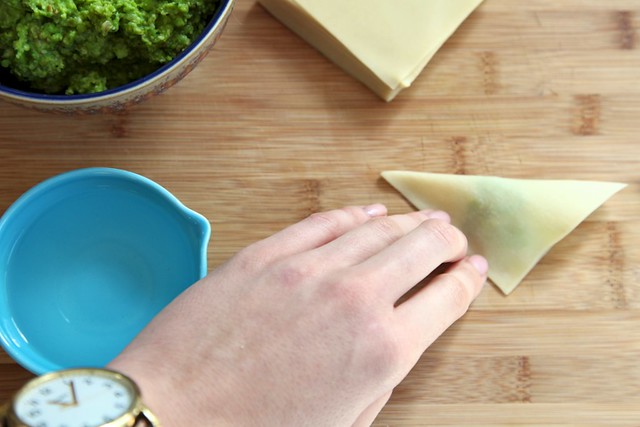
Dip your finger in water. Run your wet finger along one bottom edge of the diamond and the other. You’re moistening two edges so they act as glue when the ravioli gets folded over.
Fold the top half of the diamond over the pesto dollop. Use your fingers to press the triangle edges together. Make sure that the triangle is not filled with air, and well sealed at the edges.
Grab the two farthest points and bring them together in the center. Use just a big of water to seal the two points together.
Set ravioli in a single layer on a plate. Marvel at your work as your ravioli numbers increase.
Ravioli can be cooked immediately in boiling, salted water, for 2-3 minutes, or until warmed through. Drain and serve with spicy tomato sauce and more cheese.
Ravioli can also be placed in the freezer, in a single layer until frozen. Once frozen, they can be sealed well in a plastic bag until ready to cook and serve. Cook in boiling, salted water for about 7-9 minutes, or until warmed through.


127 Responses
How do you get such perfect lemon zest?! Seriously, it’s pretty. That sounds odd, but anyway…these look great and I can’t wait to try it!
how come your ravioli wontons turn out looking so good? mine always comes out wrinkly. classic case of over boiling, i guess? :)
wow, I just made ravioli with pea pesto last week but I thought I was a genius and invented it myself. Doh
So I’ve seen this recipe like over a month ago and finally just made them last night.
They came out amazing! I made my own tomato sauce and used a 12 oz. Bag of peas instead of 16oz. just because that’s all I had :-/ but my mom came over and ate some and raved over them! I even packed her some for lunch the next day :-)
Thank you Joy for this great recipe :-)
These are so good! I made them last night and love them. Can you make more recipes for home made ravioli, like new fillings to try out?
I made these ravioli tonight for dinner. They were so flavorful and delicious! The lemon, Parmesan, and peas make a delicious pesto that would be wonderful on its own. Thanks for sharing
Hi Joy! I’ve never attempted to make ravioli out of wonton wrappers but it’s genius!! Trying this recipe this week! I was wondering where you got those adorable measuring cups from?
I made these little lovelies for dinner last night, and my kitchen still smelled like lemon and parsley when I woke up. In a really good way. The green pea pesto was a gorgeous bright green and I felt super accomplished with a tray of folded up ravioli sitting in front of me! These turned out really light and tasty. Pretty much a win-win situation.