There are some things you can’t get back. The thrill of hunting for those plastic Easter eggs filled with jelly beans, occasionally quarters, sometimes peanut butter cups. The absolute joy of finding an egg filled with treats… before you sister… and you don’t even have to share. I remember once finding an old, well-hidden, forgotten plastic Easter egg in my grandfather’s workshop well after Easter… we’re talking mid July… and I thought I had won the lottery. Nothing was better. I think I’d literally have to win the lottery to create that feeling these days.
Then again, some feelings you can get back (without winning the lottery) . A slight vinegar smell reminds me of dying Easter eggs with my sisters and… WHY did we need so much newspaper on the kitchen table… did we really spill that much (probably).
The excitement, adventure, and nerves of baking something new. The familiar smell of brioche type bread in the oven.
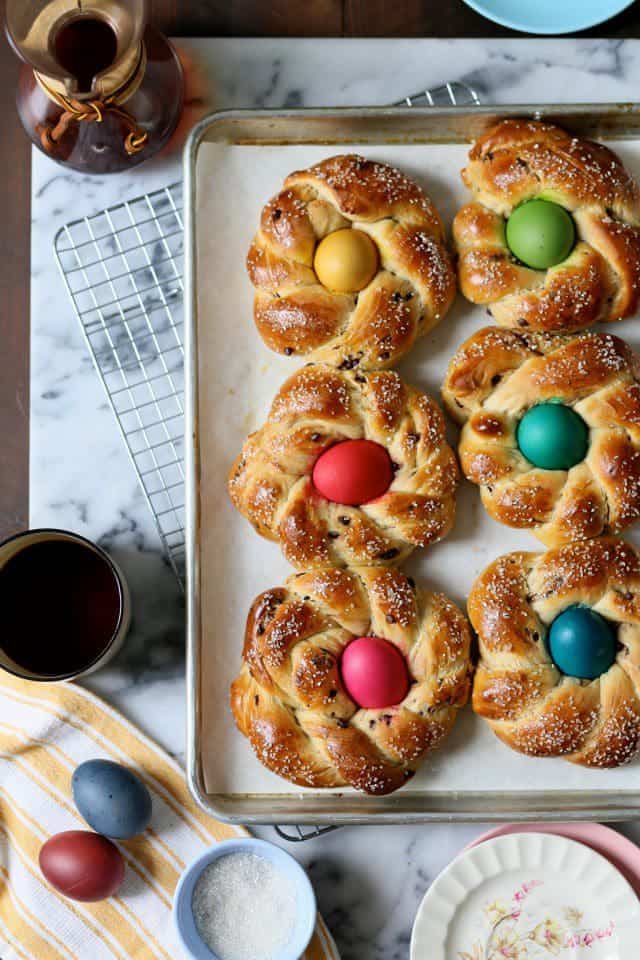
It’s all happening. Italian Easter bread, though traditionally it’s also Greek Easter Bread. I added chocolate, because… chocolate.
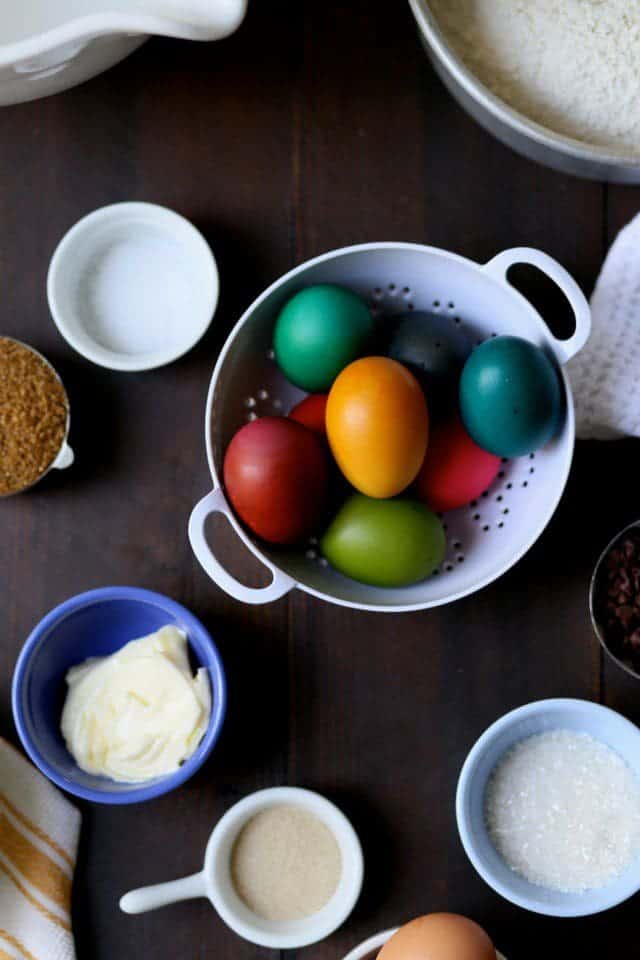
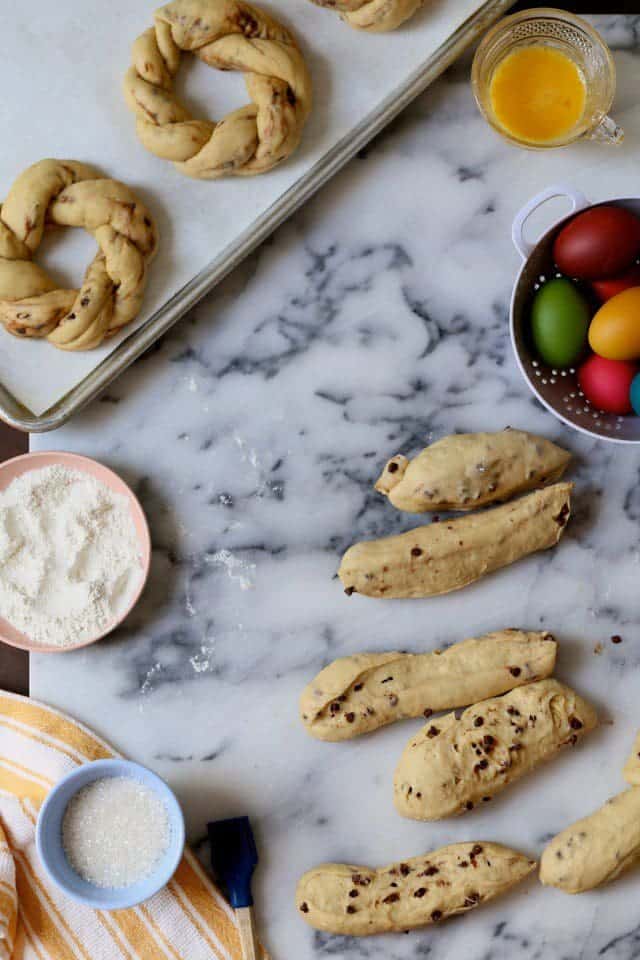
First: dye six raw eggs. Yes, raw. Be careful not to bounce them around. We’re keeping them raw so they baking in the oven with the bread.
I stumbled upon a Paas Easter dying kit that had some modern / mod colors. I’ve also found that using brown eggs creates a richer color. You might also try more natural dyes like The Kitchn, but I didn’t have the best luck with this route. Likely more my mistakes than anything else.

I dyed my eggs the night before making this rich Easter bread. The think-ahead moves makes assembling the bread a bit easier.
Yeast in warm milk with a sprinkle of sugar gets us on our way. We’re baking!
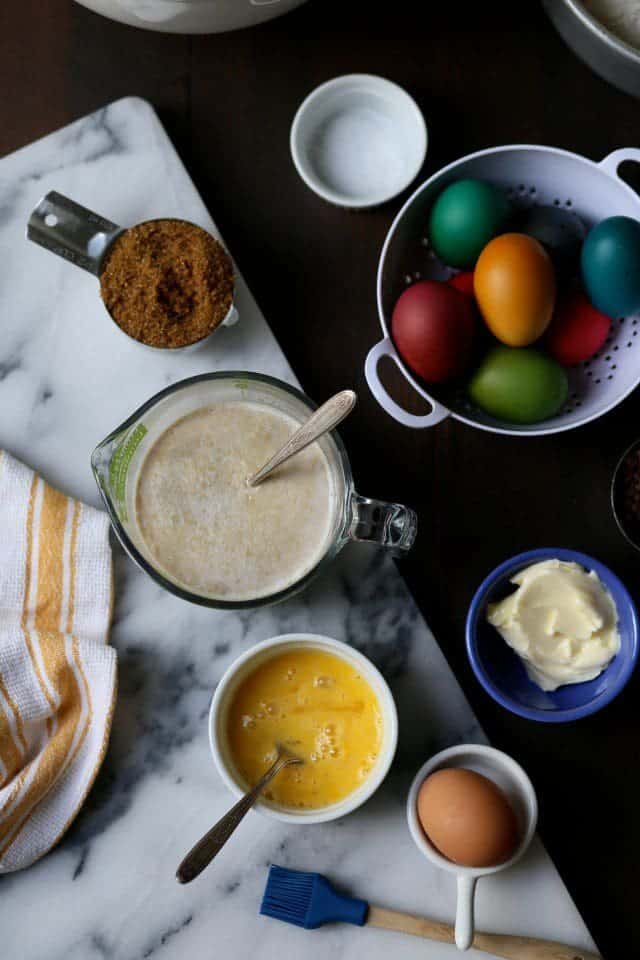
The milky yeast mixture is given time, just five minutes or so, to activate.

Into the mixing bowl with the milky yeast, beaten eggs, softened butter, brown sugar, salt and most of the flour.
I find it helpful to bring the dough together, off of the stand mixer, with a spatula just to get things going with intention. Then it’s five minutes on the mixer with a dough hook to knead and knead. Do you need need need to have a stand mixer to bring this dough together? Mostly yes. Because it’s a softer, more wet dough… a mixer really is helpful.
The dough will be fairly wet to start. I added about 5 cups of flour total creating a slightly tacky but still soft dough.
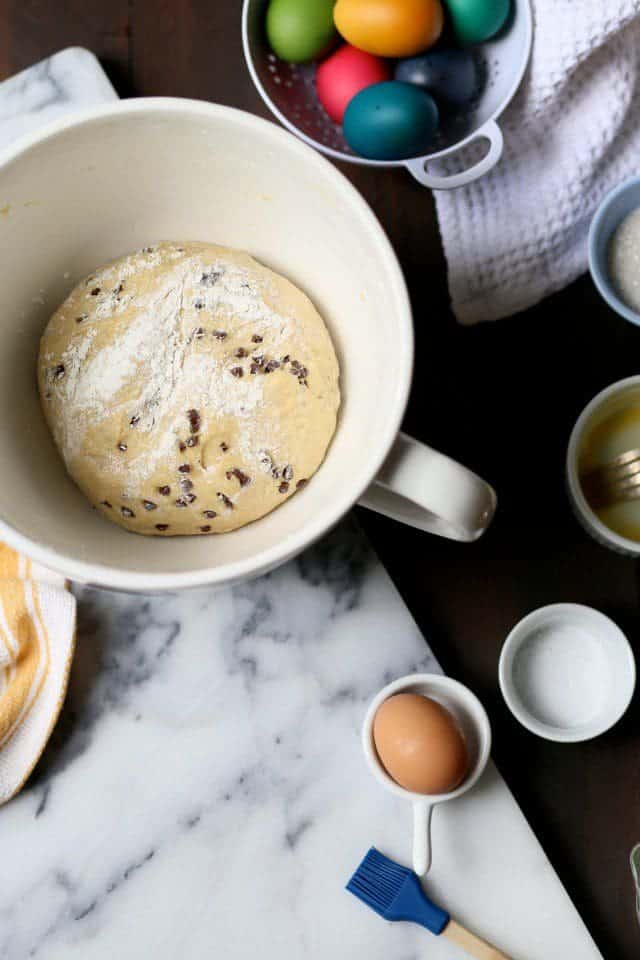
Chocolate chips are added towards the end of the dough-hook kneading.
The dough is scraped from the sides of the bowl, sprinkled lightly with flour and covered to rest and rise.
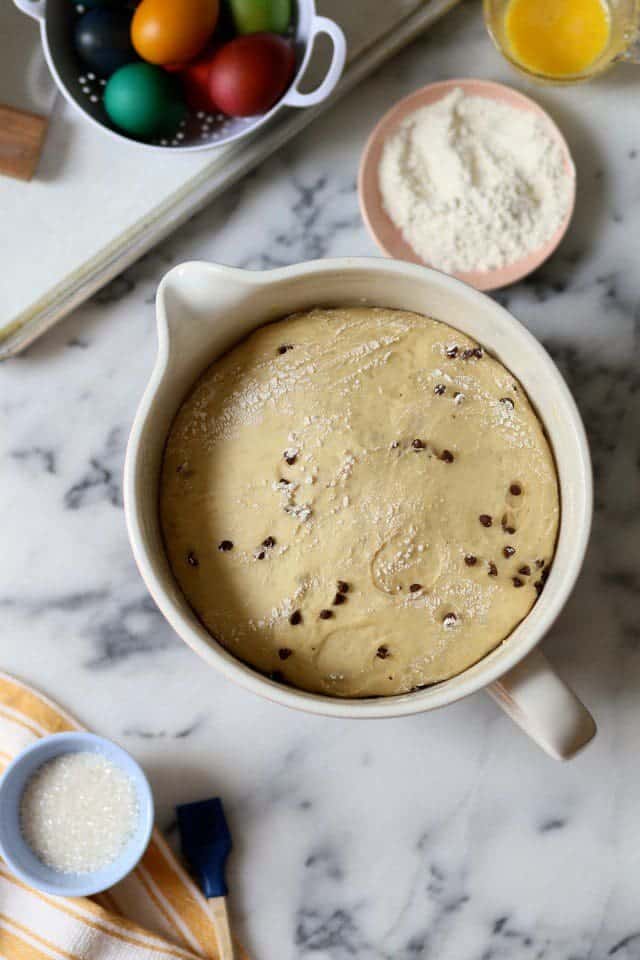
Look at this madness!
We’re really on to something.
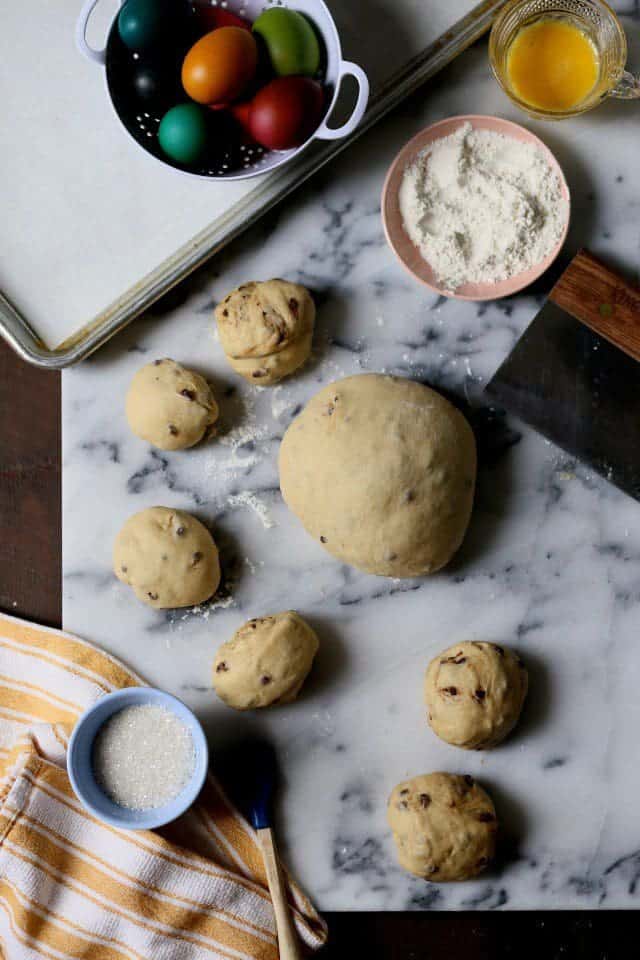
Risen, punched (not really punched though deflated), kneaded slightly, roughly divided in 12 mostly equal parts.
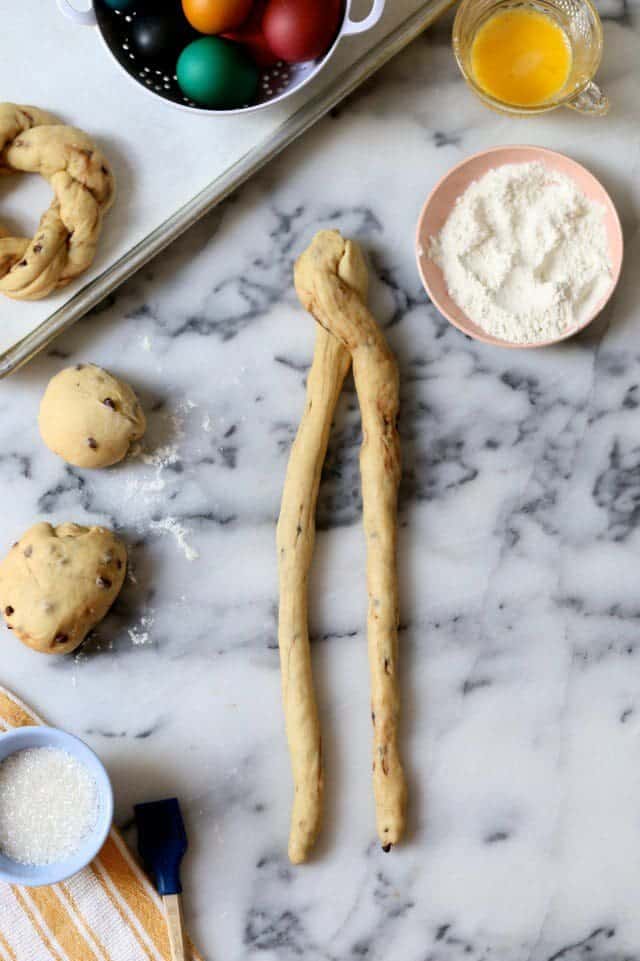
Twelve: 1-inch thick, 14-inch long dough ropes. For twisting.
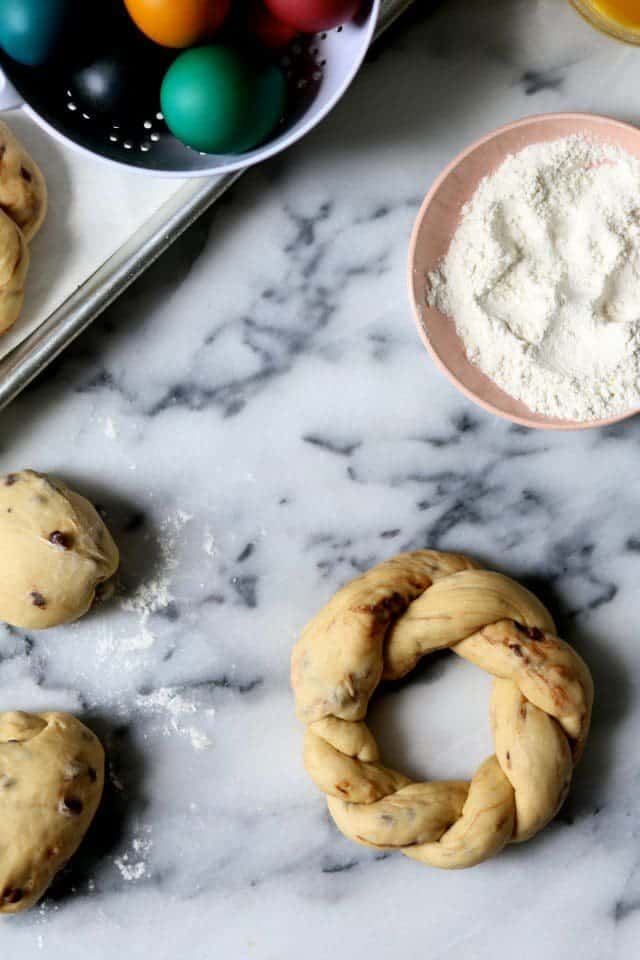
Twisting and rounding into a wreath aka, egg nest.
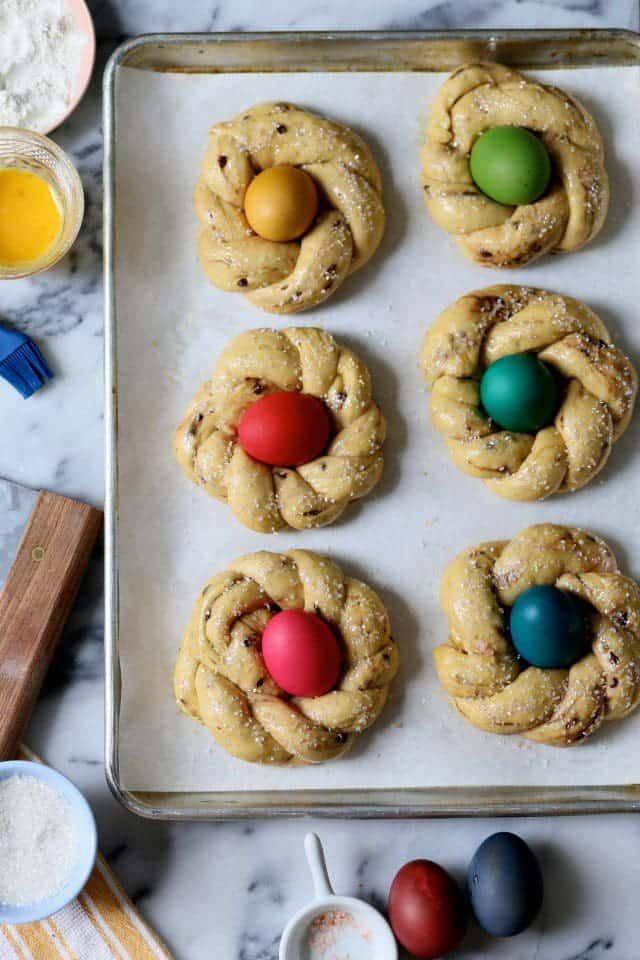
- Twisted
- Circled into wreathes
- Transferred to a lined baking sheet
- Nestled with a raw, dyed egg
- Brushed lightly with egg wash
- Sprinkled with sugar or colored sprinkles
- Time to BAKE!
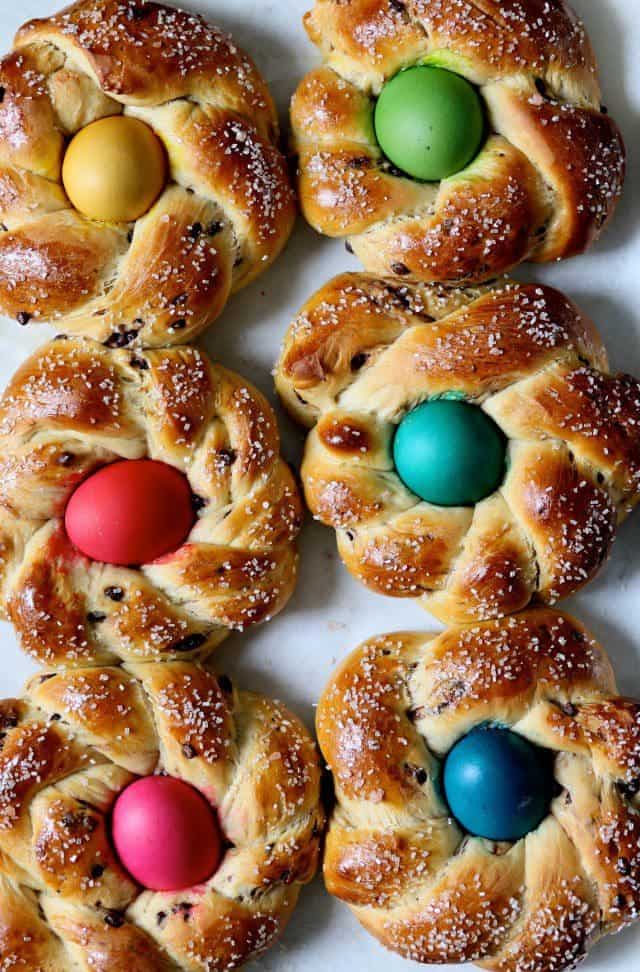
Stretchy, doughy bread. Studded with chocolate. Festive as ever with a perfectly cooked boiled egg in the center.
It’s Easter! We’re doing it right!
Print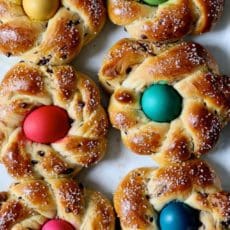
Chocolate Marbled Italian Easter Bread
- Prep Time: 120
- Cook Time: 25
- Total Time: 145
- Yield: 6 1x
Ingredients
- 1 1/4 cups warm 2% or whole milk (about 100 degrees F)
- pinch of brown sugar
- 2 1/2 teaspoons active dry yeast
- 1/3 cup unsalted butter, softened
- 2 large eggs, beaten lightly
- 1/2 cup packed light sugar
- 1/2 teaspoon salt
- about4 1/2 to 5 cups all-purpose flour, plus more for dusting
- 1/2 cup mini chocolate chips
- 1 large beaten egg, for egg wash
- 6 dyed and dry Easter eggs
- sprinkles
Instructions
- Stir a pinch of brown sugar and all of the yeast into the warm milk and let sit for 5 minutes, allowing the yeast to bloom and bubble.
- In the bowl of a stand mixer fitted with a bread hook, add the milky yeast mixture, butter, beaten eggs, brown sugar, salt, and about 3 1/2 cups of flour. First use a spatula to stir the ingredients until just combined.
- Beat the mixture (it will still be fairly wet) on medium speed using the mixer and dough hook. Add the final 1 to 11/2 cups flour creating a cohesive, though still slightly sticky dough. Beat for 4 to 5 minutes on the mixer. Add the chocolate chips in the last minute of kneading.
- Remove the bowl from the mixer and scrape the dough to the center of the bowl. Dust lightly with flour and cover the bowl with plastic wrap. Allow to rest in a warm place until doubled in size, about 1 hour.
- After rising, dump the dough onto a clean counter lightly dusted with flour. Line a large rimmed baking sheet with parchment paper. Set aside.
- Divide the dough into 12 equal pieces. Roll each piece piece into a 14-inch long, 1-inch thick ropes of dough. I found this easiest to do without much flour on the counter. Attach two ropes at their ends, and twist over one another, Pull the ends together to form a round wreath and gently lift onto the prepared baking sheet. Place the raw dyed egg into the center of the wreath.
- Repeat with all of the dough, creating six dough wreaths with nestled eggs. Cover lightly with plastic wrap and allow to rest and rise for 30 minutes.
- While the bread rises, place a rack in the center of the oven and preheat to 350 degrees F.
- After the second rise, lightly brush the bread with egg wash, being careful to avoid the dyed egg. Sprinkle with sprinkles or coarse sugar.
- Bake for 25 to 28 minutes, until golden brown and baked through.
- Remove from the oven and allow to cool to room temperature before serving.
- Bread will last up to three days, well wrapped at room temperature.


51 Responses
Love this recipe! I love your blog, Joy! <3
Ah, Easter bread!!! That’s my favourite food at Easter! I eat nothing else during Easter break! (literally! :-) Happy Easter from Greece!!! (even though we celebrate it in a month). (ok, I think I’ve written the word “Easter” too many times! -whoops! I did it again!)
Is it possible to do this gluten free???? I have all the flour substitutes but curious how u think it’d take? These look and sound fabulous!
I think it is possible. But I’m not good at making gluten free yeasted bread.
These are just lovely. But I’m worried about making them ahead of time and storing the eggs at room temperature. Is that really permissible?
I made these yesterday and you can actually remove and then replace the eggs. So storing the eggs before serving them is easy
Can you make these the night before?
Love your colorful version of Easter bread! I come from Greece and we call it “tsoureki” and I personally love to eat it all year round, plain or with chocolate!
Happy Catholic Easter! (Greek Easter is on May 1st)
Love from Athens
Seta
(check my design blog: https://www.setaprint.net for daily visual inspiration!!)
Whoa! I thought those were chocolate eggs when I first saw the pictures. So cool!
Those look beautiful!
Dear Joy, thank you so much for your constant stream of yummy recepies, your great homepage, that awesome print-button and your overall wonderfullness! happy easter to you from around the world! :)
Jo
I Love the idea of dying brown eggs! Genius!
Joy, these are beautiful! I won’t have time to make them for Easter so hopefully it’s acceptable to make them a bit late ;)
Says that they can last for 3 days wrapped at room temp. I’m assuming you take the egg out first??? Is that a silly question–sorry?:)
I love these! So pretty, so festive. And dyeing raw eggs as a bonus!
It looks so good and I like the idea of adding chocolate chips.
Love how delicious and festive this bread looks! I have never tried making bread wreaths but definitely want to after reading this post. :)
Love your food creations, everything looks so yummy. Wish I were a better cook :(
xoxo
– Emily
http://www.larimar.com
How fun and festive! I think adding chocolate to recipes is always a good idea :) !
saw a picture of this bread on your 10yr anniversary post, and had immediate nostalgia for the bread dolls and wreaths my dad and i would make for easter- so happy to have found a recipe to bring this tradition back to life- thank you.
This makes me SO HAPPY!!!
Did the pre-dyed eggs get damp when refrigerated and of do did you just blow dry!
I made this yesterday. It’s very pretty and fun to make. Worked out perfectly. I will say that chocolate and eggs are a bit of an odd combination. The bread was good with the chocolate chips. But still a bit of an odd combination.