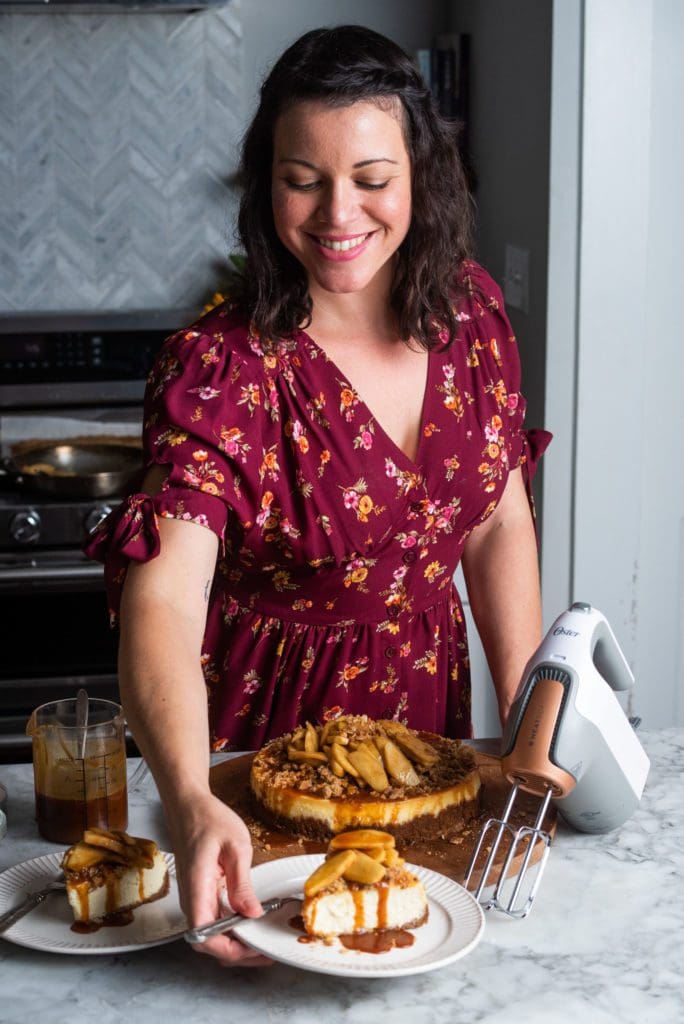
It’s the best time of the year! Are you ready for it!? Time to cozy up in the kitchen, relish in the heat from our pre-heating oven, cream fats and sugars, peel apples, stir sugar into caramel, and have the good sense to layer it all together! We’re making the most decadent cheesecake today! You’ve got to see this.
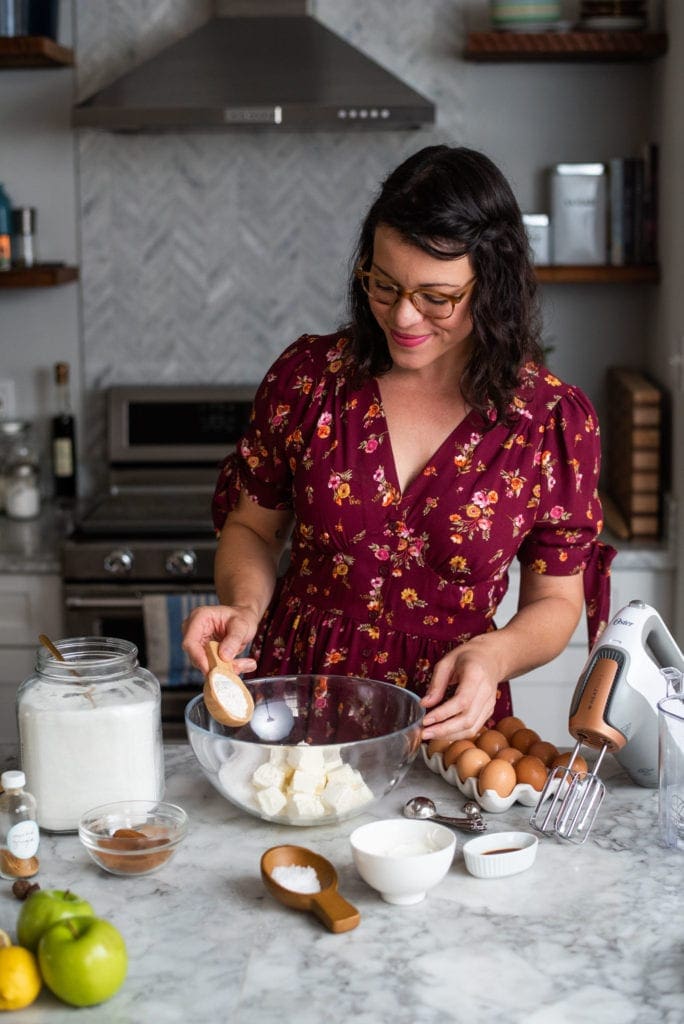
This post is brought to us by Oster® Hand Mixer with HEATSOFT Technology. Oster makes a really great hand mixer that blows a gentle warm air as it mixes. Seriously! The heat helps soften cold butter and other ingredients literally as it mixes.
Temperature is a big part of baking and if butter or cream cheese isn’t softened properly, a recipe can go sideways. The Oster Hand Mixer with HEATSOFT Techonology takes some of the stress out of baking. If we forget our butter or cream cheese in the fridge, this mixer does the work of softening it while we incorporate our ingredients – it softens butter 12 times faster than leaving butter out on the counter for 30 minutes. Great right!? AND – We get to make a creamy fluffy cheesecake with this new technology! What a time to be alive!
We’ll start by mixing together the crust. It’s all about layering flavors and we’re starting from the bottom.
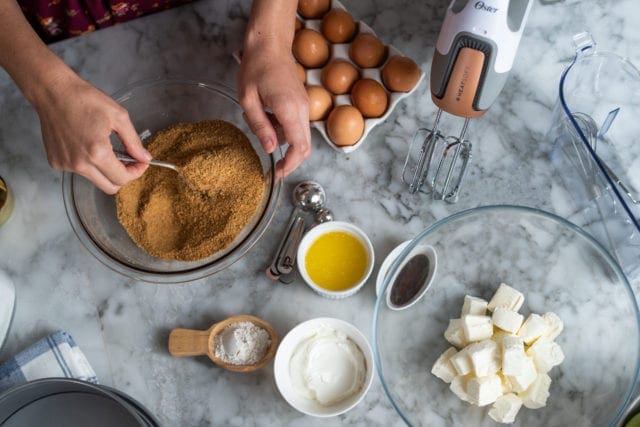
Whisk together crumbled graham crackers, a spoonful of sugar, and a good pinch of salt.
We’ll add melted butter and maybe a splash of water to create a well-moistened press-able crust.
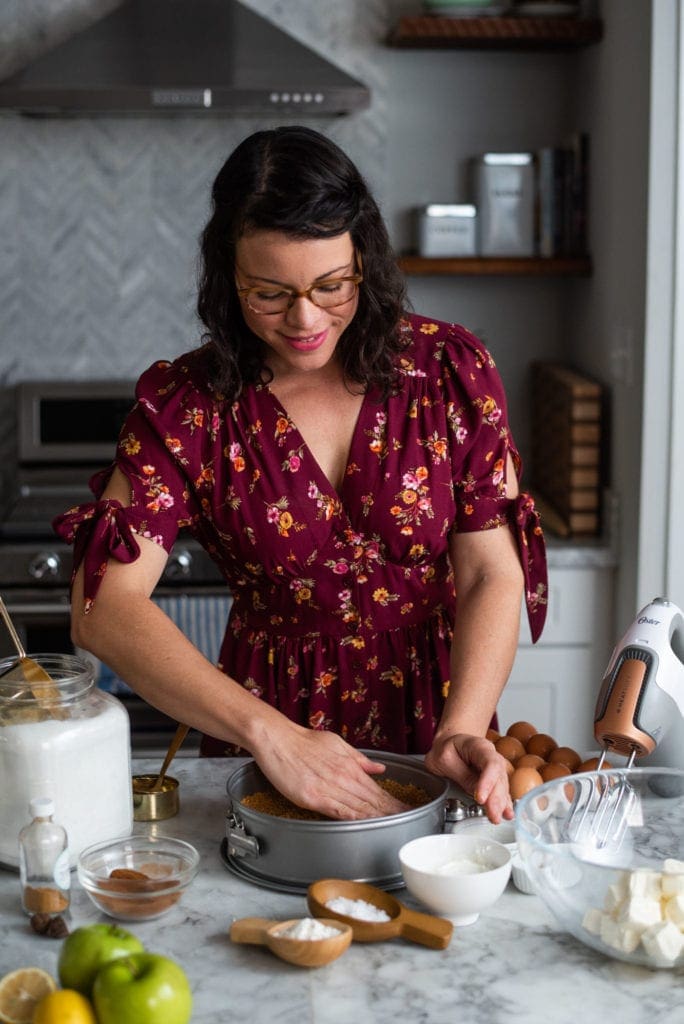
Press the crust a into a 9-inch springform pan. All along the bottom and halfway up the sides of the pan. We’ll be so glad this pan is a springform later when we can release the sides to reveal our perfectly tall cheesecake!

Let’s incorporate the cheesecake filling and put this Oster Hand Mixer with HEATSOFT Technology to work.
(You can pick up this mixer at Bed Bath and Beyond, Kohls, or Best Buy!)
We’ll start where every good cheesecake starts: 2 whole pounds of cream cheese.
One of the keys to a creamy cheesecake is room temperature cream cheese to create a completely smooth and fluffy filling. My cream cheese still has a chill on it, but the HEATSOFT Technology will gently heat the cream cheese as it beats, softening the entire mixture!
To the cream cheese and granulated sugar we’ll also add salt and a few tablespoons of all-purpose flour.
Flour helps the cheesecake filling to stretch as it bakes and cools. That stretch will usually keep the cheesecake from cracking while cooling. A little flour does the trick… but also, if the cheesecake cracks – that’s totally fine too.
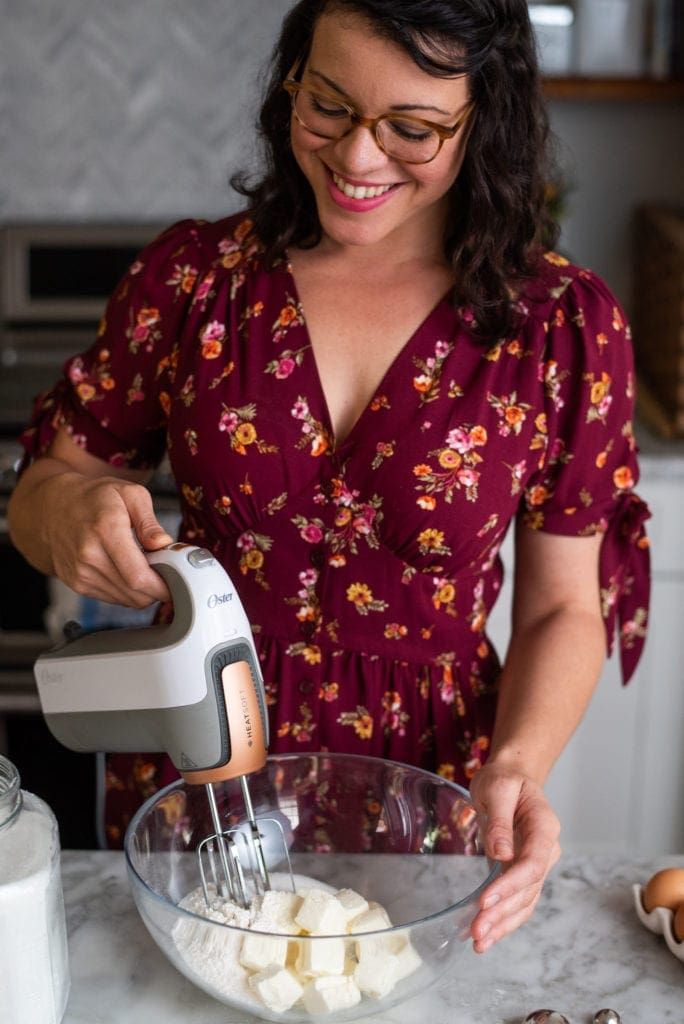
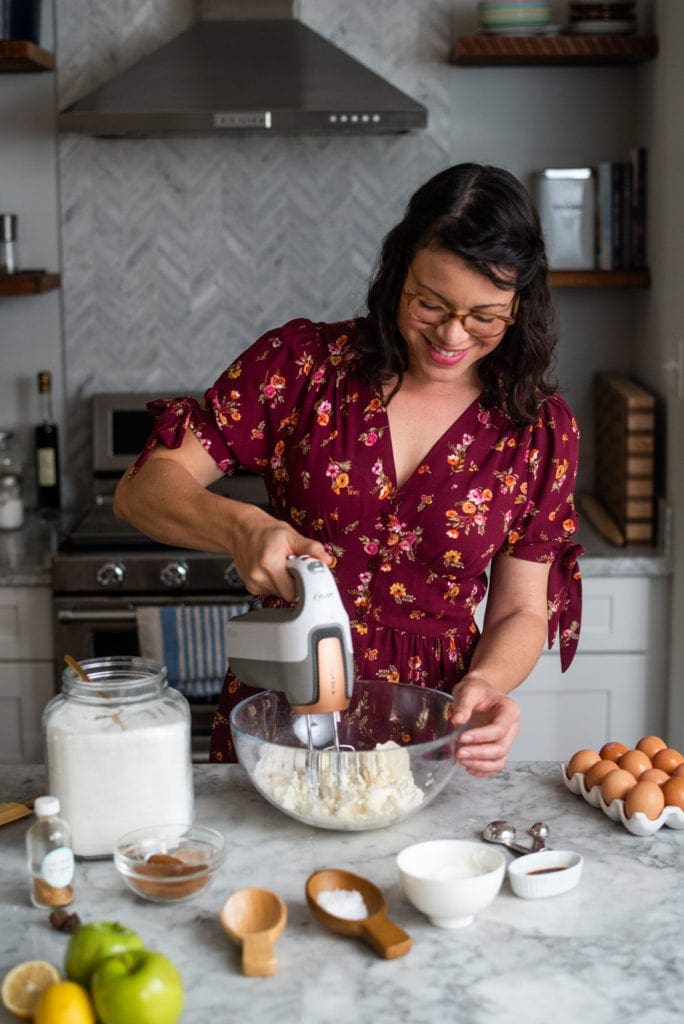
Blend the cream cheese filling, using Oster’s HEATSOFT technology to soften the chilled cream cheese and bring the ingredients together to smooth.
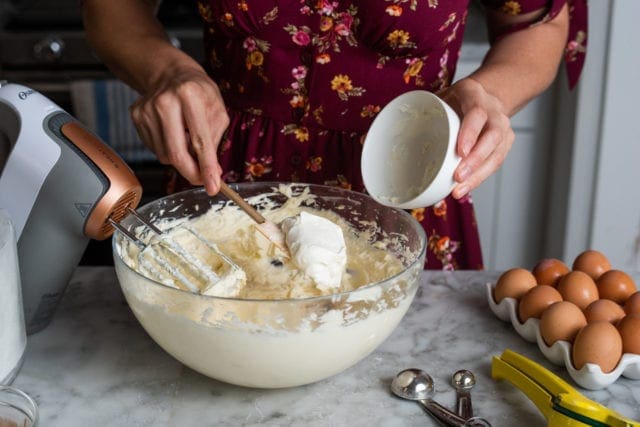
Sour cream adds a light tang and richness to the batter.
If you don’t have sour cream on hand, heavy cream works just as well without that bit of tang.

Pure vanilla extract helps to deepen the flavor of the cheesecake. I like to add a tablespoon of fresh lemon juice for balance and brightness!
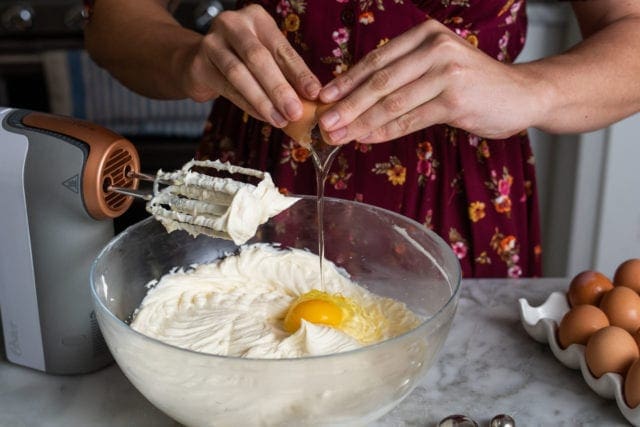
Eggs are essential. And how they’re incorporated is also important.
We’ll use three eggs and one egg yolk for this cheesecake.
Eggs are best at room temperature, but if our eggs are still a little chilly, we can use the HEATSOFT Technology to gently warm the eggs as they’re incorporated into the cream cheese mixture. I mix eggs in one at a time, beating each egg and yolk for one minute between each addition.
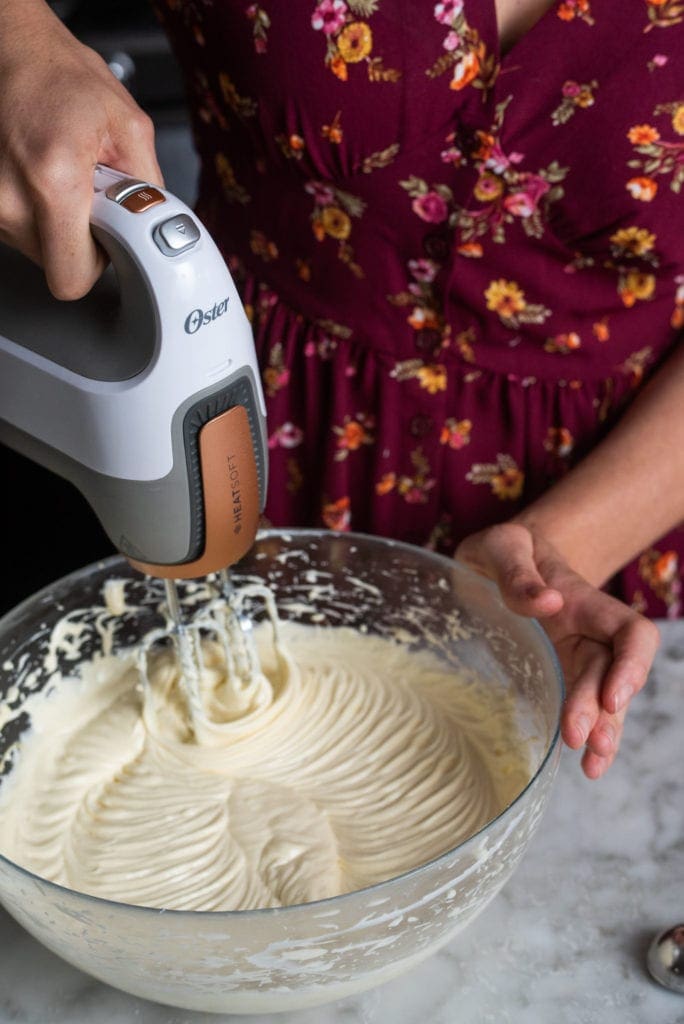
Blend until the filling is irresistibly smooth, thick and creamy, generally perfect.
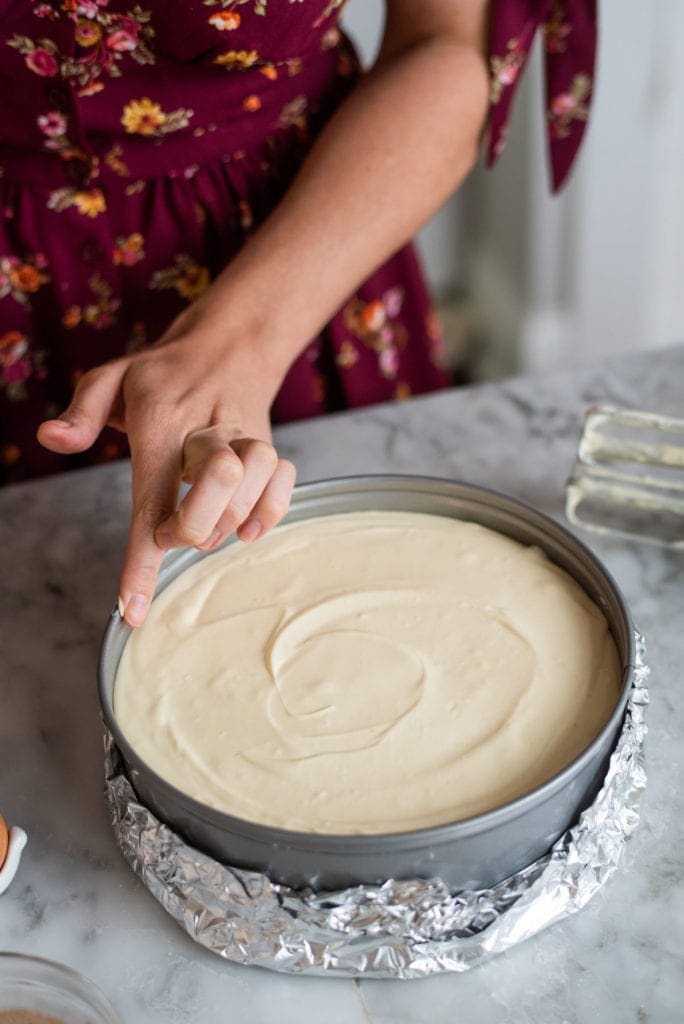
Pour it into the cooled graham cracker crust, smooth, and wipe any edges clean.
I also lined the bottom of my springform pan with two layers of foil. This will help ensure that none of the water from the water bath creeps into our cheesecake while it bakes. Extra precautions = perfect cheesecake.
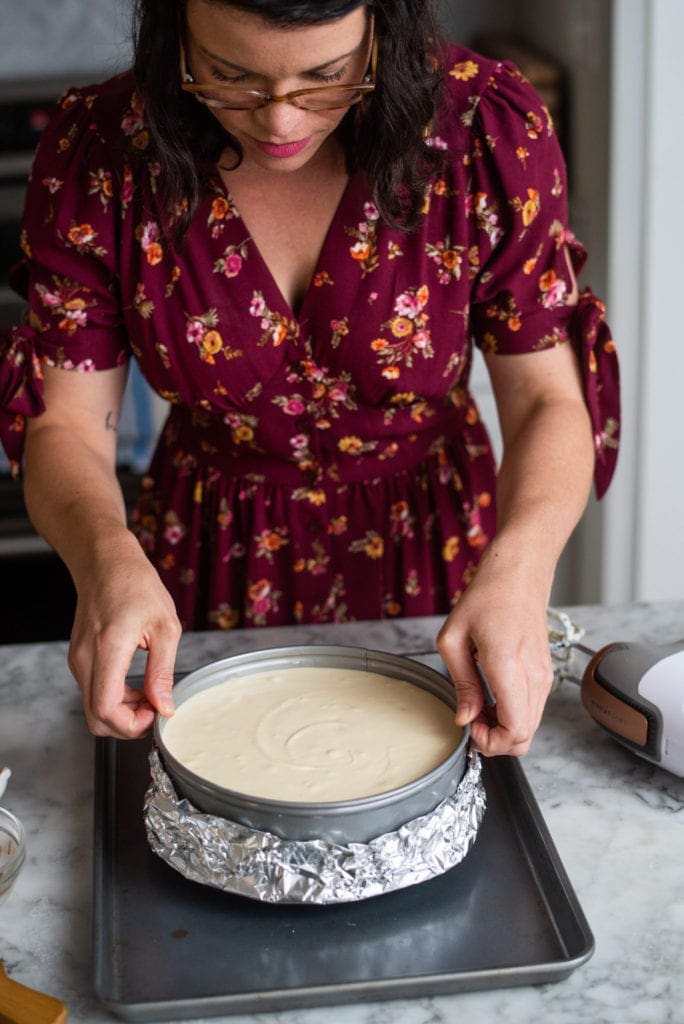
We’ll make a very shallow water bath for the cheesecake – just enough to add moisture to the oven and help ease the cheesecake into being. I find that that addition of flour will really help the fillings elasticity so we can go easier with the water bath.
Halfway into the oven and we’ll add warmed water from the kettle to surround our cheesecake.
While the cheesecake cooks, we can start on the other layers of flavor we’re building.
Up next: baked oat and walnut crumble.
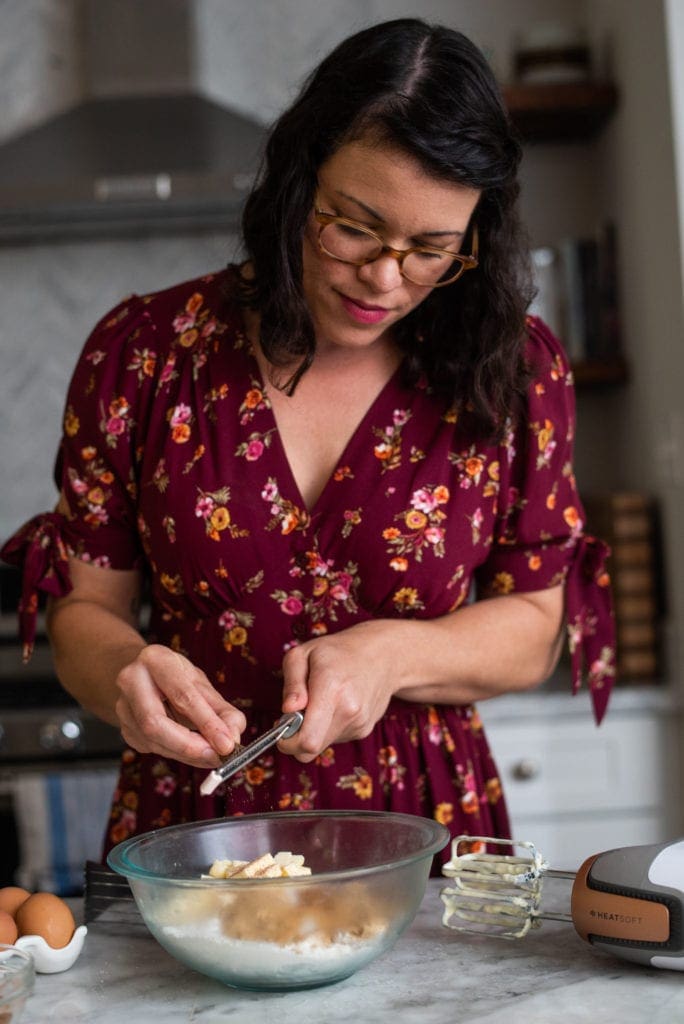
We’ll start with cold butter, brown sugar, flour, spices, walnuts and oats.
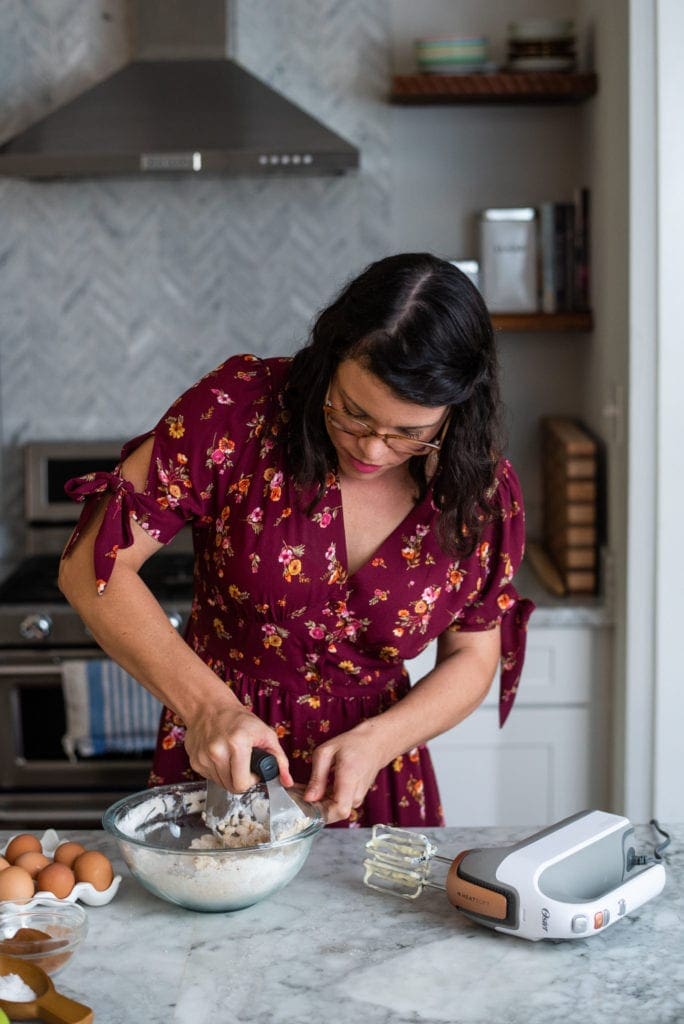
The mixture is worked together with a pastry blender to blend the butter into the dry ingredients, creating a coarse meal.
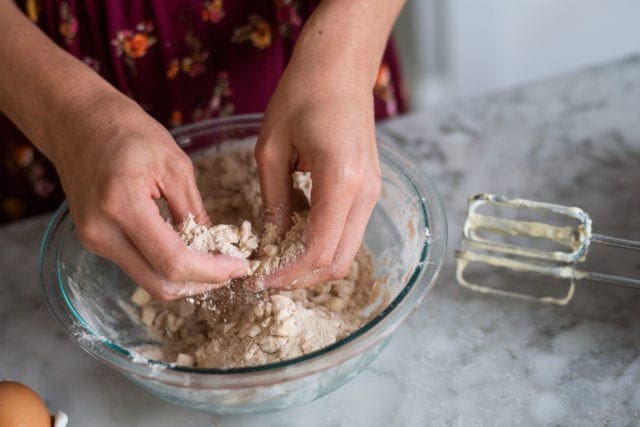
And let’s be honest – just get your hands in there too!
Some butter pieces will be the size of oat flakes, others the size of small peas.
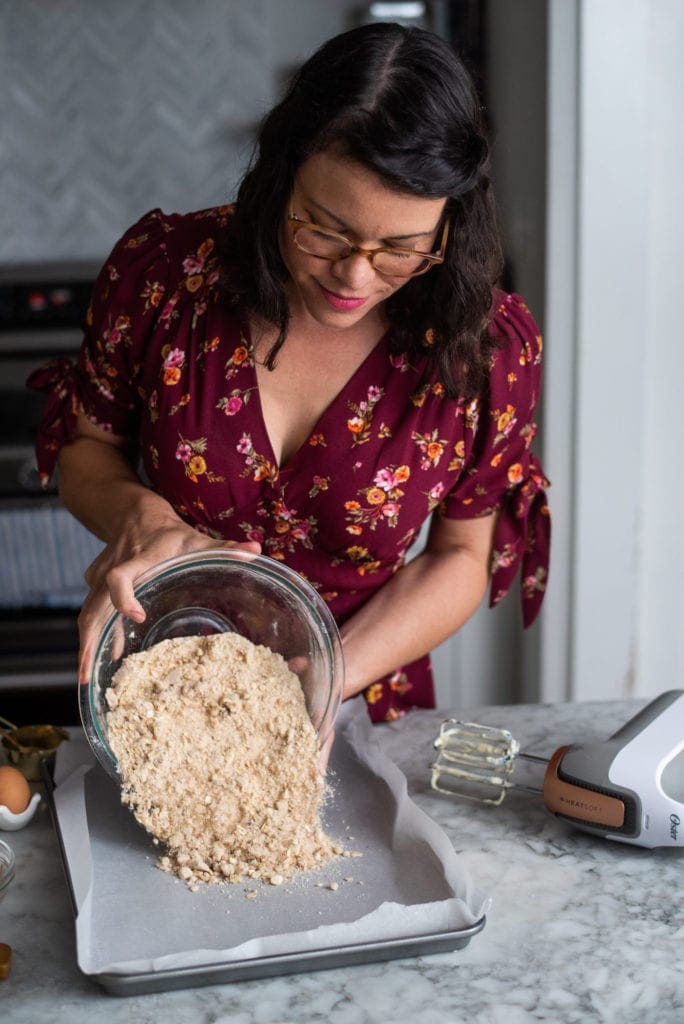
Pour the mixture onto a parchment lined backing sheet and slide it into the oven above the cheesecake.
What a wonder!
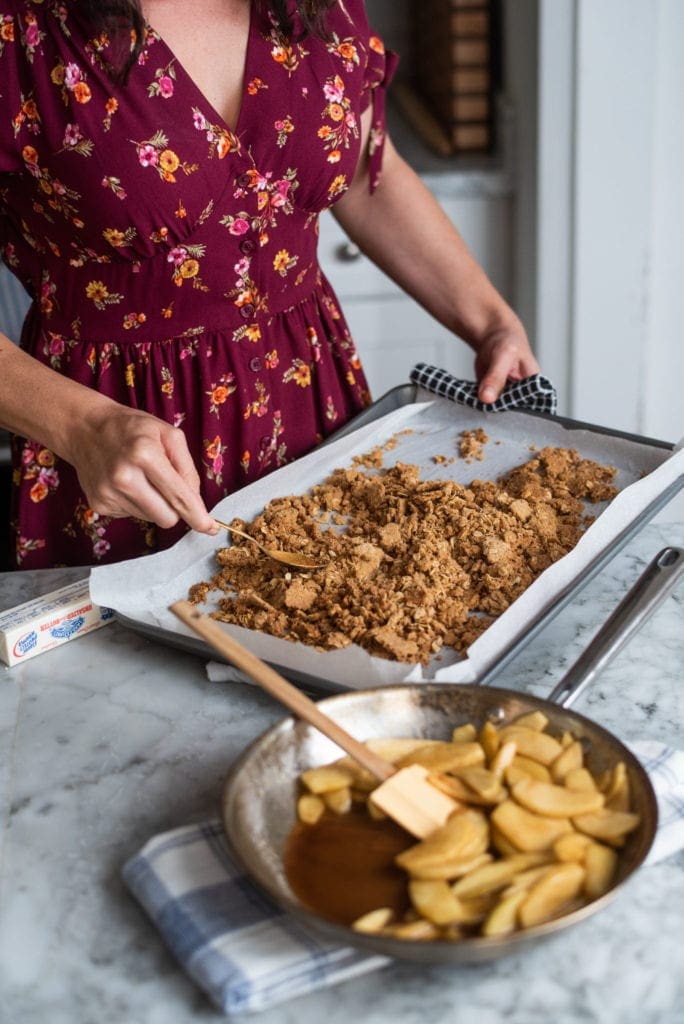
After about 20 minutes and a few good stirs in the oven, the crumble will be baked to golden brown and cool to a crisp. It’ll add the perfect bit of crunch and texture to our smooth and fluffy cheesecake.
Apples, too!
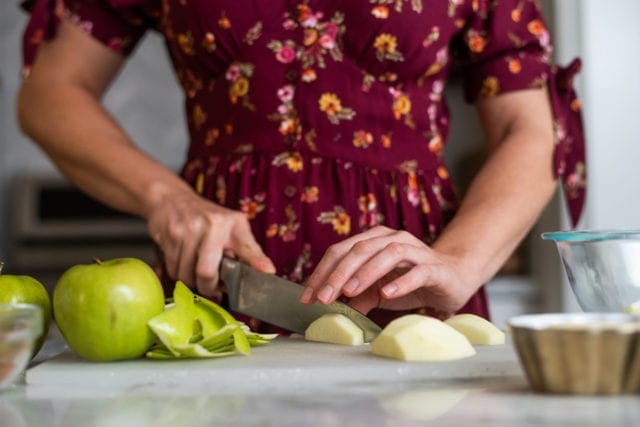
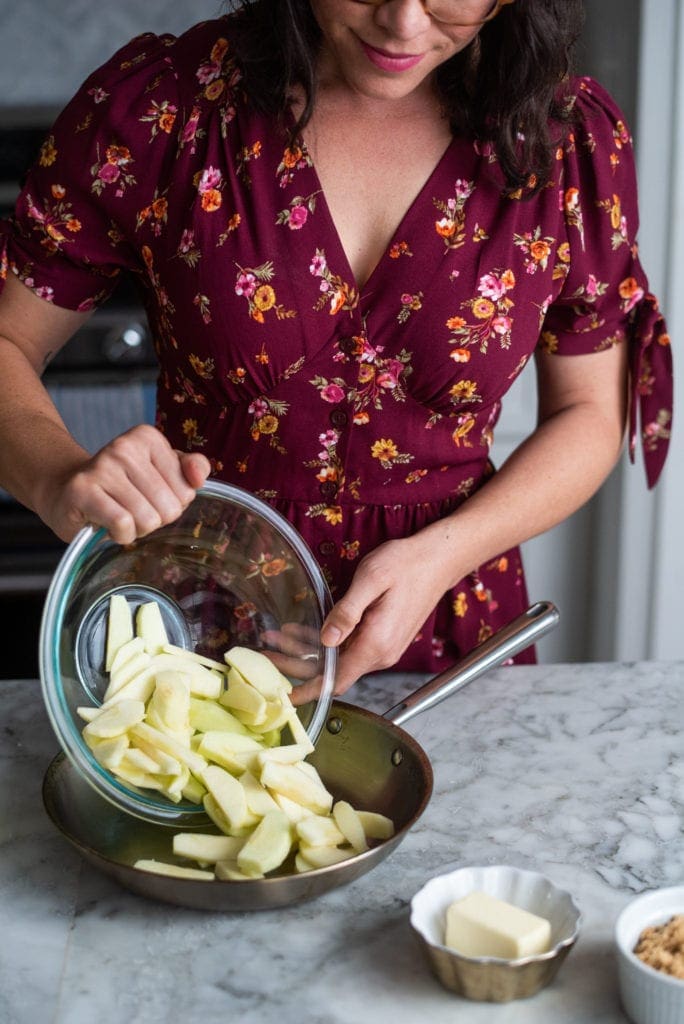
We’ll peel three tart Granny Smith apples, slice into wedges and toss into a skillet with butter.
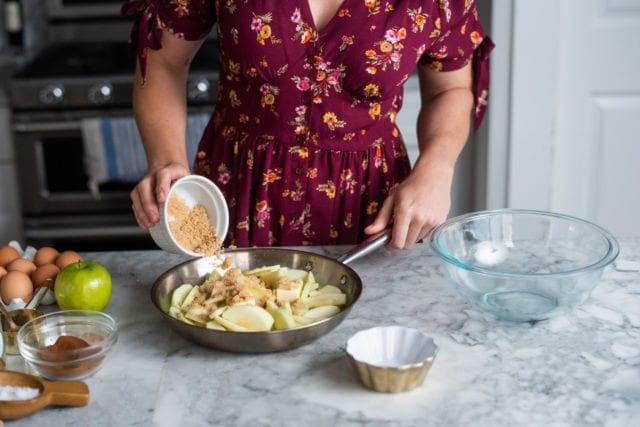
We’ll heat the butter and apples along with brown sugar and spices.
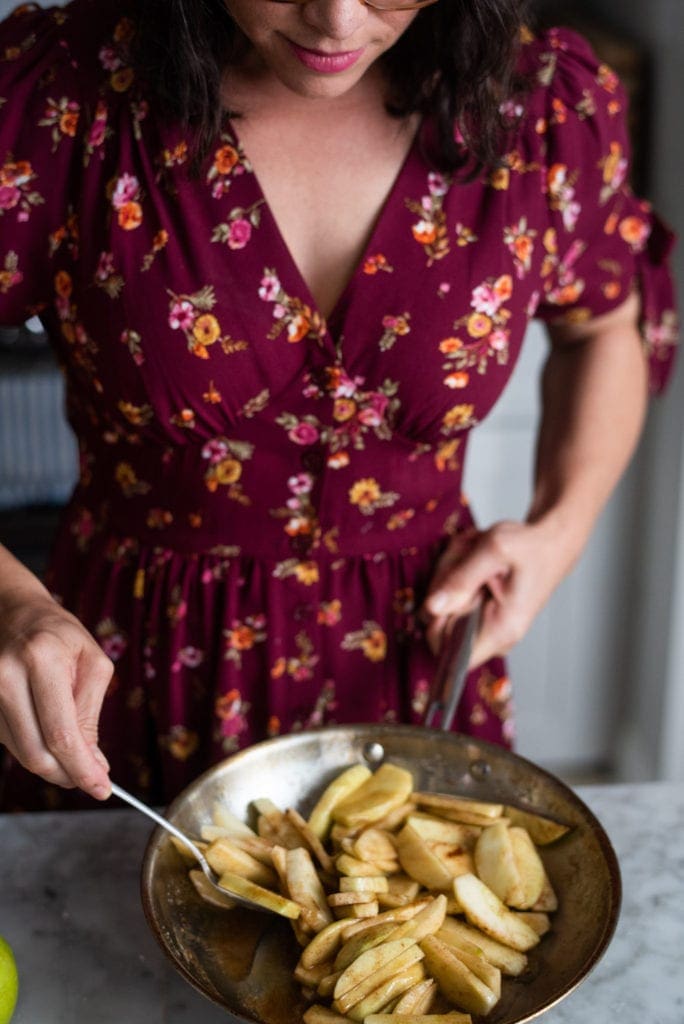
The heat and sugar creates a quick and loose caramel atop the apples. Apples and spice are perfect fall flavors and this is just right!
Along with the crisp oat mixture, and the spiced warm apples, we’ll also make a salted caramel to top our cheesecake.
More is more!
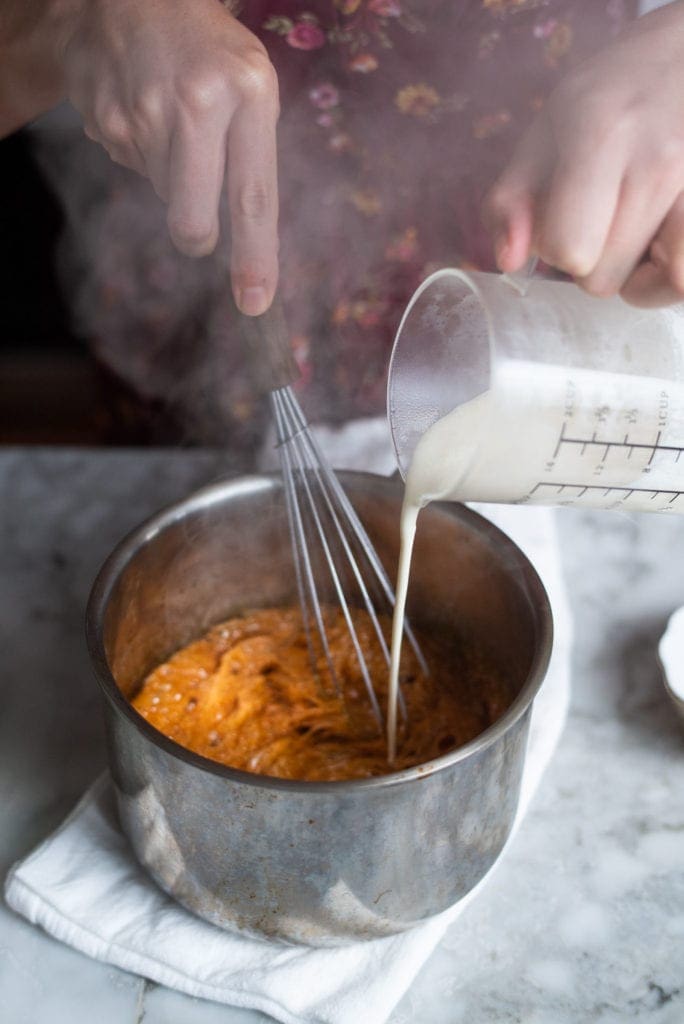
Sugar is cooked to browned with a splash of water and a few tablespoons of corn syrup. Cream and butter are added to the browned sugar mixture and the caramel foams and froths before settling to smooth.
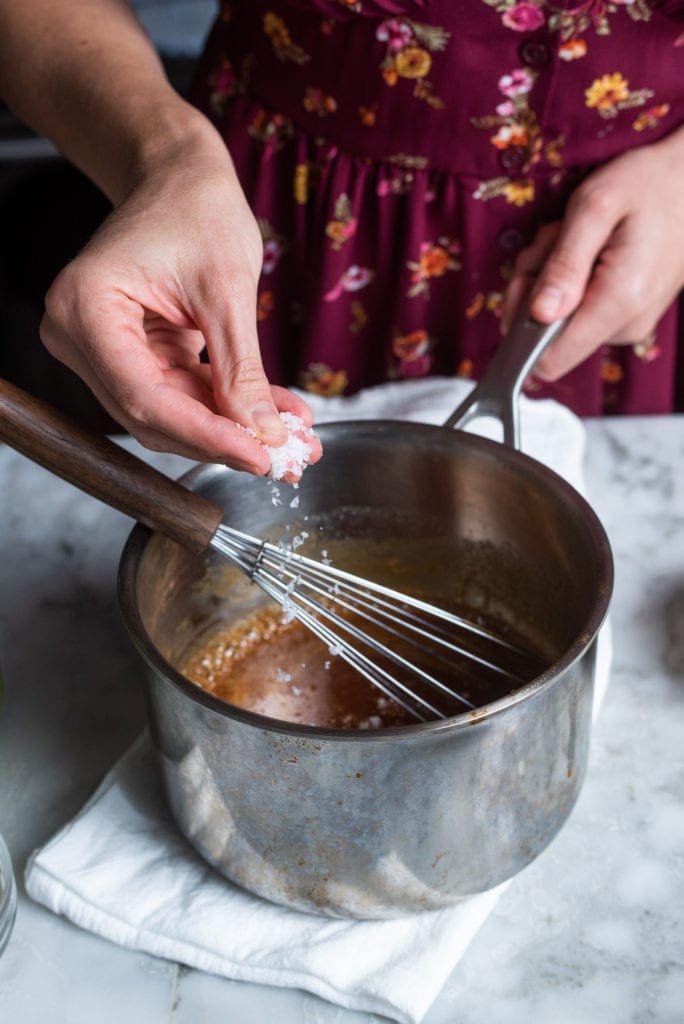
Salt is an essential balance to the sweetness of this caramel.
I find that an essential step of making cheesecake is allowing the cheesecake to rest in the fridge for at least a few hours after it’s been cooled – a good rest overnight is best.
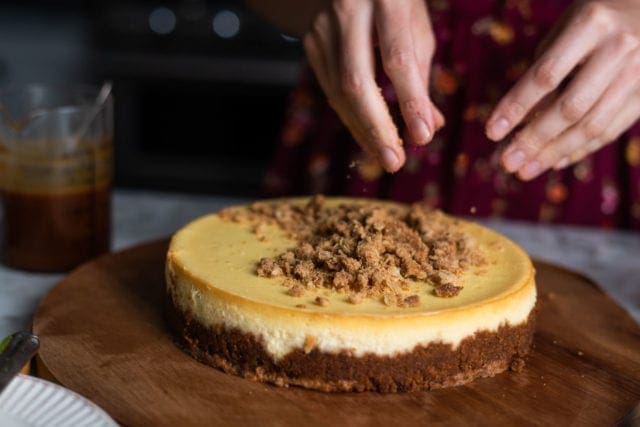
When we’re ready to serve we’ll start by sprinkling the chilled cheesecake with the oat crumble topping.
(It’s not a bad idea to slice the cheesecake before you layer all the toppings on! It makes it much easier to serve.)
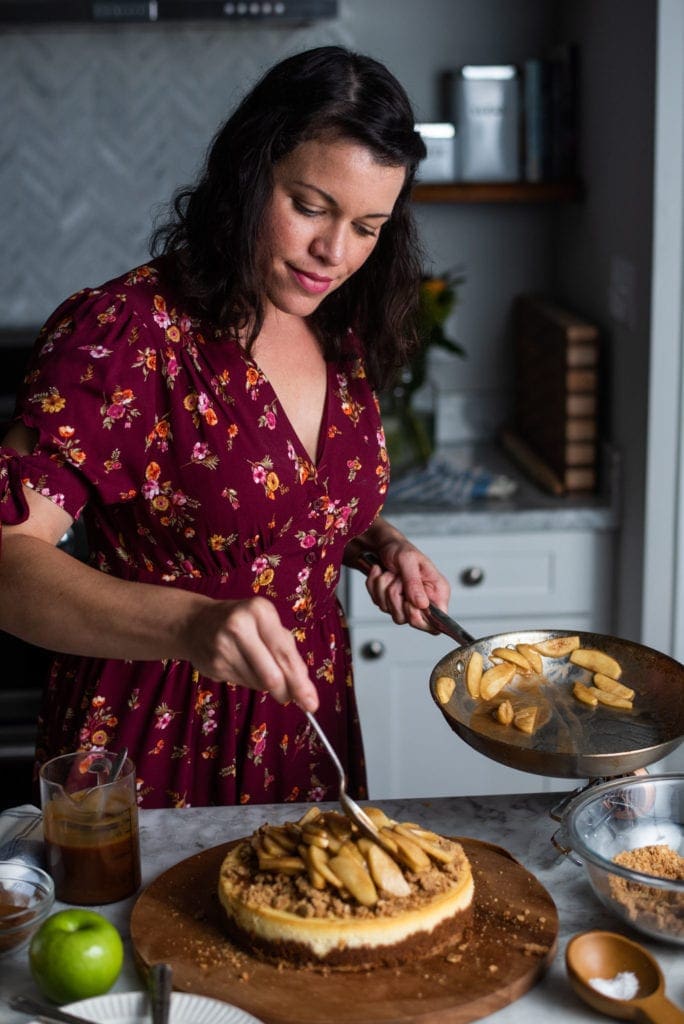
Top the crips with warmed, spiced apple slices.
This cake just gets better and better.
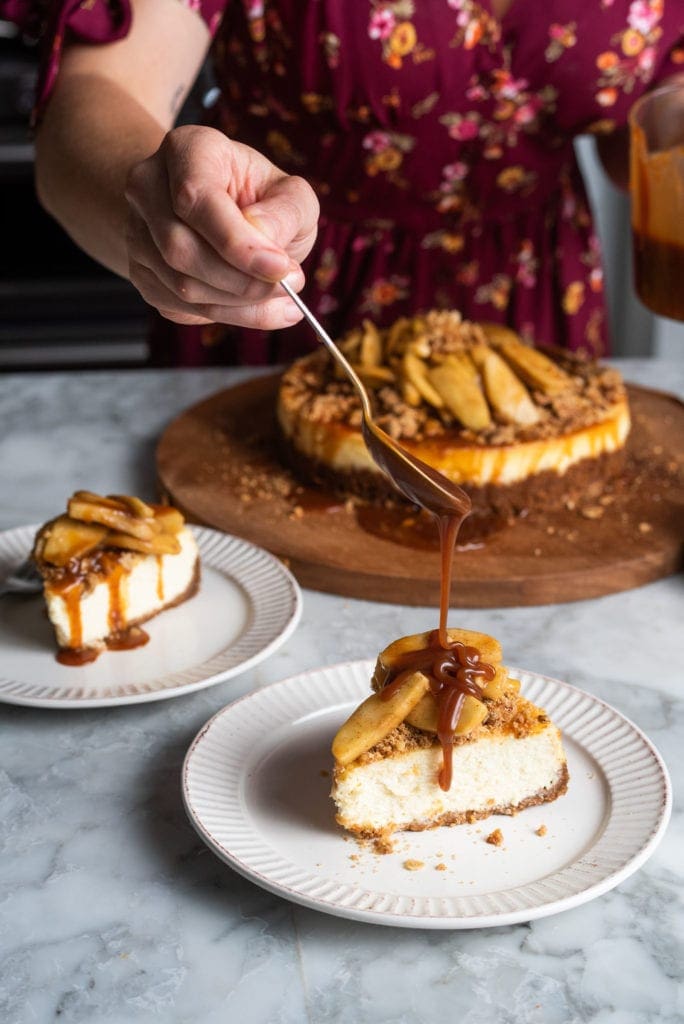
Atop the apples, the most luscious salted caramel.
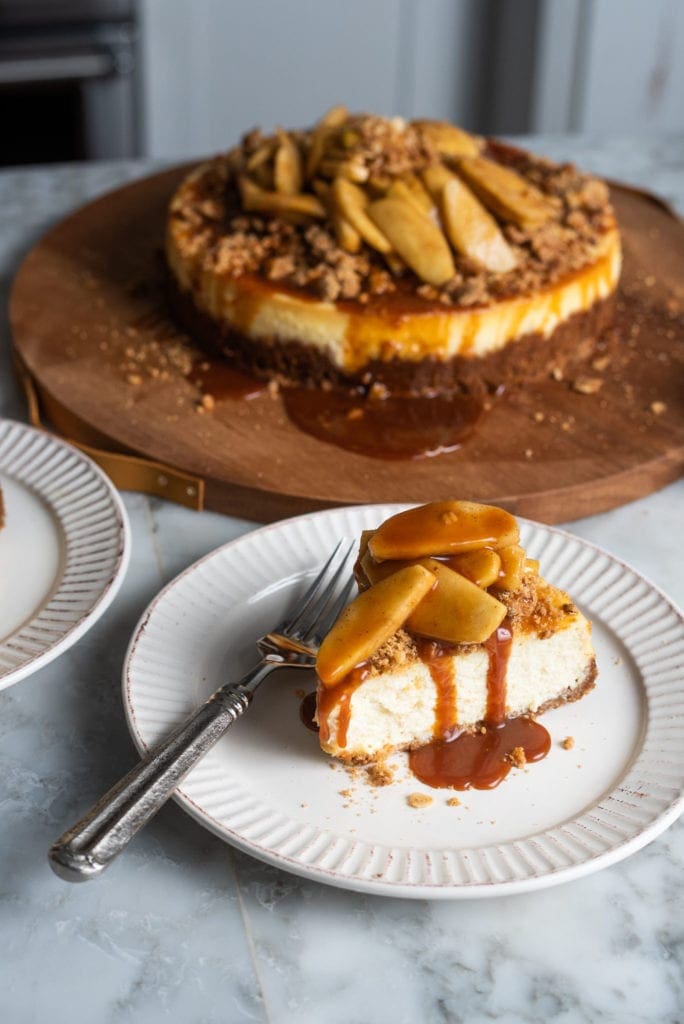
If we’re counting, we’ve got five layers of deliciousness, the most important being the creamy and right, light and fluffy cheesecake layer. It’s absolutely beyond!
Thanks to Oster for inspiring the recipe and for their Hand Mixer with HEATSOFT Technoloy for making this cake so easy and enjoyable to bring together!
Print
Caramel Apple Cheesecake
Ingredients
For the Crust:
- 12 whole graham crackers
- 5 tablespoons unsalted butter, melted
- 1 tablespoon granulated sugar
- 1/4 teaspoon sea salt
For the Cheesecake:
- 2 pounds full-fat cream cheese
- 1 cup granulated sugar
- 2 tablespoons all-purpose flour
- 1/2 teaspoon sea salt
- 1/2 cup sour cream
- 1 tablespoons fresh lemon juice
- 2 teaspoons pure vanilla extract
- 3 large eggs
- 1 large egg yolk
For the Crumble:
- 1 cup all-purpose flour
- 1/3 cup old-fashioned oats
- 1/3 cup coarsely chopped walnuts
- 1/2 cup lightly packed brown sugar
- 1/4 cup granulated sugar
- 1 teaspoon ground cinnamon
- 1/2 teaspoon freshly grated nutmeg
- 1/4 teaspoon salt
- 1/2 cup (1 stick) unsalted butter, cold and cut into cubes
For the Apples:
- 3 apples (I like Granny Smith of Fuji), peeled, cored, and sliced
- 2 tablespoons unsalted butter
- 2 tablespoons brown sugar
- 1/2 teaspoon cinnamon
- 1/4 teaspoon freshly grated nutmeg
For the Caramel:
- 1/2 cup granulated sugar
- 2 tablespoons water
- 2 tablespoons light corn syrup
- 1/3 cup heavy cream
- 2 tablespoons unsalted butter
- 1/2 teaspoon coarse sea salt
Instructions
- Place racks in the center and upper third of the oven and preheat oven to 350 degrees F.
- To make the crust, place graham crackers in the bowl of a food processor and grind to a fine crumb. If you don’t have a food processor you can crumble cookies in a zip lock bag with a rolling pin. Once you’ve created a fine crumb, add sugar, salt, and melted butter. Toss together, moistening all of the crumbs. Pour the mixture into a 9-inch springform pan and press with fingers until the bottom is evenly coated with crust and it comes up the sides a bit.
- Bake for 10 to 15 minutes until golden brown. Remove from the oven and allow to cool while you make the cheesecake filling. Reduce the oven temperature to 325 degrees F. Place a tea kettle of water on the stove top to boil. We’re going to add hot water to a rimmed sheet pan to place under the baking cheesecake.
- To make the cheesecake filling, in a large bowl, beat together cream cheese, granulated sugar, flour and salt using the Oster Hand Mixer with Heatsoft Technology. Beat until light and fluffy, about 3 to 5 minutes. Beat in sour cream, lemon juice, and vanilla extract until well incorporated. Add eggs and yolk, beating one at a time between each addition for about 1 minute. Continue to beat until the mixture is entirely smooth and silky.
- Cover the outside of the spring for pan in foil to keep any water from seeping into the cheesecake. Pour the cheesecake filling into the cooled crust and smooth the top.
- Place the cheesecake in the center of a rimmed baking sheet. Place the sheet in the oven and gently pour in boiling water to almost fill the sheet pan. This is our shallow water bath.
- Bake cheesecake for 55 to 60 minutes. The cheesecake is done when the outer two to three inches look slightly puffed and set, but the inner circle still jiggles when you gently shake the pan. Some spots of toasted golden color are just fine.
- While the cake is baking, assemble the crumb topping. In a medium combine the flour, oats, walnuts, brown sugar, granulated sugar, salt, cinnamon and nutmeg. Add the butter and cut in with a pastry blender until the mixture is crumbly and coarse crumbs form, about the size of peas. Spread the crumb topping onto the prepared baking sheet and give it a good shake to spread it out evenly. Bake on the rack above the cheesecake for about 20 minutes, tossing halfway through baking, or until it begins to brown. Remove from oven and allow to cool down completely. Run your fingers through the topping to break up any large clumps. Set aside or wrap in an airtight bag for storage before topping the cake.
- You might also make the caramel while the cake is baking. To make the caramel, add sugar, water, and corn syrup to a medium saucepan. Bring to a boil over medium heat, stirring once or twice. Bring to a boil and allow to brown. Once sugar has browned to a medium amber color, remove from heat and immediately add heavy cream and butter. Mixture will boil and foam. Stir well. Add salt and stir well to incorporate. Caramel may seem thin -that’s ok. Place in a bowl. Cover with plastic wrap and cool in the fridge for at least 2 hours until it’s pourable. If the caramel is too cold to be pourable after some time in the refrigerator, simple reheat very gently in a pan or in the microwave to your desired consistency.
- When the cheesecake is baked, turn the oven off and prop open the door with a kitchen towel to allow the cake to cool to room temperature. I find that cheesecake is best served after it’s rested a day in the refrigerator.
- Make the apples just before serving the cheesecake. To make the apples, place sliced apples, butter, and spices in a skillet. Cook over medium heat until the butter is melted and the apples are just beginning to soften, about 5 minutes. Remove from heat and allow to cool slightly before topping cheesecake.
- To assemble the cheesecake, remove the foil and springform pan circle. Place cake on a serving platter. You may find it easier to pre-slice the cheesecake before topping it! Top with crumbled oat topping. Top the oat topping with apples. Top the apples with a generous drizzle of caramel. Enjoy while the cheesecake is chilled. Cheesecake can be stored, well wrapped in the refrigerator for up to 4 days.


10 Responses
This looks so delicious! Also loving these photos!
xo Jessica
My Style Vita
This cake combines two of my favorites – cheesecake and caramel apple. Looks delicious!
How is the handheld mixer weight wise?
I need to find a lighter weight mixer.
This looks delicious. Have you ever tried to place your spring form pan in a crock pot liner then into the foil wrap. It helps keep the water from finding a spot to get into the pan. I haven’t tried it yet but think I will with this cheesecake.
It is really the best time of year. With this beauty I am ready for everything !
Made this for Thanksgiving and omg it was heavenly. Really soft fluffy cheesecake and it didn’t crack!!! A miracle. Everyone was in awe. Thank you!
Thanks for this recipe, Joy! I made it for Thanksgiving and it was a huge hit with my somewhat-picky family (Dad doesn’t like chocolate, little brother left off the apples). You’re the best!
Such a great recipe. The cake is looking yummy! I can’t wait to make that.i will try it today after going home. Thanks for sharing this article. Keep posting this type of recipes.. :)
So glad after knowing the recipe. Thank you for the recipe.
Thank you for sharing this amazing recipe, will surely give it a try.