Hi there! I’m just here to change your plans.
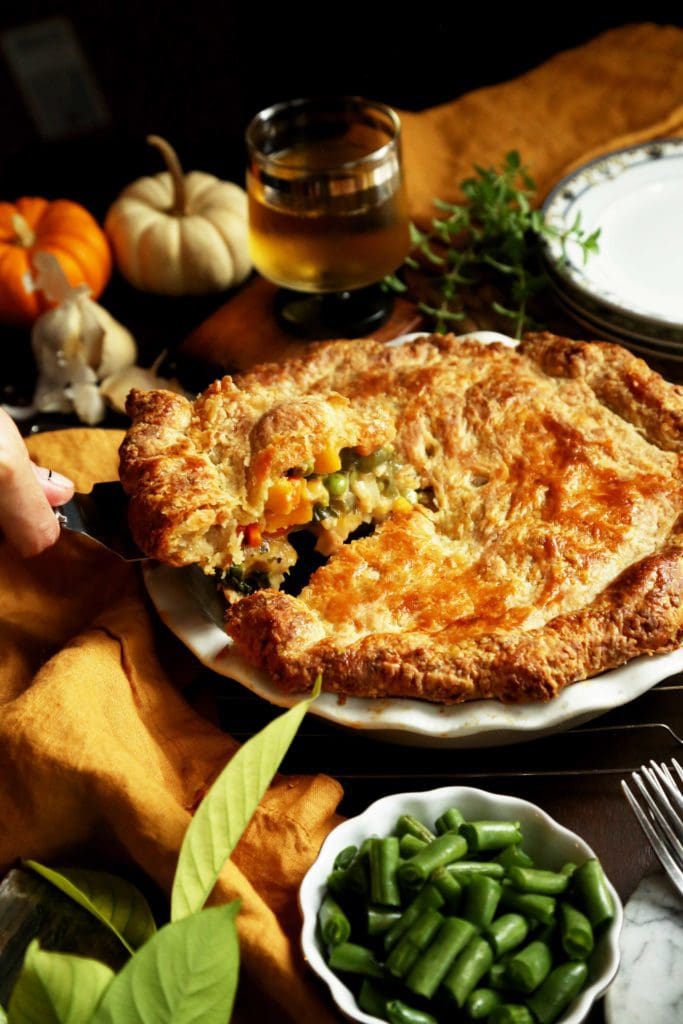
I figured your dinner plans consisted of your kiddo’s Halloween candy, or the Halloween candy that’s leftover from tricker-or-treaters, or the Halloween candy that you bought on sale at the drug store this morning (HI THAT’S ME!), but I’m here to suggest an alternative. It’s pie. It’s savory. It’s truly full of vegetables but balanced with enough butter to feel, well… complete. And that Halloween candy will be there when dinner is done. And this pie makes for some truly great leftovers. And you should need no more convincing.
It’s seasonal and savory pie for dinner, y’all! Look at us go (straight to the candy bucket for a snack before pie dinner).
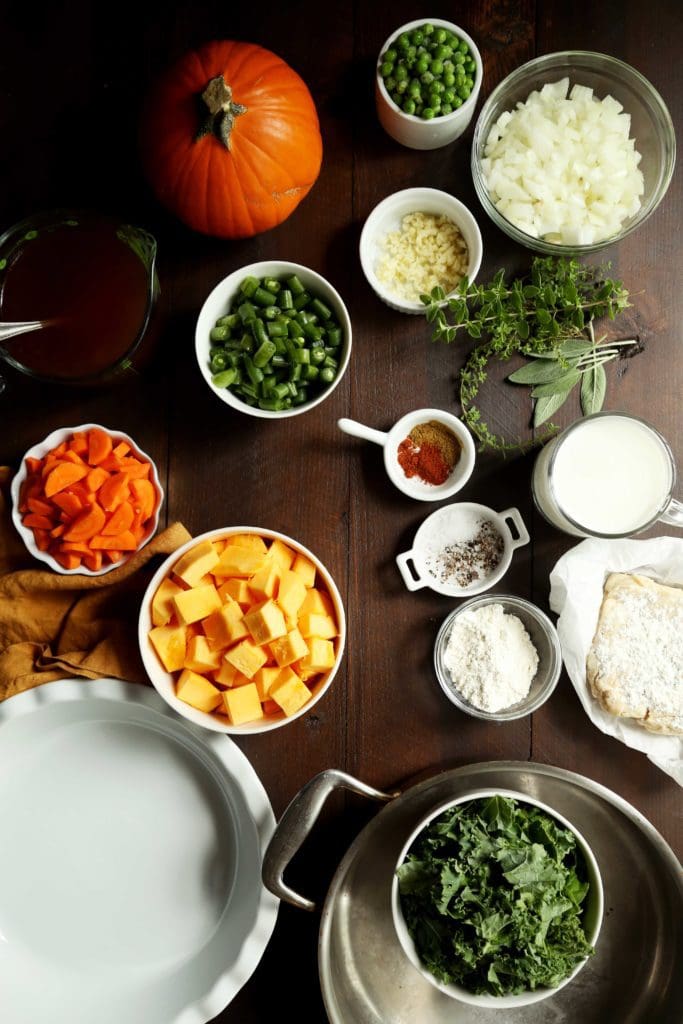
Here’s what you’ll need – it’s dinner pie!
• a small pumpkin. Probably not the pumpkin you carved for Halloween but something similar and small. You can also use a butternut or acorn or really whatever kind of squash feels festive to you. It’s Decorative Gourd Season – don’t make me tell you again.
• onions and garlic – where every good savory should pie should start.
• fresh herbs – I used thyme and oregano because it’s in my backyard growing like a weed.
• green vegetables – I used green beans, green peas, and a few handfuls of kale.
• spices like cumin and chili powder and whatever else feels warm and wonderful.
• flour for thickening.
• vegetable stock and whole milk.
• PIE CRUST – two rounds for top and bottom. Here’s how!
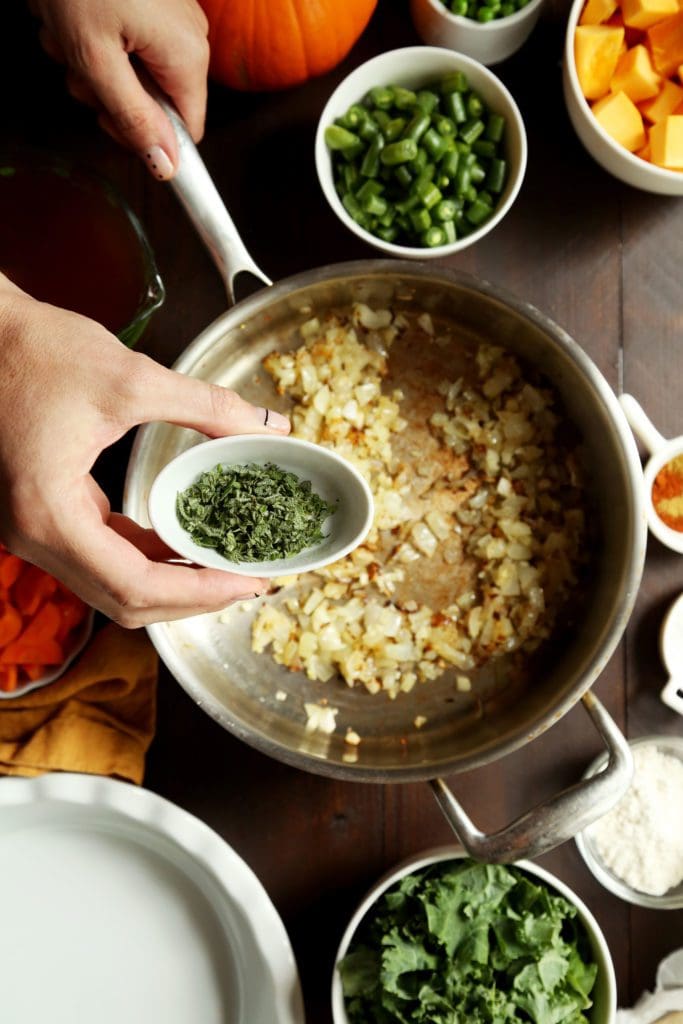
Onions and garlic and browned and softened in olive oil. They’re best when toasty – just before the onions start to crisp when they’re soft and just thinking about browning.
To the onions and garlic I like to add my fresh herbs (that thyme and oregano). The heat at this stage helps bloom the herbs more than adding them with the liquids.
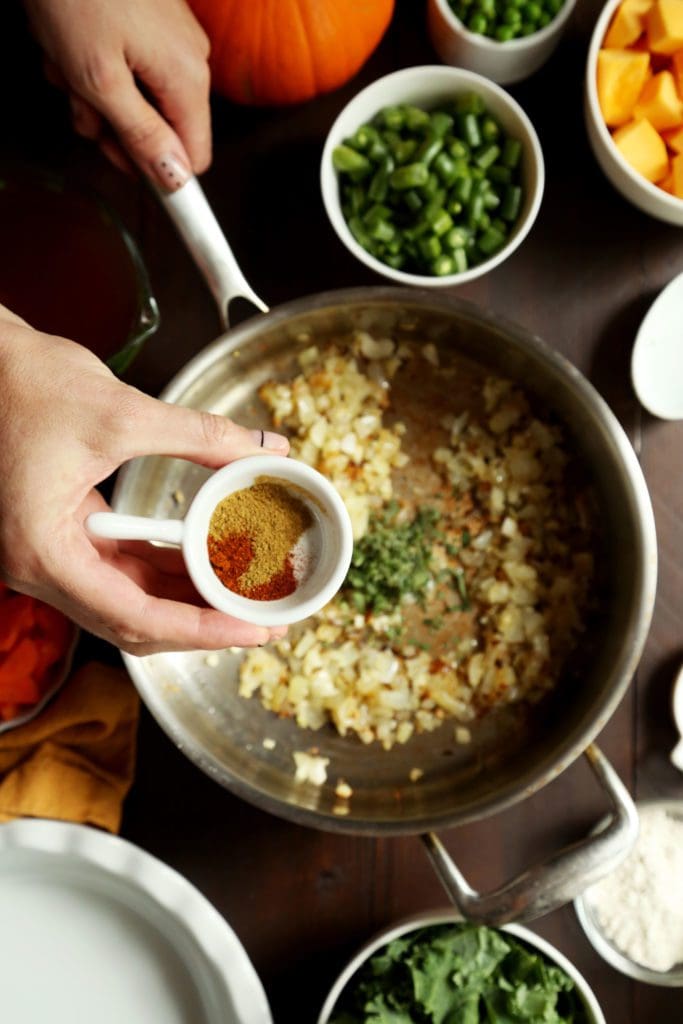
Now’s a good time for cumin and few shakes of chili powder and a few shakes of smoky paprika.
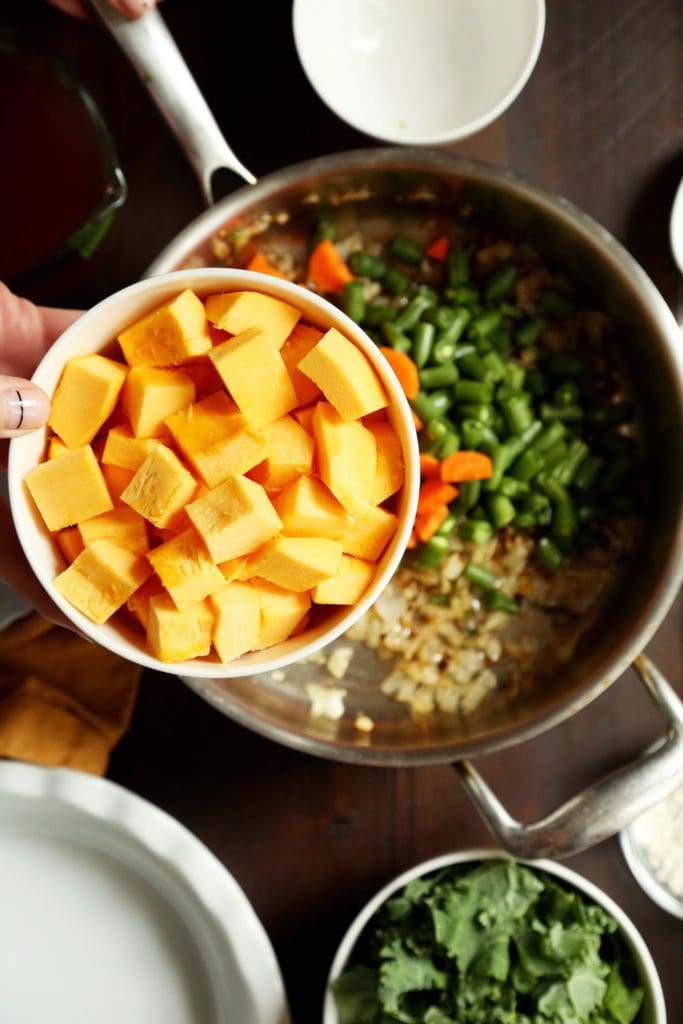
Add the hard vegetables to start to heat through – coxing them towards soft is a process.
Carrots + green beans + pumpkin chunks to start.
Toss the vegetables around the hot pan until all of the onions and garlic, herbs and spices are evenly dispersed.
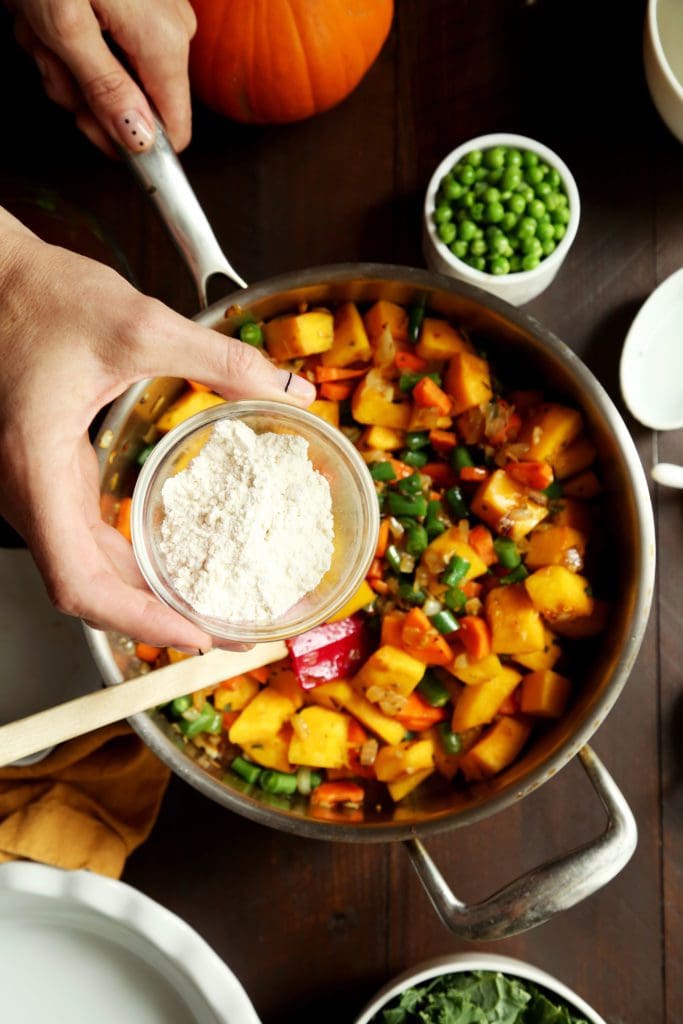
Sprinkle in some regular ol’ flour and toss to coat all the veggies. Things might feel a little gummy at this point but I promise you it’ll come together because we’re good like that.
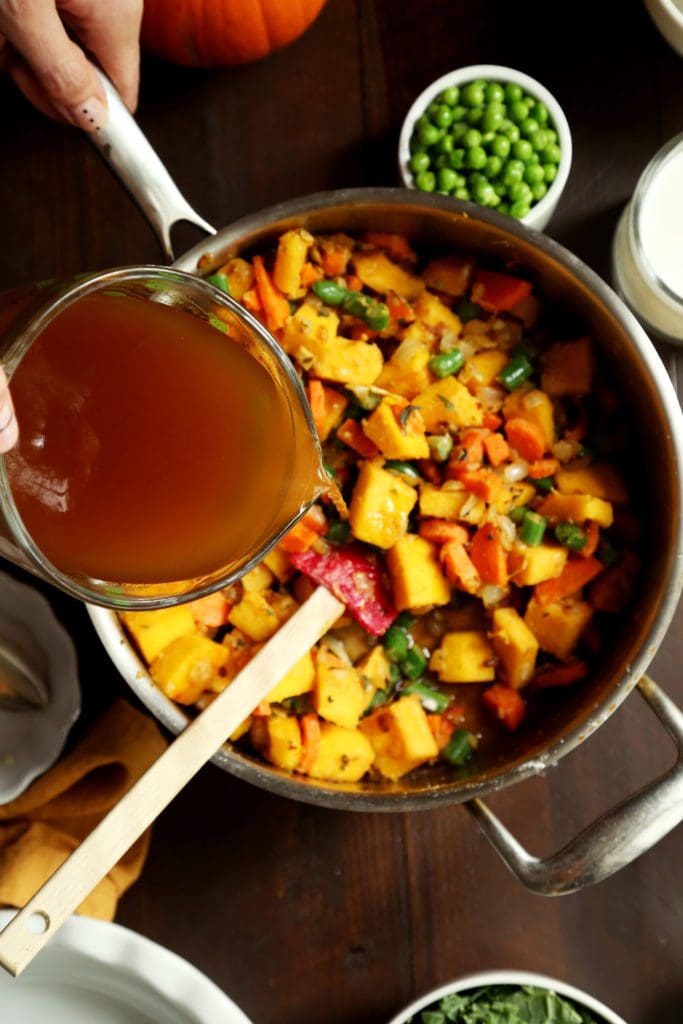
Warm vegetable broth, a slow stir and we can watch the flour do its duty and start to thicken this mixture.

Whole milk too – or any unsweetened milk alternative that tastes good to you. Creaminess is just an extra decadence that we flat out deserve.
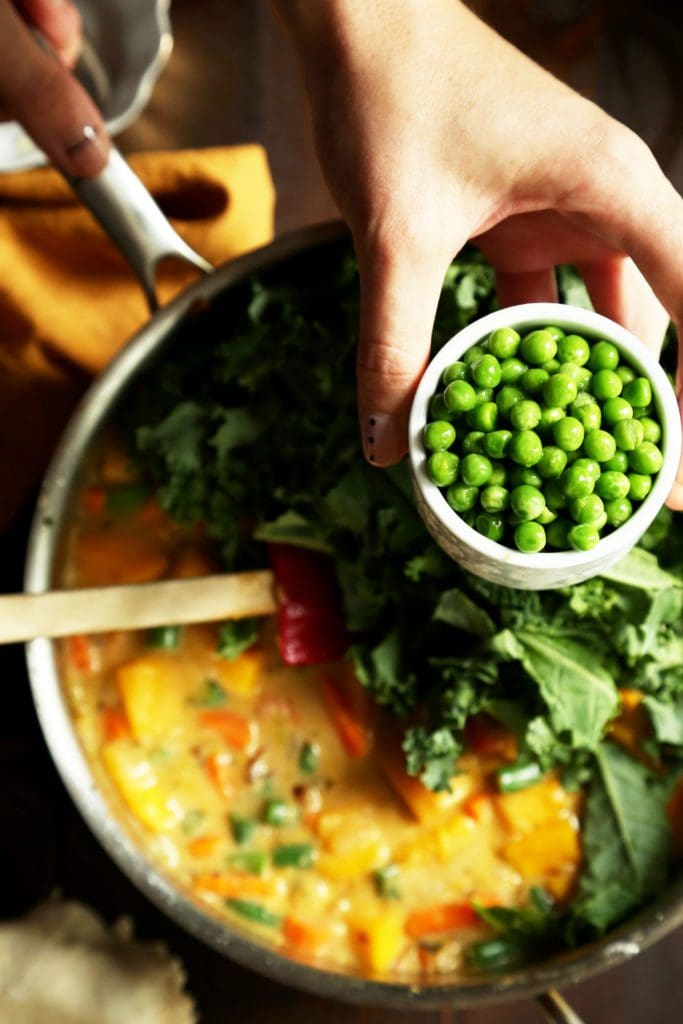
Once the liquids have simmered away for a few minutes, it’s time to add the softer greens: thawed peas and kale shreds. Just a stir will do.

The mixture should look like a thick stew, not too soup, not overly thick.

Roll out the pie crust and fill with the good stuff.
We’ve talked so much about pie crust that I know you’ve got this!

Brush the top crust with egg wash, sprinkle with sea salt and fresh cracked pepper.
Allow a few vent holes. Let’s allow ourselves some pride. Pop that thing in the oven and wait for the baked pie smells to seep out.

Photos with my dear Jon Melendez.
Print
Vegetarian Pumpkin Pot Pie
- Prep Time: 1 hour 30 minutes
- Cook Time: 30-35 minutes
- Total Time: about 2 hours
- Yield: serves 6-8 1x
Ingredients
For the Crust:
- 2 1/2 cup all-purpose flour
- 3/4 teaspoon salt
- 1 cup (2 sticks) unsalted butter, cold, cut into cubes
- 1/2 cup cold buttermilk
For the Filling:
- 2 tablespoons olive oil
- 1 small onion, diced (about 1 heaping cup)
- 2 garlic cloves, minced (about 1 tablespoon)
- 1 teaspoon fresh thyme leaves, coarsely chopped
- 1 teaspoon fresh oregano leaves, coarsely chopped
- 1/2 teaspoon each of cumin and chili powder
- 1/4 teaspoon smoky paprika
- 1 cup thinly diced carrots
- 1 cup diced fresh green beans
- 2 heaping cups pumpkin chunks, or any squash that you like
- sea salt and fresh cracked black pepper to taste plus more for sprinkling on top
- 1/4 cup all-purpose flour
- 1 1/4 cups vegetable broth
- 3/4 cup whole milk
- salt and pepper to taste
- 1 big handful coarsely chopped kale leaves
- 1/2 cup frozen peas, thawed
Instructions
- To make the crust, in a medium bowl, whisk together flour and salt. Add cold, cubed butter and, using your fingers, work the butter into the flour mixture. Quickly break the butter down into the flour mixture, some butter pieces will be the size of oat flakes, some will be the size of peas. Create a well in the butter and flour mixture and pour in the cold buttermilk. Use a fork to bring to dough together. Try to moisten all of the flour bits. On a lightly floured work surface, dump out the dough mixture. It will be moist and shaggy. That’s perfect. Divide the dough in two and gently knead into two disks. Wrap each disk in plastic wrap and refrigerate for 1 hour.
- To make the filling, start by dicing the onion, garlic, carrots, green beans, pumpkin chunks, and thawing the frozen peas. Set aside.
- In a large skillet over medium-high heat, warm olive oil. Add onions and saute until translucent, about 3 minutes. Add minced garlic and saute for one minute more. Add the fresh herbs and spices and stir to combine.
- Add carrots, green beans, and pumpkin chunks. Cook for about 10 minutes. The vegetables will not be entirely cooked through. That’s ok! Add a good pinch of both salt and pepper
- Sprinkle the flour over the vegetables. Stir until the flour disappears into the vegetables. Slowly stream in the broth and notice as the mixture begins to thicken. Reduce heat to low and stir in the milk. Allow to simmer for 5 minutes.
- Add the kale and peas and stir until the kale is wilted. Taste and add more salt and pepper if you’d like. Allow the mixture to cool while you roll out the crust.
- To assemble the pie, remove one of the pie dough disks from the fridge. On a lightly floured surface, roll dough out into about a 13-inch round. Roll the dough a few strokes, then use your fingers to move the emerging circle around the floured surface. This ensures that the dough isn’t sticking to the work surface. The circle won’t be perfect, that’s ok. Try not to get any tears in the rolled out dough, but if you do, they can be patched together with extra dough. When you roll the dough and you can see it start springing back, that means that the butter is warming and the crust shouldn’t be rolled out anymore. Gently lift the 13-inch round from the floured surface and center in a deep 9-inch round pie dish. Place in the fridge while you roll out the top crust.
- Roll out the top crust just as you did the bottom crust, moving the dough across the floured surface every once in a while, and creating a roughly 13-inch circle.
- Spoon the filling into the bottom pie crust.
- Carefully remove the top crust from the work surface and drape over the filling in the pie dish. With a small knife, trim the crust, leaving about 1-inch overhang. With your fingers press the top and bottom crusts together and fold under. Use a fork or your fingers to crimp the edges of the dough. Cut five small slits in the top of the crust so the steam can vent. Brush lightly with beaten egg, sprinkle with salt and pepper and place in the fridge to chill while the oven preheats.
- Place a rack in the center of the oven and preheat oven to 400 degrees F.
- Place pie in the oven bake for 10 minutes. Reduce the oven heat to 375 and bake for 15 to 20 more minutes, or until the crust is golden brown. Remove from the oven and allow to cool for 30 minutes before serving. Place covered in the fridge to store. Pie lasts up to 3 or 4 days and is super delicious.


26 Responses
Great photos – looks delicious!
Rebecca | http://www.peppermintdolly.com
Do you know how long I have looked for a vegetarian pot pie? A long time. I am making this over the weekend! Thank you!
Hello! This looks scrumptious! I would love to pin it to make when I have a day with time, but, unfortunately, some of your posts do not include the pretty “share” icon that lets me pin it to my board. Some posts do, some don’t….am I missing something?!? Thanks for all the wonderful work you do!
I have the same issue as Vicki. I would love to save this to make for our Christmas Eve dinner. Also, do you think it would freeze well, either baked or unbaked or would it be better just to bake it a few days ahead and reheat it. Thanks!
Looks great! Do you have any keeps for keeping the bottom crust from getting soggy? It looks like there’s a lot of liquid in there!
Oh my gosh, THIS! I actually just got back from a trip to Greece myself and have not been able to get into my usual fall/harvest mood. This pie just may be the key. I’m a big fan of savory pumpkin (not a fan of PSeverything #sorrynotsorry) and this is perfect. Thanks! Also… that crust. Yesssss.
OMG YUM!! Joy, I’ve been thinking and over thinking making a vegetable pot pie and now I absolutely have to. So delicious!
Just yesterday I was wanting to make something like this!! It took about 4 hours from the time that I saw the recipe to the time that I had started making pie crust. I would cook the veggies a little longer next time, but other than that, this was phenomenal! I’m definitely going to be making it again! It was the perfect dish to eat after all the sugar of Halloween!
I made this over the weekend and it was a hit. Kids totally approved. I used a mix of sweet potato and butternut squash because that’s what I had on hand and it was delicious. THANK YOU!
This is the tastiest pie ever! Thank you so much <3 <3 <3
I’ve been using your recipes for a few years now, but never commented on any blogpost before. I made this recipe over the weekend (5 mini pies) and it is hands down one of the best dishes I’ve ever tasted. Thank you so much for this and all the other fantastic recipes you’ve perfected and shared with us!
Question for you – can you substitute spinach for kale? Sadly my family is not a fan of kale. Or maybe broccoli (or cauliflower)? Thanks. Love your recipes!
Yes! Spinach would work just fine!
Made this for dinner tonight, it was delicious! I used cauliflower instead of green beans but still a huge hit with my family :)
I’m making this for Thanksgiving — yay! I’m sure I could make the piecrust on Wednesday and keep it refrigerated until I’m assembling the pie Thursday. My question is, do you think I can make the filling Wednesday and let it come to room temperature before assembling? Thank you!
I’m not Joy, but I would say yes you could probably do that. You could probably also assemble it and just bake it the day of. I’m not the author so I’m not the authority here but that’s just what my intuition says.
Thanks so much for your insight!! I got a little concerned thinking the bottom might get soggy if it sits, so I may just wait to assembly on Thursday. Thank you!
We made this for Thanksgiving today and it was absolutely delicious! Everyone loved it from the hardcore vegetarians to the meat eaters. Fabulous dish!
This looks and sounds incredible. Never disappointed with your recipes, I love easy recipes, especially when they turn out to be something my whole family loves!. This one also looks tasty.
I have made this pie at least five times now and it is delicious!! I love all the veggies in the pie and it is the perfect veggie pot pie for fall (or any time of year!). I look forward to making this for dinner!
I made this exactly as written, using cubes from a blue pumpkin from the local farm center. It tasted exactly like a pot pie of the 80’s, which some of us loved, and others said meh (12 year old). The crust was easy to work with and cooked up beautifully. If you are a pot pie lover, then I definitely recommend this!
I crave this pot pie every fall! It’s the perfect, comforting meal that I come back to again and again.
I just made this for the first time and can’t believe how good it is. I’ve never had crust turn out this perfectly flaky! Thank you, Joy!!
Can this be made any days in advance?
Hello! The filling can be assembled beforehand, and the crust can be made in advance. I think I would wait to assemble and bake the pot pie until the day you serve it. Tops, I think 2-3 days in advance would be okay!
I just made this today after bookmarking it and eyeing it for a few weeks, and wow this is so good. The crust was so perfect and the flaky layers were so pretty and tasty. I love this! Also the first time I’ve successfully made a double-crust, yay! The only difference is I used leftover turkey broth I had in the fridge instead of vegetable and I used a kabocha pumpkin. Highly recommend!