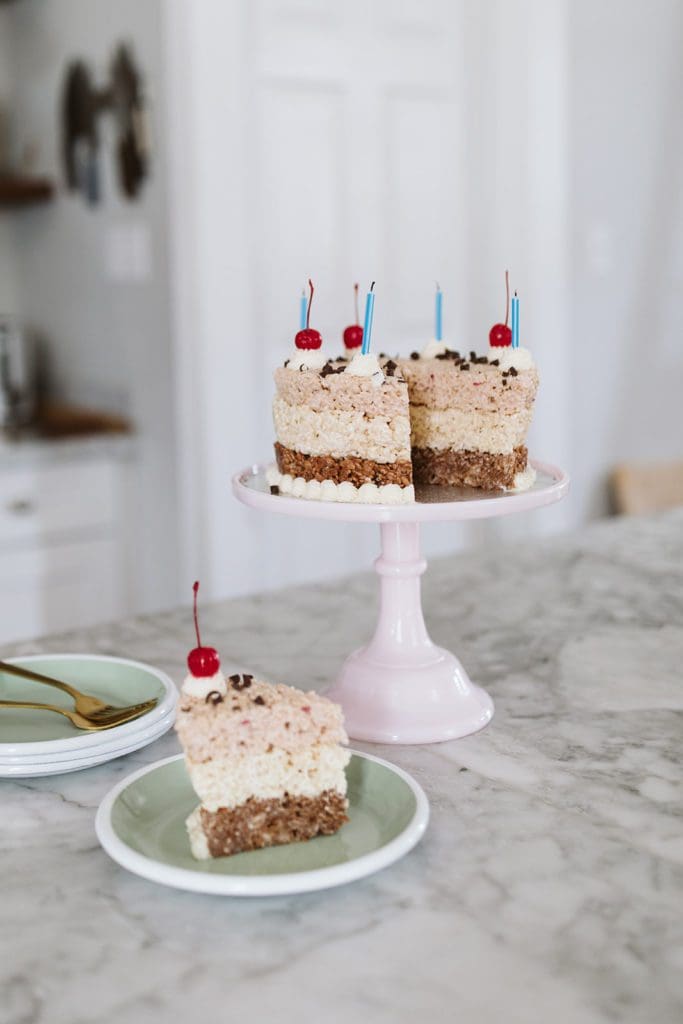
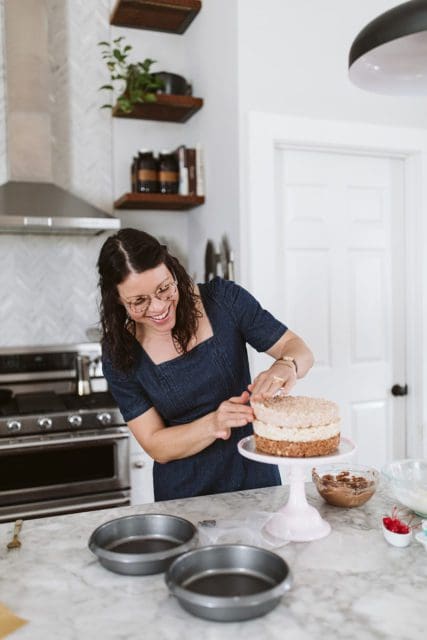
Today we’re making one fine hack of a birthday cake: The No-Bake Birthday Cake aka Rice Krispie Cake. It might feel like cutting baking corners but it’s a stunner of a cake!
I do have the best of intentions. It’s best to assume positive intent, right? Even of yourself.
Over the past year I’ve noticed a commonality in the apps that have made home on my phone. There’s an app to help me be a better runner (be a runner at all, honestly). There’s an app to help me meditate, an app to help me sleep, an app to talk me through a few yoga poses. In this year of solitude, I can’t be the only one who has taken to technology to pep talk me through the day to day.
All of these helpful apps have something in common. Each one has a ‘but I don’t feel like it” option. There’s a twenty minute guided run called “I Don’t Feel Like Running”. There’s a “But I Can’t Meditate” guided chill out. There’s an “I Don’t Have Time For Yoga” five minute flow. It’s so funny to me – let’s just acknowledge the utter I Don’t Feel Like It of it all…. and maybe do it anyway.
This is our “I Don’t Feel Like Baking” Birthday Cake because sometimes that’s just the truth of it. If I don’t feel like baking I bet I can must the feel-like-it to microwave marshmallows with butter and stir in cereal. That, a cake can make!
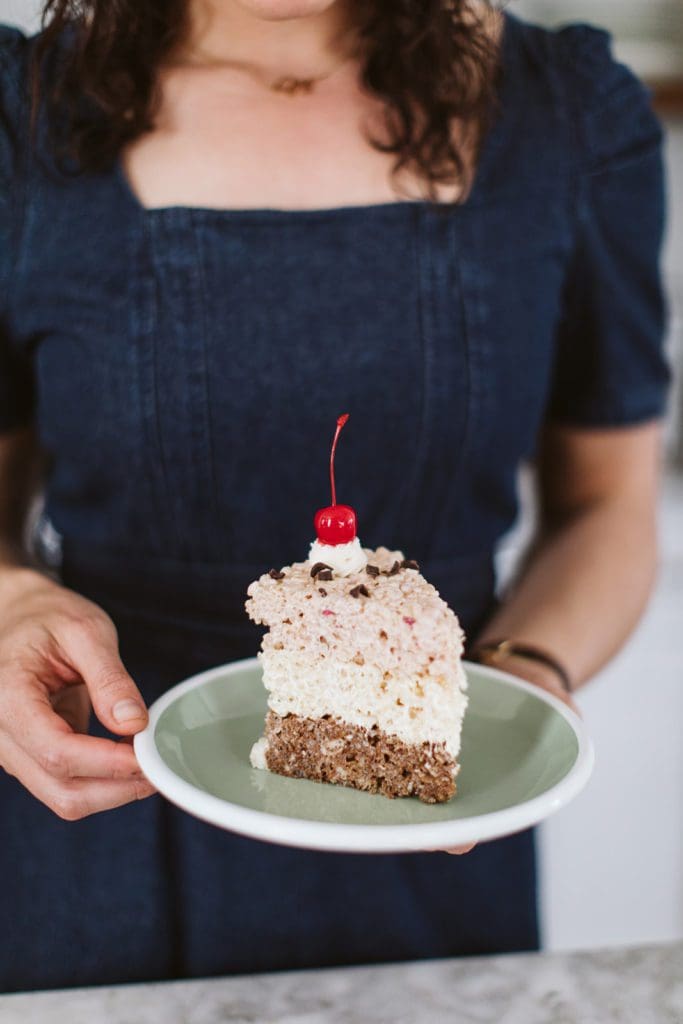
The tremendous news is that this cake is also an incredibly clever little show stopper. Three layers of Rice Krispie Treats, Neapolitan in flavor, crispy sweet, old fashioned and new fangled.
This cake is the most fun! I loved making this cake for you. Find the press, dollop, and feel-like-it steps below.
These photos assume that you feel comfortable mixing together Rice Krispie batter. If you’d like more of a step-by-step, see: Browned Butter Peanut Butter Rice Krispie Treats.
Here’s what you’ll need to make this No-Bake Birthday Cake:
• 2 bags of big fluffy marshmallows and one box of rice krispie cereal.
• one stick (or half a cup) of unsalted butter
• 2 ounces of dark chocolate, a splash of vanilla extract, and 1/2 cup of dehydrated strawberry powder (made from dehydrated strawberries whirled in a spice grinder)
You’ll want three 8-inch round baking pans, some nonstick cooking spray or extra butter for greasing the pan, and three strips of parchment paper.
For extra glamor, a piping bag with a star tip, some buttercream frosting, chocolate shavings, maraschino cherries or fresh strawberries, and birthday candles!
I had the audacity to lean all the way into my laziness and melted by butter and marshmallows in the microwave before stirring together, adding the cereal, and pressing into the greased round pans.
If you prefer the stovetop, I absolutely support you. It’s your journey to krispie treats. Keep it easy.
For the chocolate layer I melted butter and chocolate in a bowl in the microwave before adding the marshmallows and microwaving again. Stir until uniformly chocolate.
For the strawberry layer I stirred the powder and food coloring (if using) into the melted marshmallows until evenly pink and delightful.
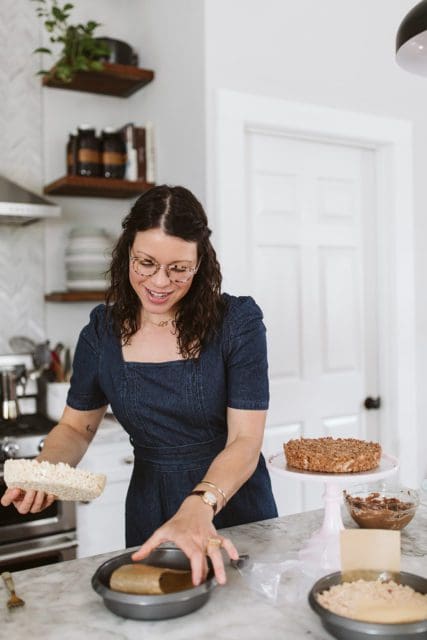
Press each flavor of krispie into a greased pan and allow to rest (uncovered is fine) in the refrigerator for 30 minutes, until just set but not entirely chilled through.
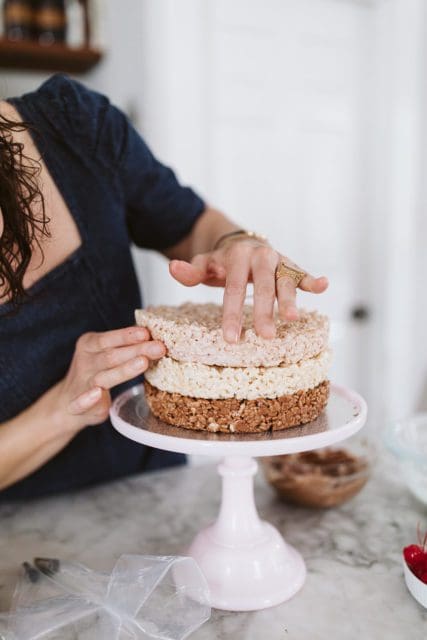
Let’s build this Rice Krispie Cake!
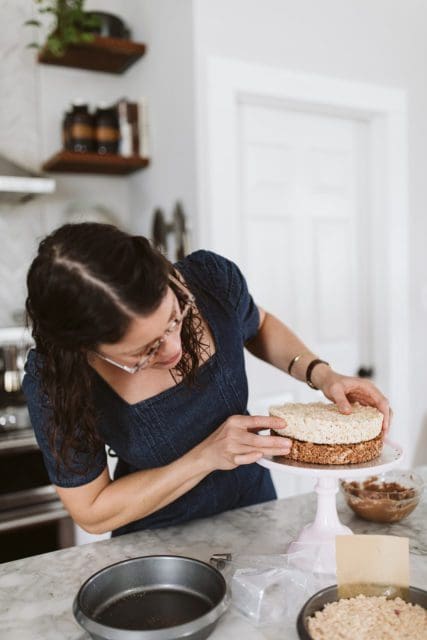
Start by removing the chocolate layer from the pan and place in on a cake stand or cake platter, top side up. Add the vanilla layer, top side up and use clean hands to press the layers together.
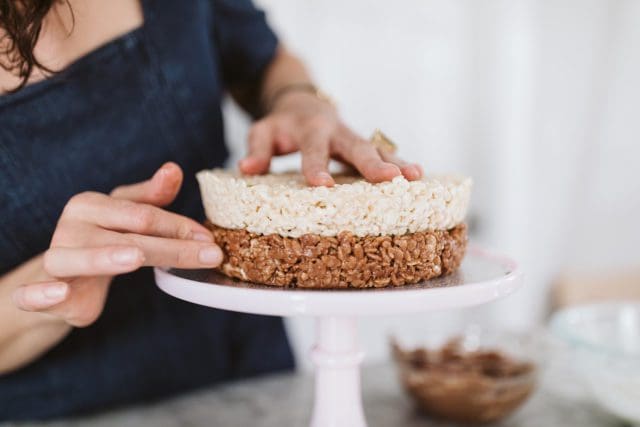
I add a little pressure to the top vanilla layer and press the sides of the cake together to meld the two flavors.
Add the strawberry layer and press and mold the cake just the same. The krispie layers are chilled and set but still moldable so don’t be afraid to press them together. The sugar will stick.
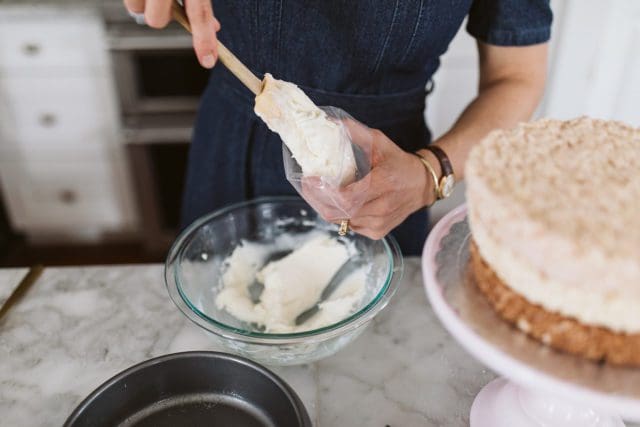
Spoon buttercream frosting into a piping bag fitted with a start tip. I used Wilton 32 start tip.
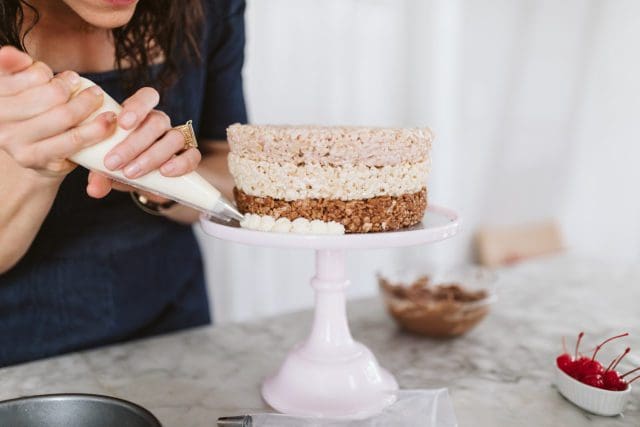
Dot the edge with a buttercream border around the No-Bake Birthday Cake.
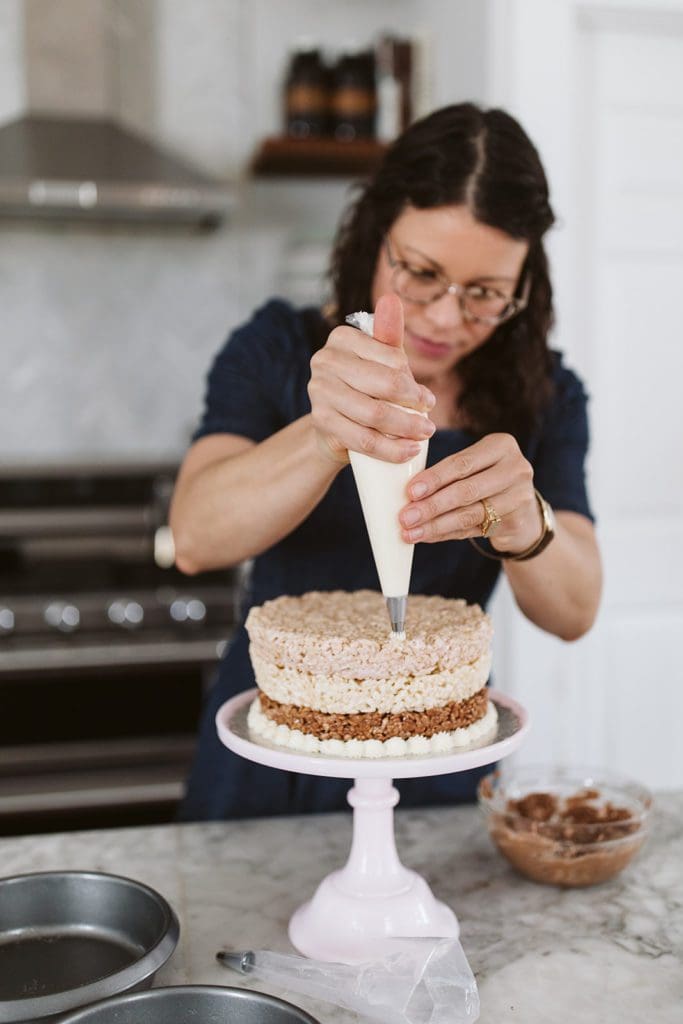
And dollop the top with buttercream stars.
Really add buttercream flourishes in any way you’d like!

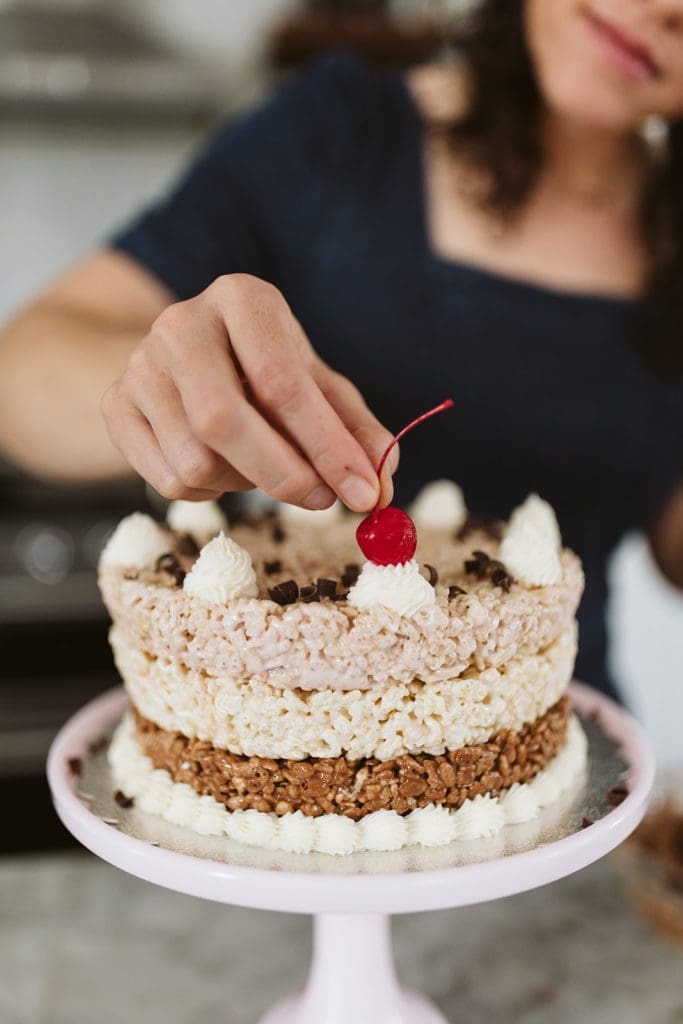
Sprinkle with chocolate shavings and decorate with maraschino cherries or slices strawberries.
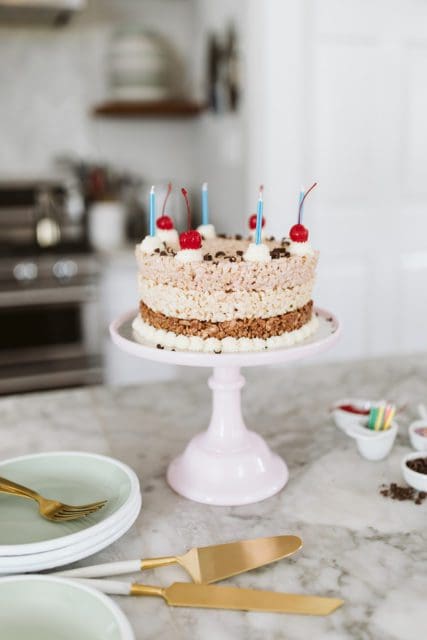

Add candles. It’s just the sweetest thing, right?
Allow the Rice Krispie Cake to set in the refrigerator for 30 minutes or so. Slice and celebrate!
Print
The Neapolitan No-Bake Birthday Cake
- Prep Time: 20 minutes
- Cook Time: 1 hour rest time
- Total Time: 0 hours
- Yield: 8-12 nice slices 1x
Description
Classic rice krispie treats flavored with chocolate, vanilla, and strawberry stacked into a festive no-bake layer cake. It’s old-fashioned, new-fashioned downright fun dessert times!
Ingredients
For the Cake Layers:
- 8 tablespoons (1 stick, 113 grams) unsalted butter, divided into three equal pieces
- 2 (12 ounce) bags large marshmallows, divided into 3 8-ounce portions
- 1 (12 ounce) box Rice Krispies cereal, divided into 4 heaping cups for each flavor
- 2 ounces (58 grams) semi-sweet or bitter-sweet chocolate, coarsely chopped
- 1/2 cup (23 grams) dehydrated strawberry powder (made from freeze dried strawberries in a spice grinder)
- a few drops of red food coloring (optional)
- a splash of vanilla extract
- 3 pinches of salt
For the Decoration:
- 8 tablespoons (1 stick, 113 grams) unsalted butter, at room temperature
- 2 cups (224 grams) powdered sugar
- 1-2 tablespoons whole milk
- Maraschino cherries
- Sliced strawberries
- Sprinkles
- Candles
Instructions
Grease three 8-inch round cake pans with butter. Line the bottom of each cake pan with parchment paper and grease the paper as well. If you don’t feel like cutting parchment paper rounds, cut three 4-inch parchment paper strips and place each strip in a cake pan so it hangs over the edges a few inches. This will make it easier to lift the krispie layers out of the pan. Set aside.
(We’ll make three layers of krispie treats, one at a time. You can either make the melty marshmallow mixture in a small saucepan over medium heat or in the microwave.)
- First make the chocolate marshmallow mixture. In a small bowl in the microwave or small saucepan melt together one portion of butter and all of the chocolate. Add the marshmallows to the melted butter and chocolate and microwave for 1 minute to 1:30 seconds or stir in the saucepan over low heat until melted.
- Place 4 cups of rice krispie treats to a medium bowl. Pour the melted chocolate marshmallow over the cereal. Add a pinch of salt and stir until evenly coated and combined. Press into one of the prepared pans. (Wet your fingertips and press the sticky krispies into the edges of the pan.) Place in the refrigerator while you make the other layers.
- Make the vanilla layer in the same way, adding a splash of vanilla extract. Place in the refrigerator while you make the final strawberry layer.
- Melt the final third of butter and marshmallows until soupy, sticky and smooth. Dust the strawberry powder (and a few red food coloring drops) atop the melted marshmallow mixture and whisk until well combined. If you’re using food coloring, mix in a few more drops than you think you need. Stir in the cereal and press into the prepared pan like the other two cake layers.
- Allow all of the cake layers to rest in the refrigerator for 30 minutes until just set.
- While the cakes set, make the buttercream. In a medium bowl with electric hand beaters, beat together softened butter, powdered sugar, and a splash of milk. Whip until smooth. Add any food coloring you might like. Spoon buttercream into piping bag with a Wilton 14 star tip.
- To assemble the cake remove the layers from the refrigerator. Place the chocolate layer on a cake plate or cake stand top side up. The krispies will still be slightly soft – that’s great. Remove the vanilla layer from the pan and place top side up on the chocolate layer. Use your clean hands to press and mold the layers together. Do the same with the final strawberry layer.
- Dot the cake with buttercream. Add a border to the bottom edge of the cake. Add cherries or strawberries. Add sprinkles or candles. Allow the cake to chill for 30 minutes before serving.
- To store, cover loosely in plastic wrap and store either at room temperature or in the refrigerator.
Notes
If you don’t like strawberry or chocolate, you could make a peanut butter layer by subbing 1/4 tablespoon peanut butter for chocolate chunks or strawberry powder.
Pictures with Hannah Pickle.


5 Responses
So yummy!!
Very cute idea, love your creativity Joy. Your smile says it all; lovely.
I have a friend who can’t eat eggs. I always make Rice Krispie treats for her. Now I can make a cake
! Thank you. Be well and stay safe
Wow, this cake looks delicious. I would love to try this soon.
Thank you Joy for this recipe!. Made it for my son’s 22nd bday who prefers rice cripy treats over cake any day! Made other rice crispy treat concoctions for years and by far this is the best one I’ve ever made! Fyi, a greased up 9″ spring form pan worked well too!