I’m gifting you one last offering for your Thanksgiving dessert table, and it has nothing to do with pumpkin or sweet potato. Last week I wanted to make a birthday dessert for my friend, Trevor. If you follow along here intently, you know Trevor help me shoot Bakehouse classes and is generally a wonderful friend. Since he’s always watching me bake, we talk a lot about his favorite nostalgic desserts and whether or not I can recreate them. Last Christmas Trevor texted me a picture from his mom’s church cookbook with a recipe for his favorite French Silk Pie. It was a simple pie with a store-bought crust and Cool Whip topping and looked JUST RIGHT. I tucked that French Silk Pie recipe away brought it out last week for Trevor’s birthday.
Because I’m me, I made pie crust from scratch and a combination of Cool Whip and fresh whipped cream. It was divine and I mean that quite literally.
I’m making another pie this week for Thanksgiving. I only got one piece last week and have been hankering for another ever since.
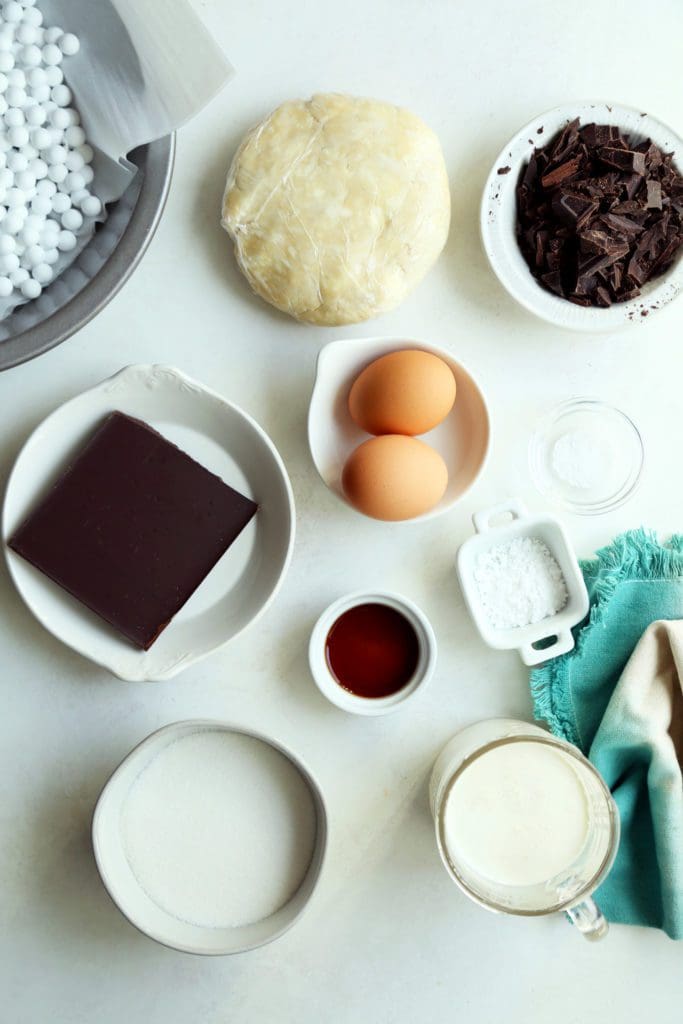
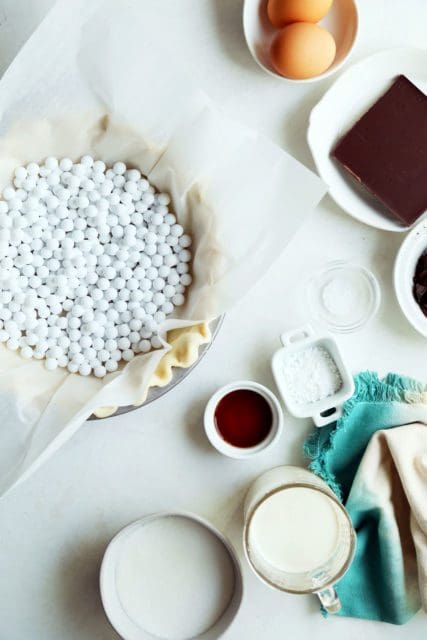
Here are the ingredients you’ll need for this French Silk Pie recipe:
• a single disk of all-butter pie crust
• granulated sugar and powdered sugar
• eggs
• unsweetened chocolate
• unsalted butter
• vanilla extract
• heavy cream
• pie weights (which can be store bought or dried beans or granulated sugar), a pie tin, and parchment paper
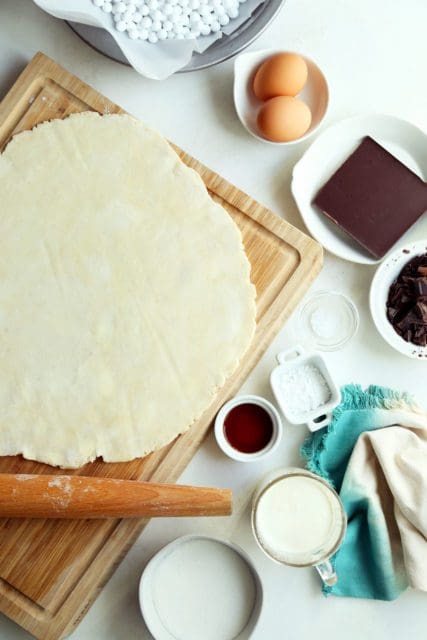
Start by making a butter pie crust. Make two pie crusts for future pies if you’re feeling ambitious. I stick with this technique for making all-butter pie crust by hand. The one difference with this pie crust is that we’ll blind bake it after a long chill in the refrigerator. Blind baking means we’re baking the crust to golden crisp with no filling in it. We’ll use pie weights or dried beans to weigh the pie crust down as it bakes.
Blind baking takes can be a little touch and go. I find that King Arthur Flour has a good tutorial on the matter.
My tips:
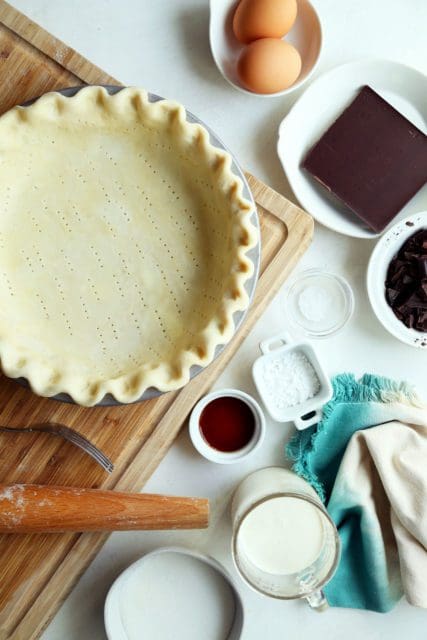
• Freeze the pie dough in the pie tin while the oven preheats.
• Dock the bottom and sides of the crust. That means prick the crust with the tines of a fork.
• Line with parchment paper and fill to the absolute brim with pie weights or beans. The tippy top of the crust edges is how high you want the weight to keep the crust from sinking.
• Preheat a baking stone in the oven and blind bake the pie crust on top of the stone. It will help the bottom of the pie crust bake to deep golden.
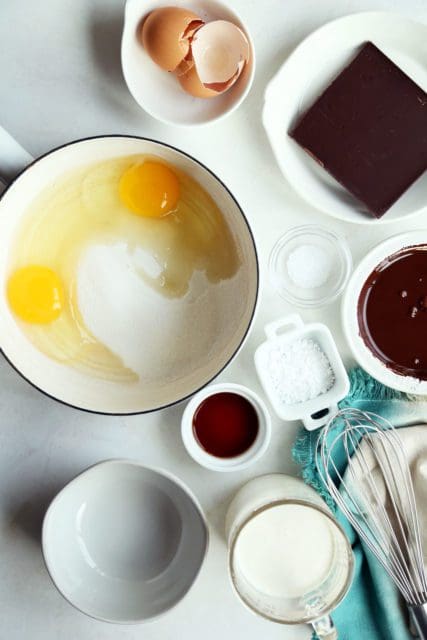
While the crust bakes, let’s make the chocolate pie filling.
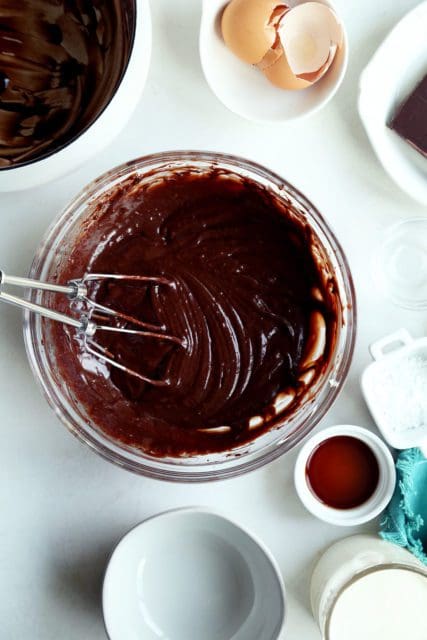
Start by whisking eggs and sugar in a medium saucepan over medium-low heat. We won’t cook this pie filling so this step makes the raw eggs safe for consumption. Cook the eggs to 160 degrees F whisking constantly. Be patient here, don’t boost the heat to speed up the process. You don’t want to cook the eggs to a sugary scramble.
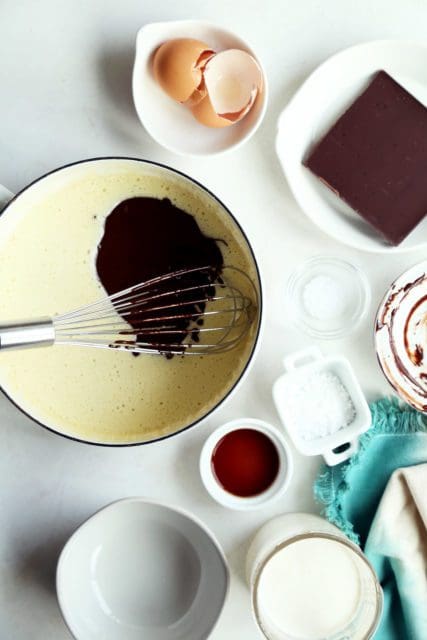
We want this French Silk Pie recipe to be chocolate, of course. After the eggs come to temperature, pour in melted chocolate, a pinch of salt, and vanilla extract and whisk to combine. The mixture will feel like it thickens and tightens some – that’s right. Whisk to glossy smooth and allow to cool to room temperature.
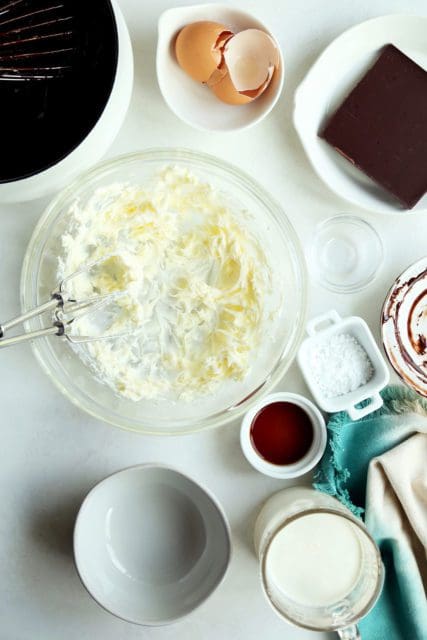
Once the chocolate cools, whip unsalted butter in a medium bowl just to ensure that it’s super well softened and spreadable.
Add the melted chocolate and egg mixture and whip on medium speed for about 5 minutes to thick and well combined.
The cooled chocolate mixture will feel like a sticky, glossy chocolate wonder.
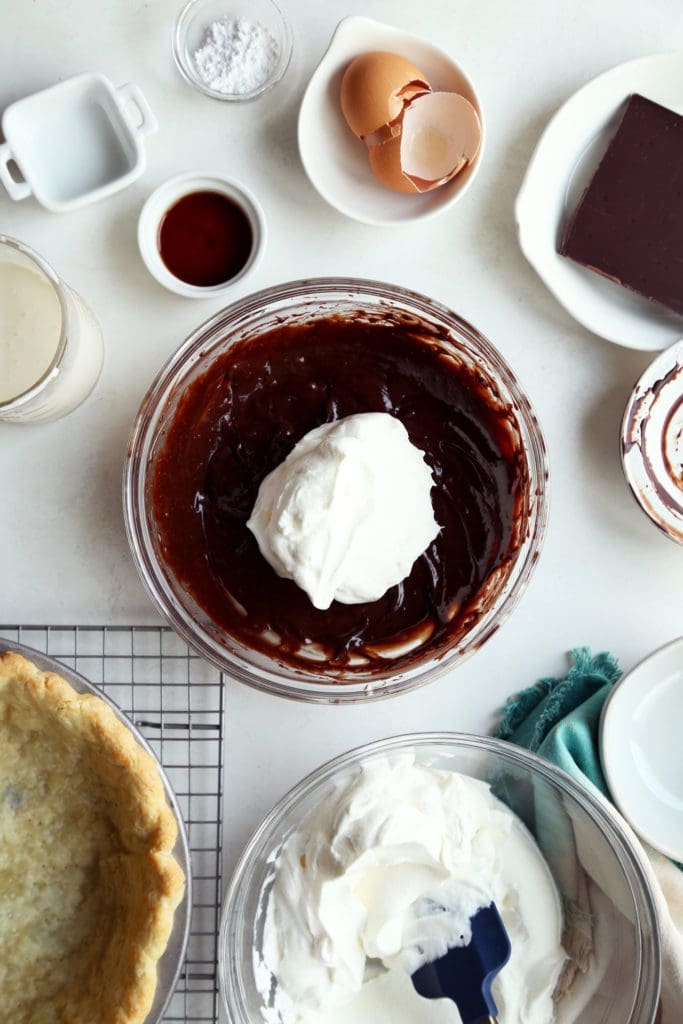
We’ll lighten it with softly whipped, very lightly sweetened cream. Gently fold in the whipped cream in three batches to keep from deflating the cream.
Note: for Trevor’s pie, I used COOL WHIP like his old school recipe called for. Loved it!
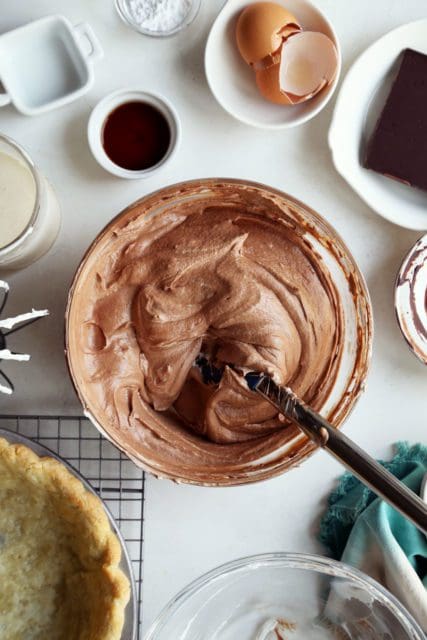
What emerges is a light and fluffy chocolate mousse you’ll want to eat by the spoonful. The taste is just beyond!
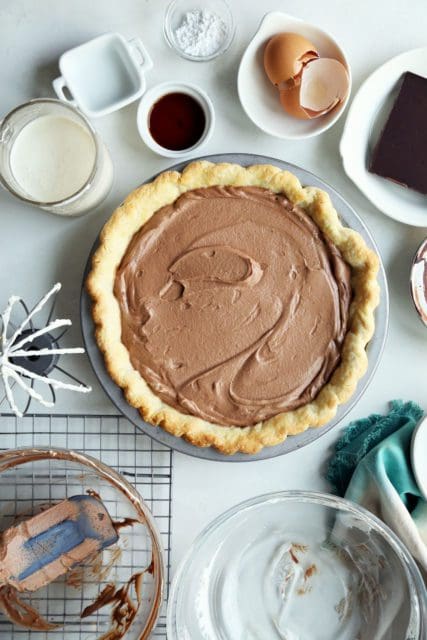
Instead though – spoon the chocolate mousse into a cooled baked pie crust.
Don’t cheat and spoon into a warm crust – you don’t want a melty layer of mousse that would be a bummer.
I refrigerate the pie for 2 hours, loosely covered with plastic wrap.
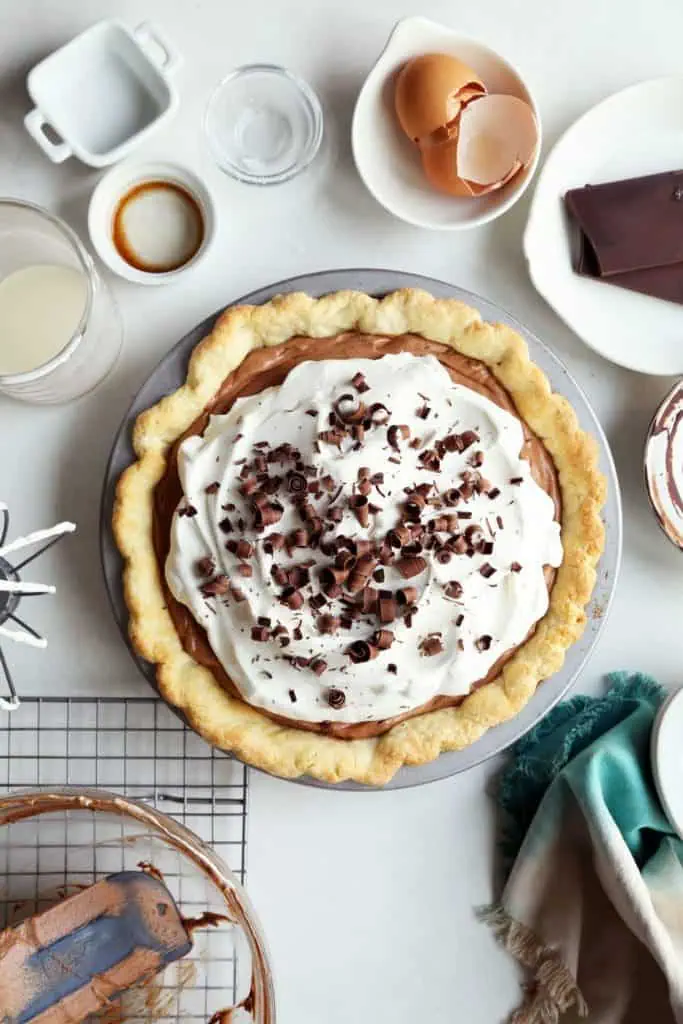
After the pie chills, top with lightly whipped cream and garnish with chocolate curls.
Refrigerate the pie until ready to serve.
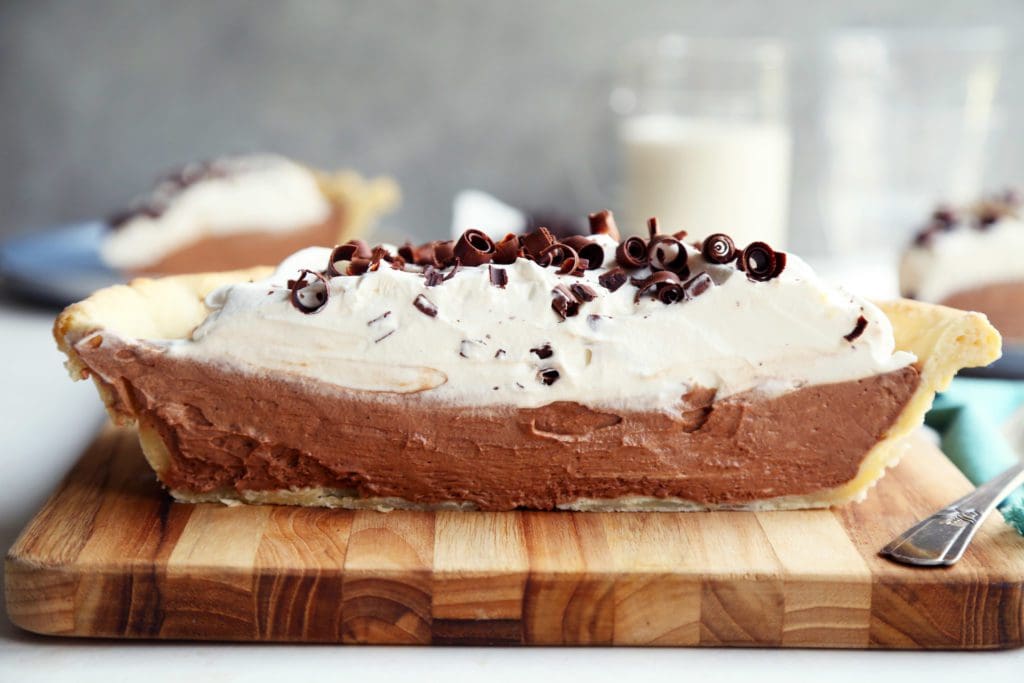
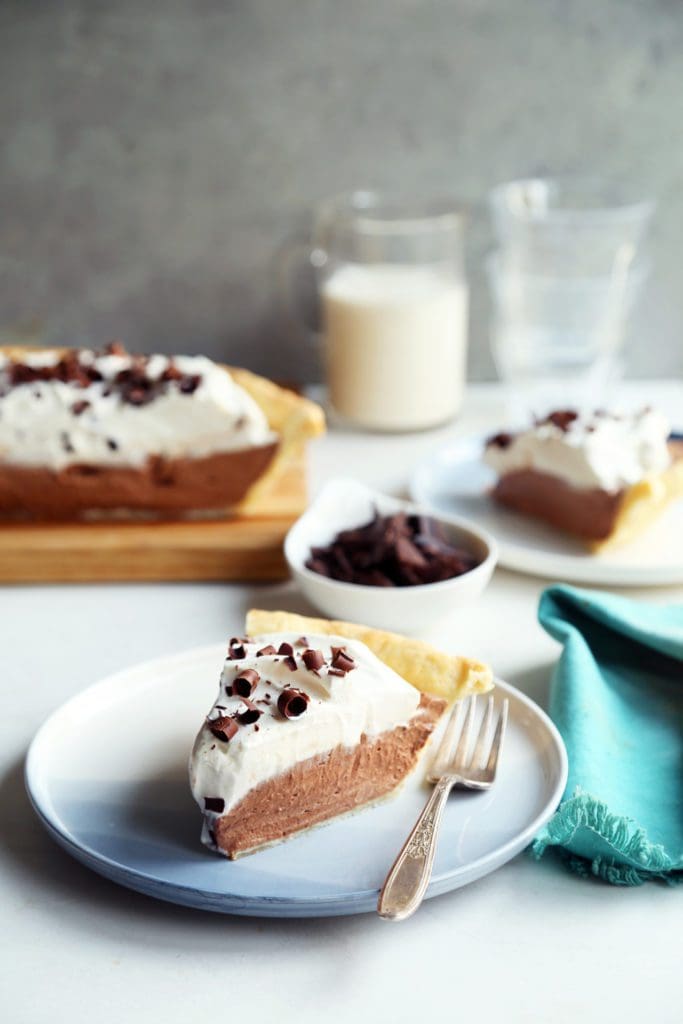
Look at this wonder of a pie!
A perfect slice. It’s so light and flavorful, you’ll want a second slice with your first bite.
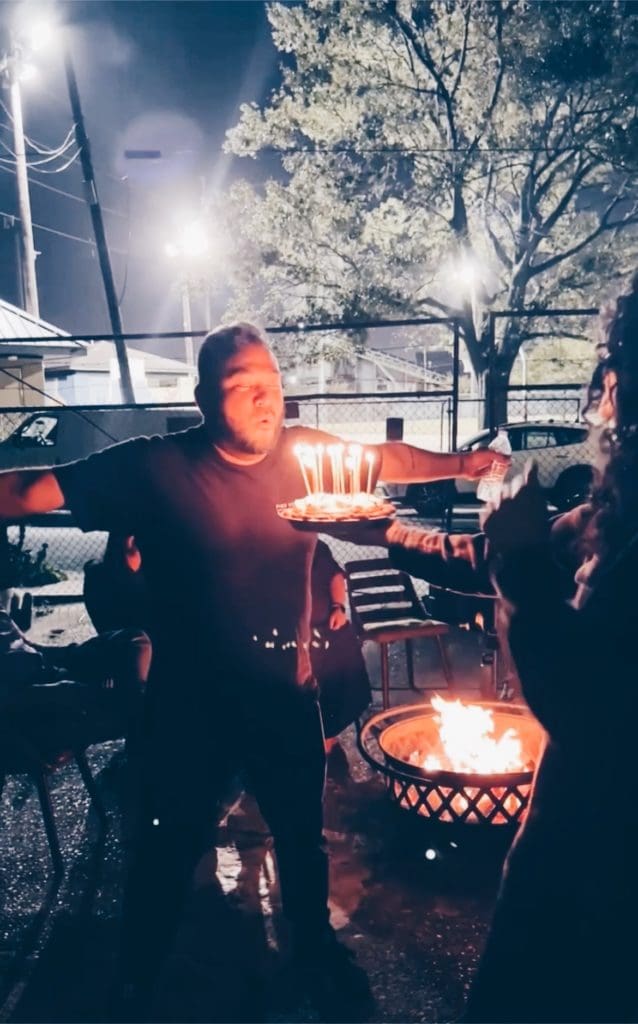
Photos with Jon Melendez.
Inspiration from Trevor Ekanger for his 35th birthday.
Print
Classic French Silk Pie
- Prep Time: 1 hour 45 minutes
- Cook Time: 15 minutes
- Total Time: 2 hours
- Yield: 1 9-inch pie 1x
- Category: dessert, holiday
Description
Buttery crisp crust filled with fluffy chocolate frosting and topped with vanilla whipped cream and chocolate shavings.
Ingredients
For the Crust:
- 1 1/2 cups all-purpose flour
- 2 teaspoons granulated sugar
- 3/4 teaspoon kosher salt
- 1/2 cup (1 stick) unsalted butter, cold and cut into small cubes
- 1/3 cup cold buttermilk
For the Filling:
- 2/3 cup granulated sugar
- 2 large eggs, at room temperature
- 2.5 ounces unsweetened chocolate, melted and cooled
- 1 teaspoon pure vanilla extract
- Pinch of kosher salt
- 1/3 cup unsalted butter, softened to room temperature
- 1 cup heavy cream + 1 teaspoon powdered sugar whipped to medium stiff peaks (or sub 8 ounces thawed Cool Whip)
For the Topping:
- 1 cup heavy cream
- 2 teaspoons powdered sugar
- Splash of vanilla extract
- Chocolate curls
Instructions
- First make the pie crust. In a medium bowl, whisk together flour, sugar, and salt. Add cold, cubed butter and, using your fingers, work the butter into the flour mixture. Quickly break the butter down into the flour mixture, some butter pieces will be the size of oat flakes, some will be the size of peas. Create a well in the butter and flour mixture and pour in the cold buttermilk. Use a fork to bring to dough together. Try to moisten all of the flour bits. On a lightly floured work surface, dump out the dough mixture. It will be moist and shaggy. Add a teaspoon more buttermilk if the dough feels dry. Shape into a rough disk and refrigerate for at least an hour.
- We’ll blind bake the crust for this pie. That means we’ll cook it completely without filling. Roll the pie crust to a thick 1/4-inch thickness and transfer to 9-inch pie dish. Fold excess dough under and crimp the edges. Dock the bottom and sides of the crust (that means pierce it with the tines of a fork) and refrigerate.
- Place a rack in the center of the oven and preheat oven to 425 degrees F. Lightly grease a sheet of parchment paper with nonstick spray. Place spray side down into the prepared pie crust. Fill with dried beans or pie weights to the very top of the crust. Bake for 15-17 minutes until the edges of the crust begin to brown. Remove from the oven and carefully lift the parchment and all of the beans out of the pie and into a large bowl. Yea – this is dicey. Return the crust to the oven and bake for another 8-11 minutes until the crust is golden brown and baked through. Remove from the oven and allow to cool completely before filling.
- To make the filling, in a medium saucepan over low heat whisk together granulated sugar and eggs. Whisk near constantly until the mixture reaches 160 degrees on a candy or fry thermometer. This took me about 10 minutes. Whisk constantly to ensure the eggs don’t cook. This will ensure that the raw eggs are safe to eat.
- Remove from heat and whisk in the melted chocolate and pinch of salt. The mixture will thicken and seize a bit. Just keep whisking until glossy and smooth. Set aside to cool to room temperature.
- In a medium bowl, use electric hand beaters to beat butter until fluffy. Add the cooled chocolate mixture and beat on medium speed until butter disappears and the mixture is thick and glossy. When mixture is absolutely cooled to room temperature fold in the whipped cream or Cool Whip in three batches being careful not to deflate the cream or whip too much with stirring.
- Transfer the chocolate whip to the cooled pie crust and smooth the top.
- To make the topping, whip heavy cream, powdered sugar, and vanilla extract to soft peaks that hold their shape. Spoon over the prepared pie. Top with chocolate shavings. Allow the pie to set in the refrigerator for 2 hours before serving. Pie can be stored in the refrigerator overnight. Store any leftovers in the refrigerator for up to 3 days.


21 Responses
It’s a dremy pie!! I also am the friend that makes pie for birthdays :)
Thankes for the recipe.we don’t have here buttermilk.what can i use instead?
You can use cold water or one of these buttermilk substitutes: https://joythebaker.com/2013/11/baking-101-the-best-buttermilk-substitutes/
The filling might not make it to the Thanksgiving table tomorrow. Shamelessly eating it out of the bowl after a marathon cooking day. Worthy of being a “birthday pie” :)
Did you really mean at the end to “let the pie set in the oven for two hours”?
I certainly confused oven and fridge. :)
I don’t think you really wanted the description in the recipe section to say “filled with chocolate frosting”, did you? :)
Can’t wait to try this! Thinking you meant unsalted butter for the filling, rather than unsweetened? Hope you have a happy Thanksgiving!
Blerg! Unnsweetened and unsalted. :)
How far in advance can this be made? Or can I bake the crust and make the filling separately and then combine them day of?
You can make all of the ingredients the day before, keep separate, and assemble up to 6 hours before serving. That’s for peak goodness. Leftover of this pie are also delicious so it’s absolutely fine that this pie sit assembled in the fridge overnight.
Hi, do you think this pie’s filling could fly solo as a dessert, in individual cups? With crushed nuts and chocolate shavings on top?
Oh i surely think it could! It’ll be delicious!
lovely pie, a very different pie for me so I appreciate the whipped vanilla and chocolate, thank you
Hey! Can I use raw eggs and just assume the risk and skip the step of heating them and the sugar together? Can I just mix raw egg and sugar? Cheers!
In the process of making this for my hubby and I cannot find where/when to add that 1 tsp of vanilla in the filling. I’m thinking after I incorporated the egg/sugar with the melted chocolate/punch of salt?
I made this pie for Valentine’s Day and it’s amazing. Nostalgia of my younger years when I picked a slice up every week at a local grocery store in my hometown. I used 70% dark chocolate and it’s perfect. Not so sweet! I also made my own whipped cream for the filling and the topping instead of using Cool Whip. Definitely it always been my favorite pie and I’m keeping this recipe forever. Stirring the raw eggs and sugar mixture is a bit of a time (20-30 minutes) but so worth it!
I added mini chocolate chips in with the filling. It was delicious!
I made this 1 yr ago, amazing! Easy. Delicious. Worth all the calories!
My husband and I have this tradition of making each other bday cakes, he requested this. He loves all of your recipes, has subscribed to your emails for several years now. I jokingly ask him if his “girlfriend” has any new recipes he wants me to make.
Thank you for this!
I was researching French Silk last night, and the recipes for this pie are all over the map! Some with no eggs, some with cream cheese, chocolate amounts that vary from 2 ounces to 8 ounces, butter content from 2 ounces to 12 ounces, cooked eggs, raw eggs. It makes me think this must have originally been created by (or tweaked by) food product manufacturers.
I guess I’ll start with this recipe and see if I think the chocolate content needs to be amped up. The quantities given here for most ingredients seem to fall in the middle of the range.
Would puff pastry dough work for the crust? I’m trying to figure out how I would bake it without the weights.