This strawberry icebox cake is the ultimate no-bake summer dessert layered with fresh strawberries, malted whipped cream, and vanilla wafers for a nostalgic treat that’s cool, creamy, and as easy as layering ingredients in a loaf pan.
We’ve officially entered that season where I start side-eyeing the oven like, Do I really need you to be on right now? The answer, thankfully, is no—not when there’s icebox cake. These no-bake beauties aren’t heavy in my usual baking rotation, but when the timing is right (read: it’s hot and I still want dessert), they come in clutch. See: No-Bake Tres Leches Cake (an old fave!) Strawberries are showing off right now—these pictured here are peak-season Oregon berries from where our friend Karlee lives, and they are absolute stunners. I first made this cake with banana slices (which I absolutely do not regret and fully recommend if strawberries are out of reach), but the berries take it somewhere magical—halfway between shortcake and a malted milkshake. Let’s get into it!
Here’s what you’ll need for this cool and creamy Strawberry Icebox Cake with malted whipped cream:
• Vanilla wafers soften into cake-like layers once chilled with whipped cream, they’re the no-bake foundation that holds this beauty together.
• Malted milk powder helps add that vintage soda fountain flavor and makes this cake taste like strawberry shortcake met a frosty milkshake.
• Powdered sugar – Just enough to sweeten the whipped cream without overpowering the strawberries.
• Fine sea salt – A tiny pinch wakes everything up and balances the sweetness.
• Heavy cream is whipped into soft, dreamy peaks. It’s the rich, fluffy base that makes this dessert a sliceable cloud.
• Vanilla extract – Adds warmth and depth to the whipped cream. Never skip it.
Fresh strawberries – Juicy, bright, and sliced just thick enough to hold their own between layers. Save a few for the top, too!
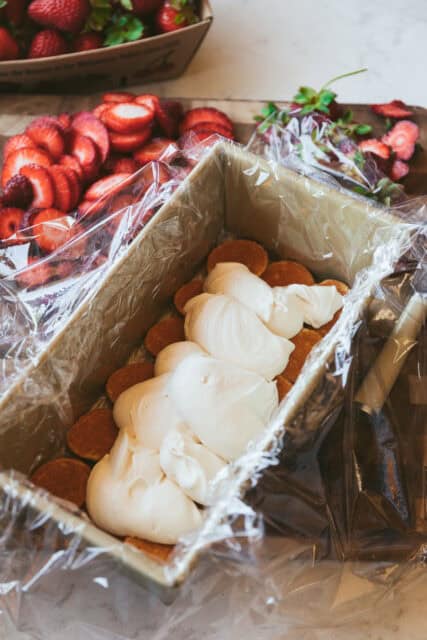
Start by lining a 9×5-inch loaf pan with plenty of plastic wrap – like, more than you think. You want enough overhang on all sides so you can wrap the whole thing up snug later. Press a layer of vanilla wafers into the bottom of the pan, rounded side down. This will be the top of your cake once it’s flipped, so think flat and tidy.
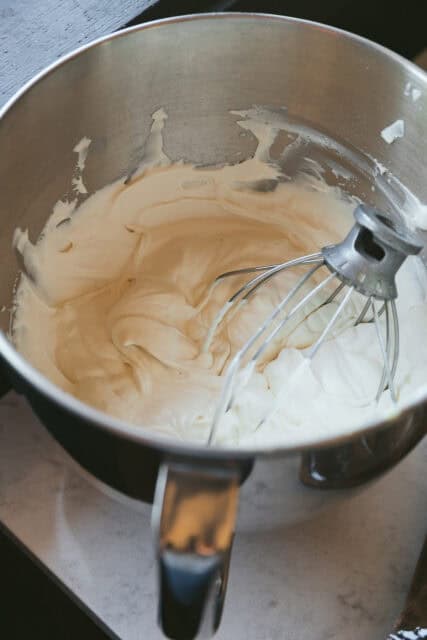
Next, it’s time to make the whipped cream situation sing. In a medium bowl, whisk together the malted milk powder, powdered sugar, and just a pinch of salt. Add a little splash of the cream and whisk it smooth to keep any lumps at bay. Then, slowly whisk in the rest of the cream along with the vanilla extract. Keep whisking – vigorously if you’re up for it, or grab your electric hand mixer for backup and beat until soft but very sturdy peaks form.
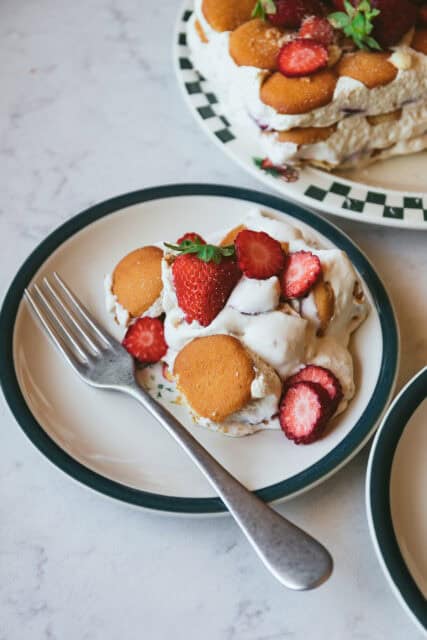
Pro Tip: The stiffer your whipped cream, the sturdier and more sliceable your finished cake will be—think picture-perfect loaf slices. If you stop at looser peaks (like what’s pictured here), the result will be more of a soft, pudding-like scoop situation. Equally delicious – just a matter of preference.
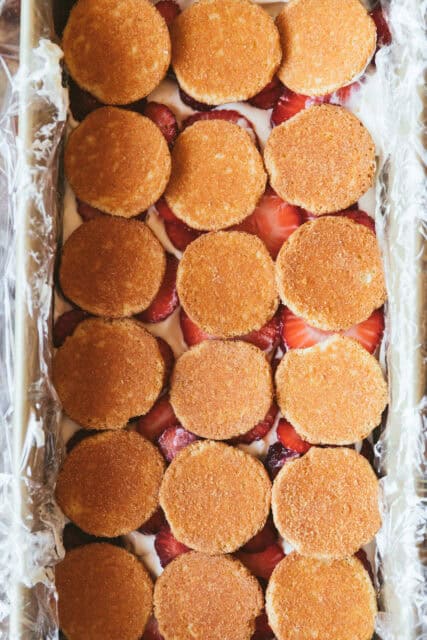
Now comes the fun part: layering. Spread a layer of whipped cream over the wafers, followed by a single layer of sliced strawberries. Keep going—wafers, cream, strawberries, repeat—until you reach the top of the pan. Finish with one last layer of whipped cream and give yourself a gold star. You just built a cake with no oven required.
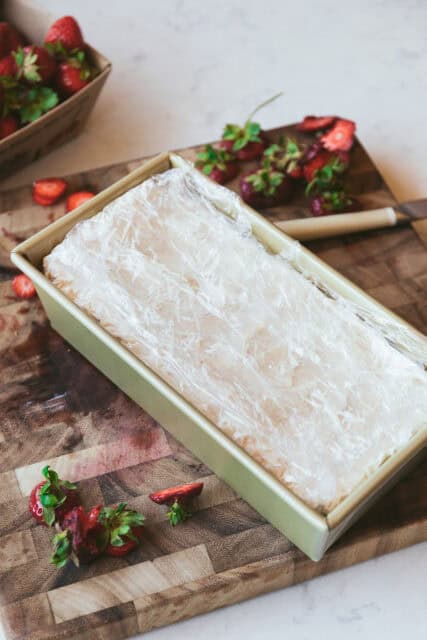
Once the layers are set, gently fold the plastic wrap up and over the top of the cake like you’re tucking it in for a long nap. If any whipped cream is peeking out, patch it up with an extra piece of wrap—no dry tops here. Let the cake chill in the fridge for at least 12 hours (overnight is perfect) so the wafers can soften into tender, cake-like layers and all those flavors have time to cozy up together.
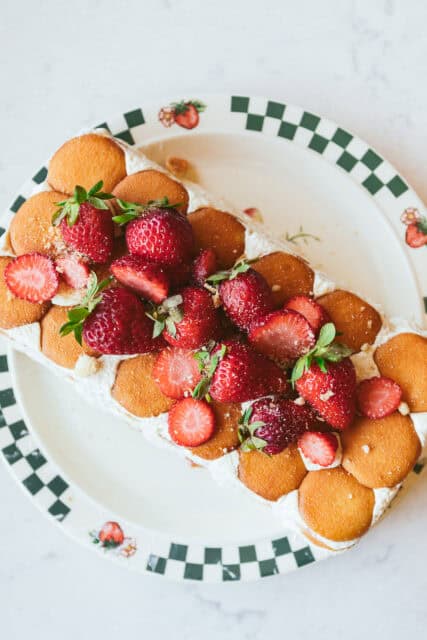
When you’re ready to serve, gently unwrap your masterpiece and invert it onto a serving plate like the showstopper it is. Peel away the plastic wrap (admire your work here), and top with a few extra strawberry slices and a crumble of vanilla wafers for good measure. Slice thick, serve cold, and prepare for a round of well-earned compliments.
Strawberry Crumble Pie – A buttery crust, jammy strawberry filling, and golden crumble topping—aka pie perfection.
Strawberry Pie Bars – All the flavor of strawberry pie, but easier to slice and snack straight from the fridge.
My Favorite Strawberry Shortcake – Fluffy biscuits, juicy berries, and whipped cream dreams come true.
Tiny Strawberry Cream Scones – Just the right amount of fancy for brunch, tea, or a treat-yourself Tuesday.
Strawberry Malt Icebox Cake
- Author: Joy the Baker
- Prep Time: 20 minutes
- Cook Time: 12-24 hours rest time in the fridge
- Total Time: this is an overnight recipe
- Yield: 1 9x5-inch loaf pan that serves 8 1x
- Category: cake, birthday, summer
- Method: baking
Description
This cool and creamy Strawberry Malt Icebox Cake is the no-bake hero of summer dessert. Layers of vanilla wafers, malted whipped cream, and fresh strawberries soften into a sliceable, milkshake-meets-shortcake dream after a long chill in the fridge. It’s nostalgic, easy to make ahead, and just the kind of sweet you want to pull out of the fridge on a hot afternoon.
Ingredients
- 48–54 vanilla wafers
- 2/3 cup malted milk powder
- 2 tablespoons powdered sugar
- Pinch of fine sea salt
- 2 cups heavy cream
- 1 teaspoon vanilla extract
- 1 pint fresh strawberries, sliced into scant ½-inch rounds (plus more for topping)
Instructions
Line the Pan – Line a 9×5-inch loaf pan with plenty of plastic wrap, making sure it hangs generously over all four sides. Press 16 vanilla wafers in a single layer across the bottom of the pan, top side down.
Make the Malted Whipped Cream – In a medium bowl, whisk together the malted milk powder, powdered sugar, and salt. Add a splash of the heavy cream and whisk until smooth to avoid lumps. Then, gradually whisk in the rest of the cream and the vanilla extract. Beat until soft but sturdy peaks form—use electric beaters if you’d rather not whisk by hand.
Layer It Up – Spread a layer of whipped cream over the wafers, followed by a layer of strawberry slices. Repeat the layers – cream, wafers, cream, strawberries – until you reach the top of the pan, finishing with a final layer of whipped cream.
Wrap and Chill – Fold the overhanging plastic wrap up and over the cake. If any whipped cream is exposed, add another piece of plastic wrap to cover. Refrigerate for at least 12 hours, or up to 24 hours, to allow the wafers to soften and the flavors to meld.
Unwrap and Serve – Unwrap the cake and invert it onto a serving plate. Peel away the plastic wrap, top with a few extra strawberry slices and crumbled vanilla wafers, and serve in thick, cold slices.
13 Responses
I can’t find malted milk powder anywhere, soooooo will either skip it 100% or add a bit more conf. sugar. I’m reluctant to use the chocolate Ovaltine that’s on offer around here as I don’t want to muddy the flavors. Any other suggestions?
Made this for my book club and everyone LOVED it, including me! I did have to strain some of the malted milk powder initially then add more in, as I didn’t manage to keep it from getting chunky, but the end result was worth the tiny extra step. I only had time to let it sit for around 10 hours, and I think it was pretty perfect.
This looks positively dreamy Joy, now I’m wondering what other in season fruit I could use to make this all summer (I’m looking at you peaches).
I have been intrigued by icebox cakes for a long time now, but since they often use those chocolate wafers which no longer seem common I’ve been hesitant, making one with vanilla wafers is brilliant.
The Marbled Chocolate Easter Eggs recipe offers a beautiful and festive way to enjoy rich chocolate with an artistic twist. The marbling technique creates stunning patterns, making these eggs both a delicious treat and a charming decoration for Easter celebrations.
I made this cake on Friday and planned to enjoy it Saturday evening. I really loved the malted whipped cream right after I made it; I had some left over from building the cake and had it with some crushed nilla wafers. The next evening (about 24 hours later), I noticed that the whipped cream broke down a little bit and ended up leaving the cake in the container I made it – it wouldn’t have held up on its own. The flavors were delicious, but I wondered if I read the directions wrong and perhaps this cake was meant to be frozen, and eaten like an icebox cake (doesn’t look like it). The flavors come together beautifully though and I plan to try again. In doing some research on ways I could stabilize the cream a little further, I read that the amylase in malt could be breaking down the amylose in the heavy cream and that could be causing the soupiness I ended up with. I’ll come back to this post to read the comments and see if others have better luck. Again, love the flavors, just needed mine to be a little less soupy!
If you bloom a teaspoon (don’t guess as you don’t want too much) in about a tablespoon of cold water and add the to a cup of whipping cream it will stabilize it
Sorry – a teaspoon of gelatin. I forgot the most important part!!
Oh my goodness… I’m swoooooning!
This is Not a cake! Please refrained from calling it something it is not. If you used lady fingers you could call it a cake. This is more a strawberry malt dream dessert.
Thanks for the feedback!
Collins Dictionary definition of an icebox cake: “ a confection made from such prepared ingredients as cookies or whipped cream that requires no additional baking but is chilled in a refrigerator before serving”.
Cake Police alert!! ???
A large countertop oven (we have the Breville Joule air-fryer version) is incredibly helpful in the hot swamp of greater Houston, if you absolutely have to use your oven during the 9 months of the year when it’s ridiculously hot.