[T]he first thing you should know is that it’s time for our THIRD installment of Baking Bootcamp with King Arthur Flour! Bring out your jazz hands. It’s about that time.
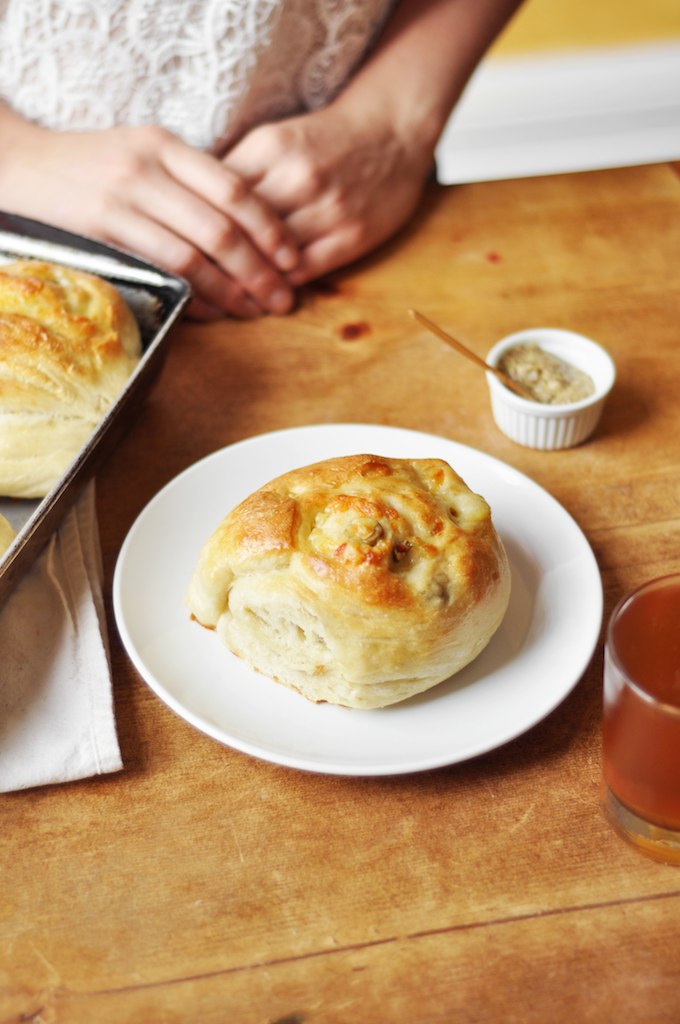
The second thing you should know is that we’re making the most delicious and chewy, salty and cheesy loaves. Like cinnamon rolls, hold the cinnamon, extra Gruyère and green olives.
The third thing you should know is that I always wanted to be a hand model so I’m beyond satisfied with myself here… that’s just my truth.
For our first baking bootcamp we piled berries high and braided bread for the Triple Berry Cinnamon Swirl Bread. You amazed me with your kitchen bravery.
For our second baking bootcamp we folded dough and made Apple Pie Biscuits. So stellar. You guys got all up in the season!
Now we’re taking a step to the savory side. Salty and soft. And we’re using an entirely new flour: King Arthur Flour’s Unbleached Bread Flour!
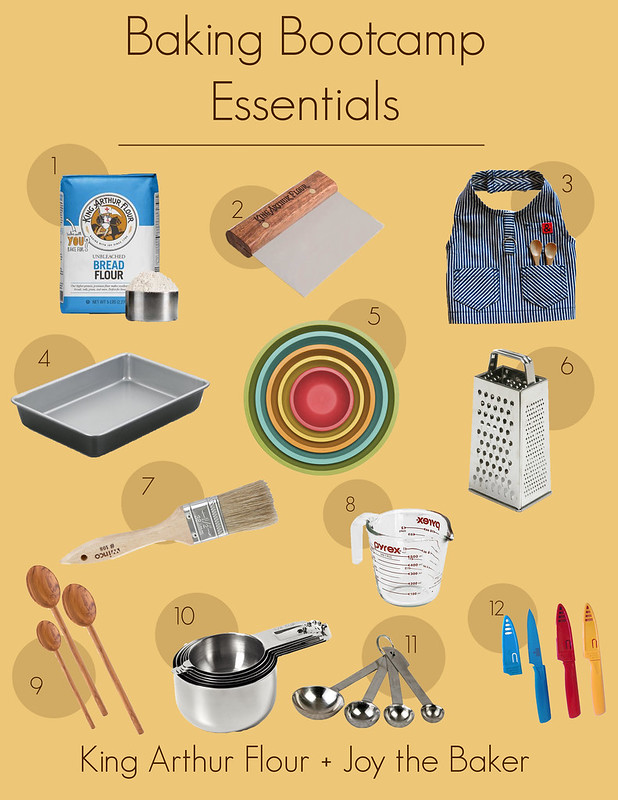
Here’s what we’ll need:
1 • King Arthur Unbleached Bread Flour. High protein content for chewy and sturdy buns!
2 • I use this King Arthur Flour Bench Knife just about everyday in my kitchen. It’s perfect for scraping little dough bits from the countertop… something a sponge just pitifully attacks. You might also use the bench knife to slice though the center of the rolled dough. It’s sharp too! I love this tool!
3 • Kitchen fashion is important to me. Hedley & Bennett understands my needs for a functional, durable, totally chic apron. Not too frilly. I always want to be more badass than 50’s housewife-y in the kitchen.
4 • A good 9×13-inch baking pan is a kitchen staple. The new ones are nice, mine happen to be covered in years of kitchen rust. Part of the charm!
5 • Having Colorful Mixing Bowls is the kitchen equivalent of having a great black dress in your closet. Necessary treat.
6 • We’re going to need lots of medium shreds of Gruyere cheese. Box Grater to the rescue!
7 • I like a natural bristle kitchen brush in my arsenal. Great for egg washing biscuits and rolls!
8 • The Pyrex glass measuring cup. A forever kitchen classic.
9 • These wooden spoons just get better with time.
10 • Is it normal to have a completely mismatched set of Measuring Cups, or should I just treat myself to a matching set like this? Don’t answer that…
11 • Same goes for the Measuring Spoons… it’s nice to have a full matching set.
12 • I go through Paring Knives like I go through socks. How is it possible to have them one day and then lose them the next? I don’t know. Clearly I have an issue.
There are loads of resources to help you get from here to warm cheesy buns.
• All of these step-by-step photographs in the post were done by the incomparable Jon Melendez.
• Baking 101: The Difference Between Baking Flours for all the nitty-gritty on bran and germ and protein content.
• King Arthur Flour’s Baker’s Hotline is a fantastic resource for curious home bakers to discuss your fears, concerns and eventual successes. Give them a ring! It’s magic. 1-855-371-2253
Four Flours + Four Recipes Challenges + One Instagram #bakingbootcamp + Four Awesome Sets of Prizes!
The idea is simple!
• Make these Gruyère and Green Olive Rolls (they’re sooo delicious!) and take a picture of your creation!
• Follow @joythebaker and @kingarthurflour on Instagram
• Photograph your beautiful rolls and post them to Instagram with the hashtag #bakingbootcamp
• When you submit a photo, you’ll be entered to win a one year supply of King Arthur Flour and a Baking Essentials box valued at $250!! Official rules and details can be found here.
By entering the challenge you’ll also have amazing cheesy rolls in your kitchen, so… you really can’t lose.

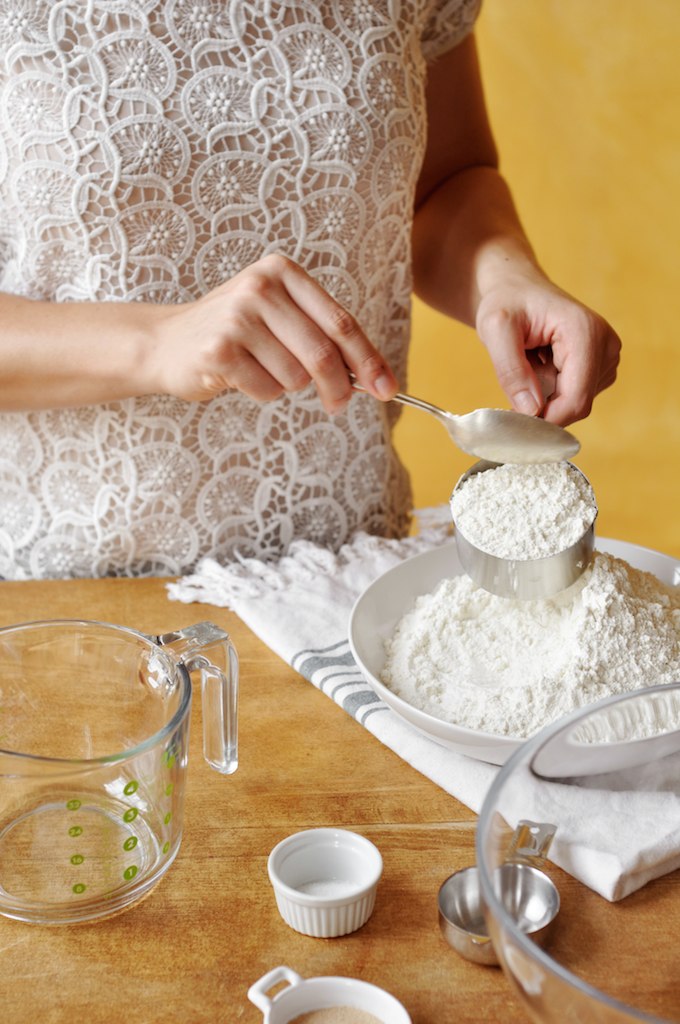
The life of this bread begins in a large measuring cup. This is where we’re going to bring together our starter.
The starter in this bread will bring the yeast to life with flour and sugar, and will sit at room temperature overnight. This will make for a bubbly and flavorful start to your bread dough.
We’re using King Arthur’s Unbleached Bread Flour as the base for our starter and dough.
Bread flour is designed for yeasted baking! It has a protein content of just under 13% which helps to create more gluten and more rise in our baked breads. It’s a very sturdy flour, great to hold together the structure of yeasted doughs.
The folks at King Arthur Flour explained it in dinner roll terms. Think about how you like your dinner rolls. Do you prefer your rolls soft and supple and tender? All-purpose flour is the way to go. If you prefer your rolls more firm, chewy, and substantial then bread flour would be your go-to bread baking flour.
That’s the ticket! Bread flour makes these rolls chewy and perfectly substantial!

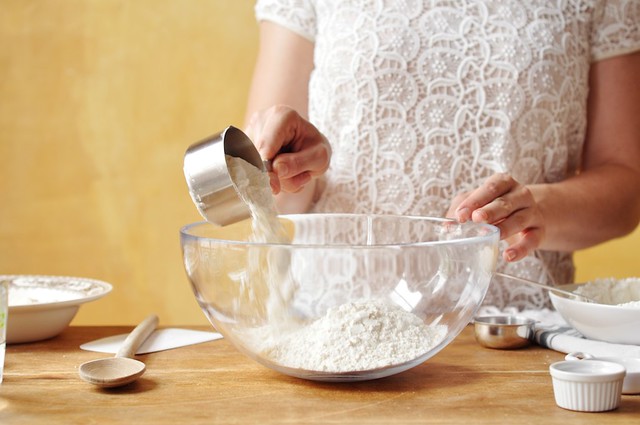
Our starter flour to… start. Get a load of this backhanded pour.

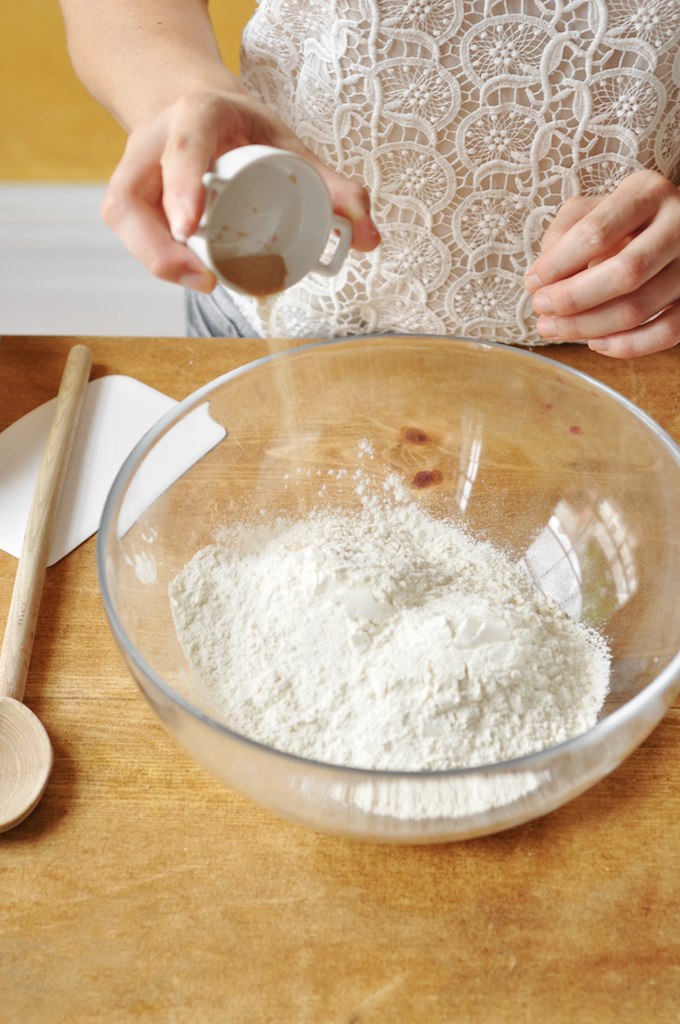
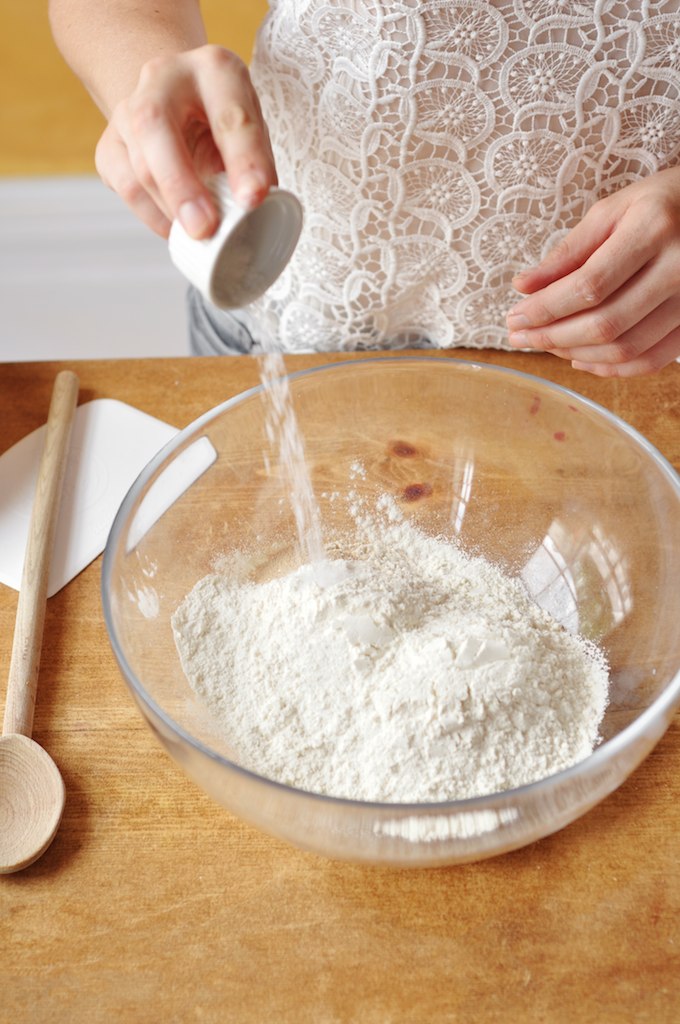
Salt, too.
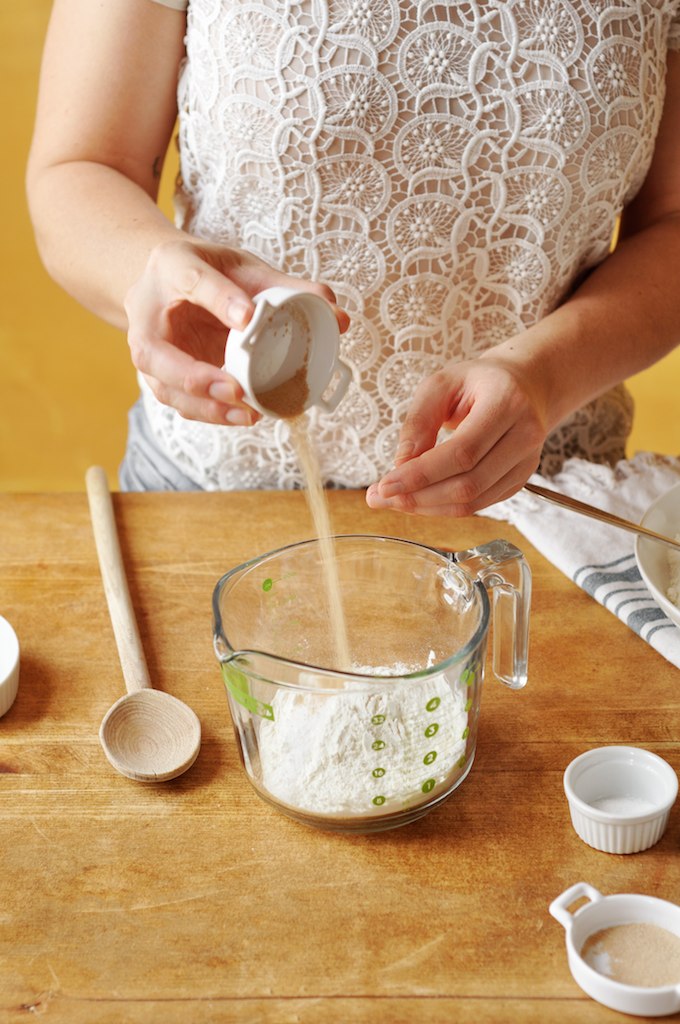
Yeast. What we’re coaxing to life.
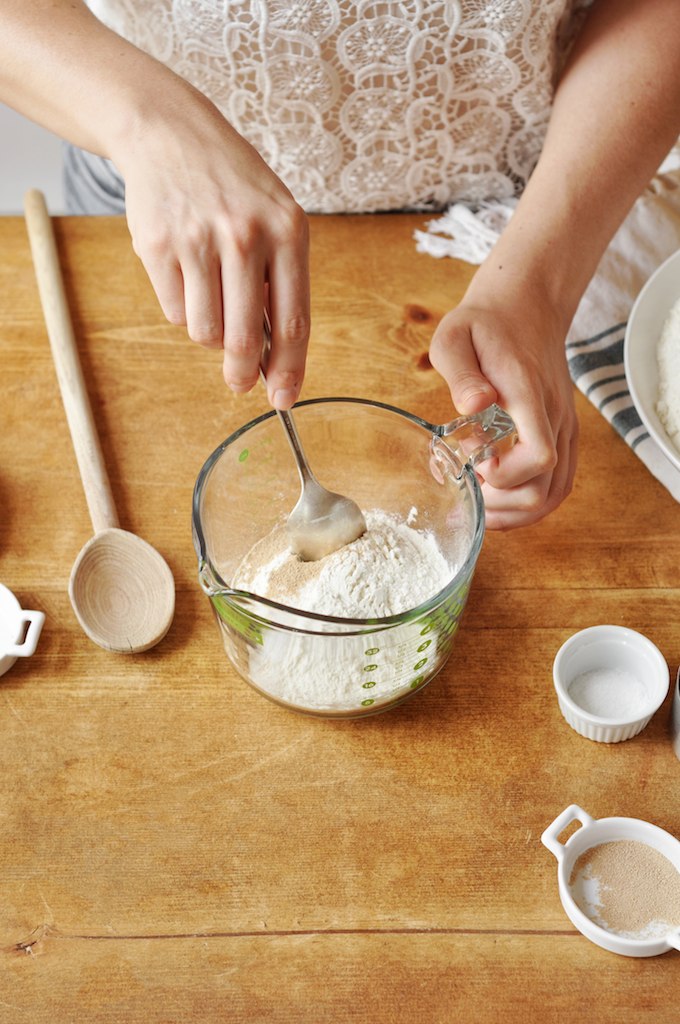
Stir the flour, salt, and yeast together well.

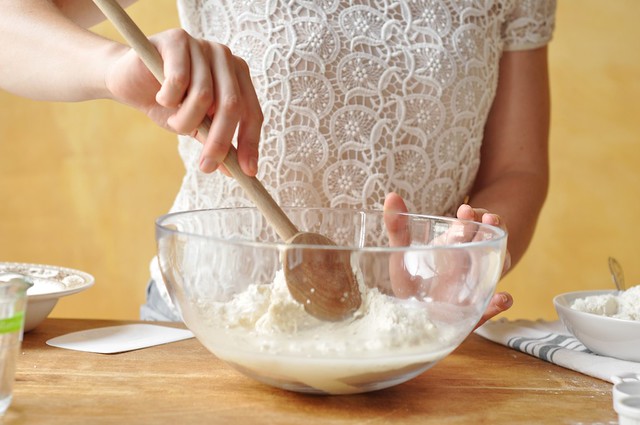
Stir in warm water.
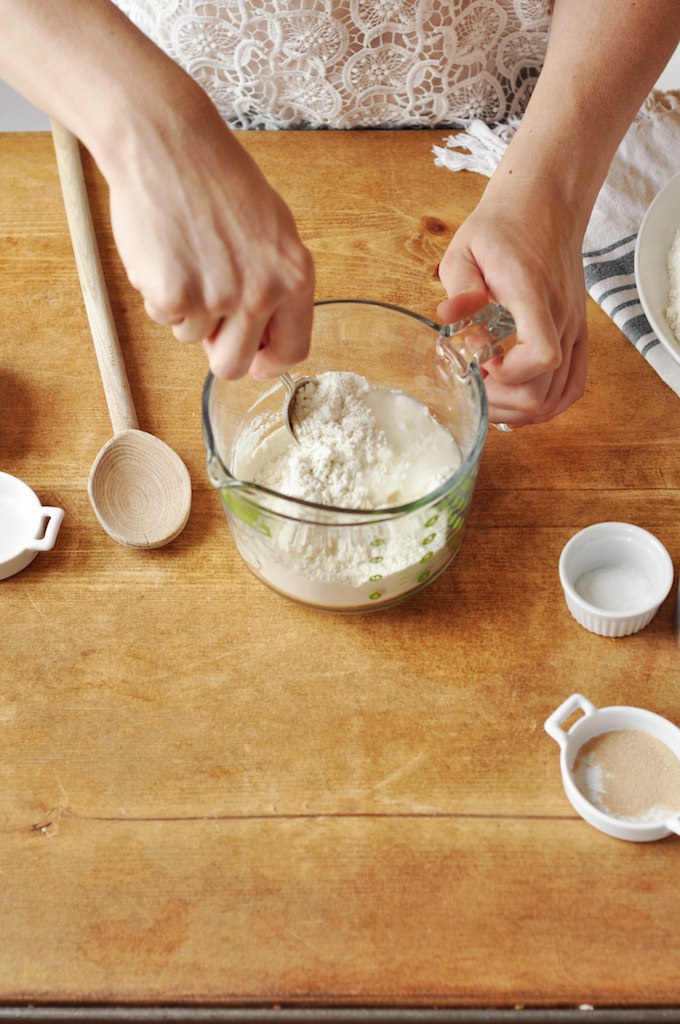
The flour will absorb the water quickly. That’s right!
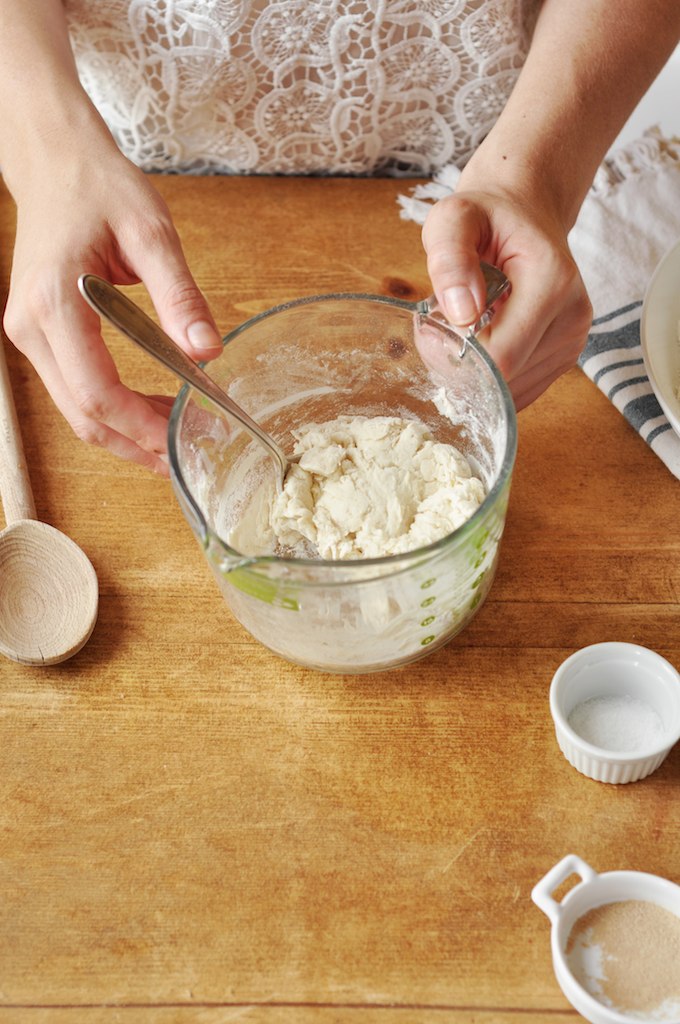
The starter mixture will be thick. Cover it with plastic wrap and leave it to rest overnight at room temperature.
This is that part where we recognize patience as a virtue.
For the bread dough we’re back at it with the bread flour.
More yeast for the bread dough.
Salt for the bread dough as well and stir!
Add the starter and more water to the flour and yeast mix to create a rather stiff dough.
I wanted to make this dough by hand so we could all make it regardless of our stand mixer or bread maker circumstances.
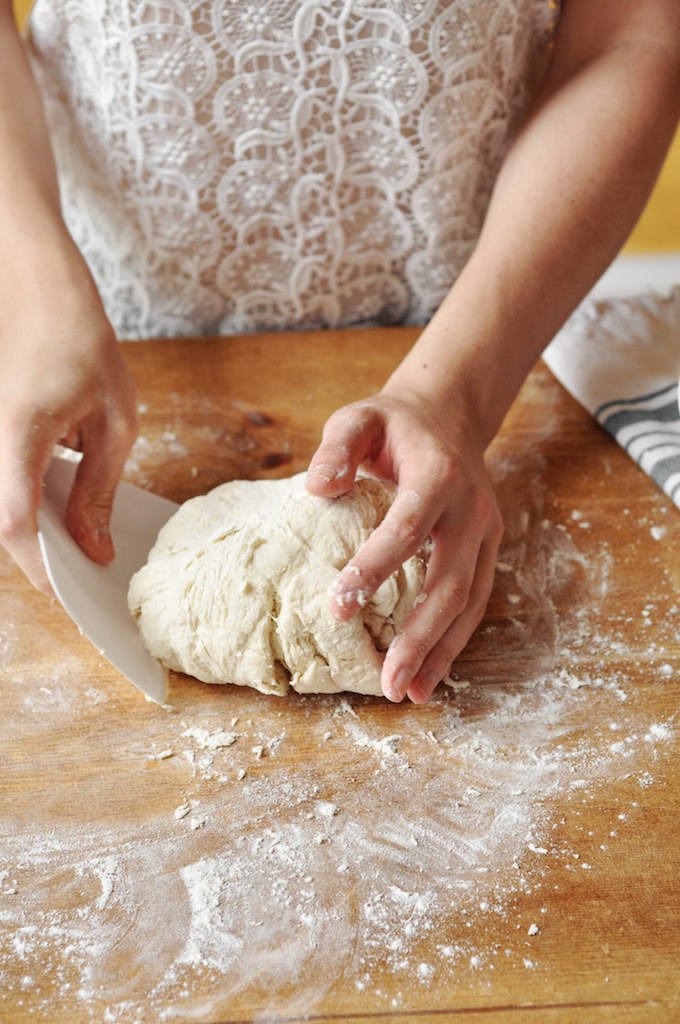
I used a soft bench scraper to help me gather the dough and knead it across the floured work surface.
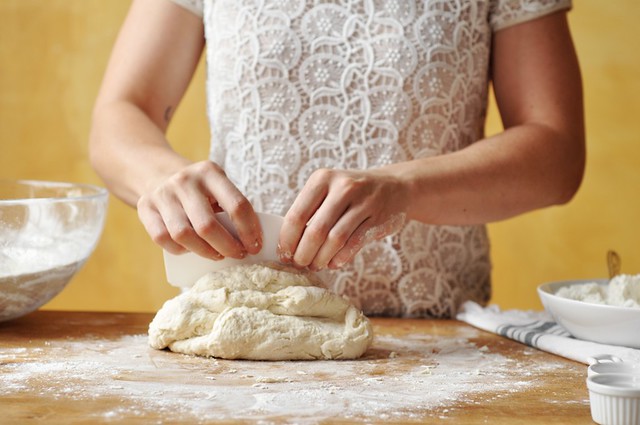
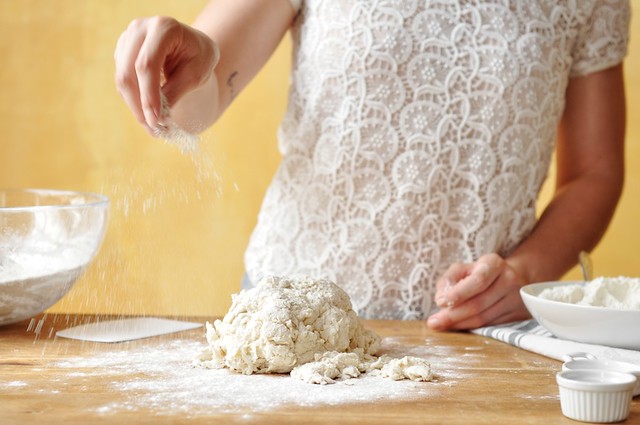
The dough will be tacky but not overly sticky. It shouldn’t completely coat your hands in a sticky mess. Add a sprinkling more flour if it does.
Knead the dough by hand for about 8 minutes until it forms a cohesive ball and is smooth on the top.
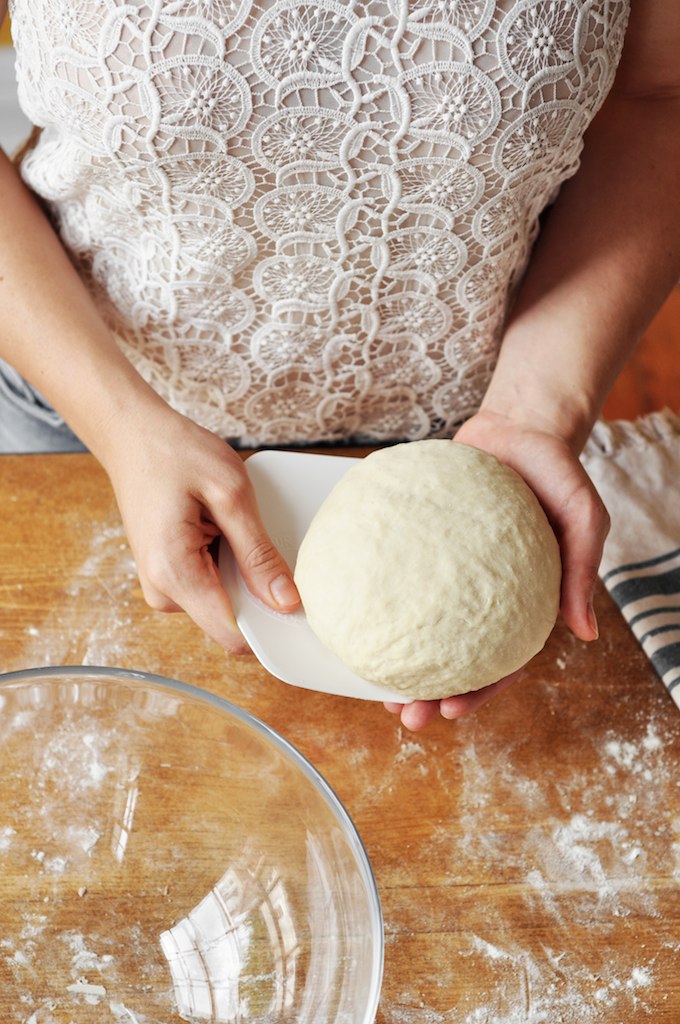
Just about like this!
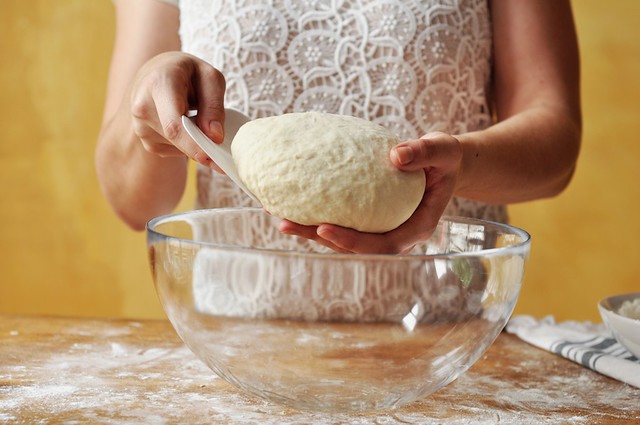
Into a greased bowl to rest for about 2 hours or until doubled in size.
I cover the bowl in plastic wrap to keep the dough from forming a crusty skin as it rises, and leave the dough to rest in a warm place to rest and rise.
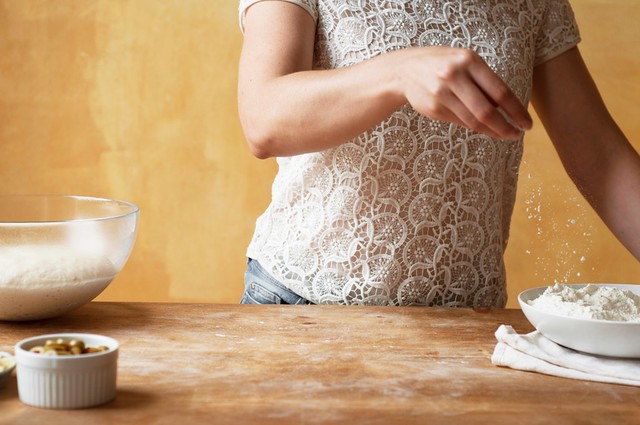
Ready your sliced green olives and grated Gruyère cheese while the dough is rising. We’re also going to need additional flour for dusting the work surface.

The dump. It’s pretty technical.
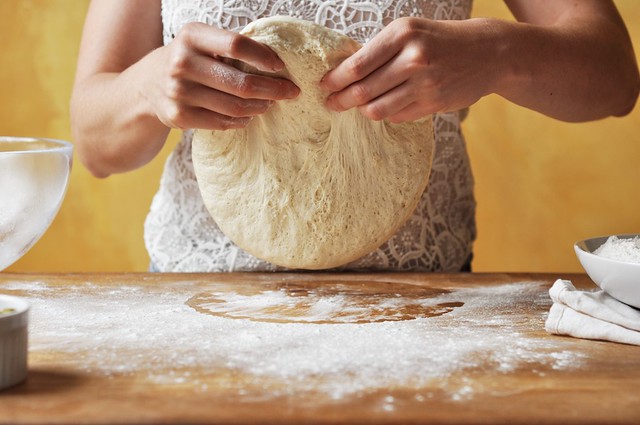
Flip the dough to make sure that bottom and top are just lightly coated in flour.
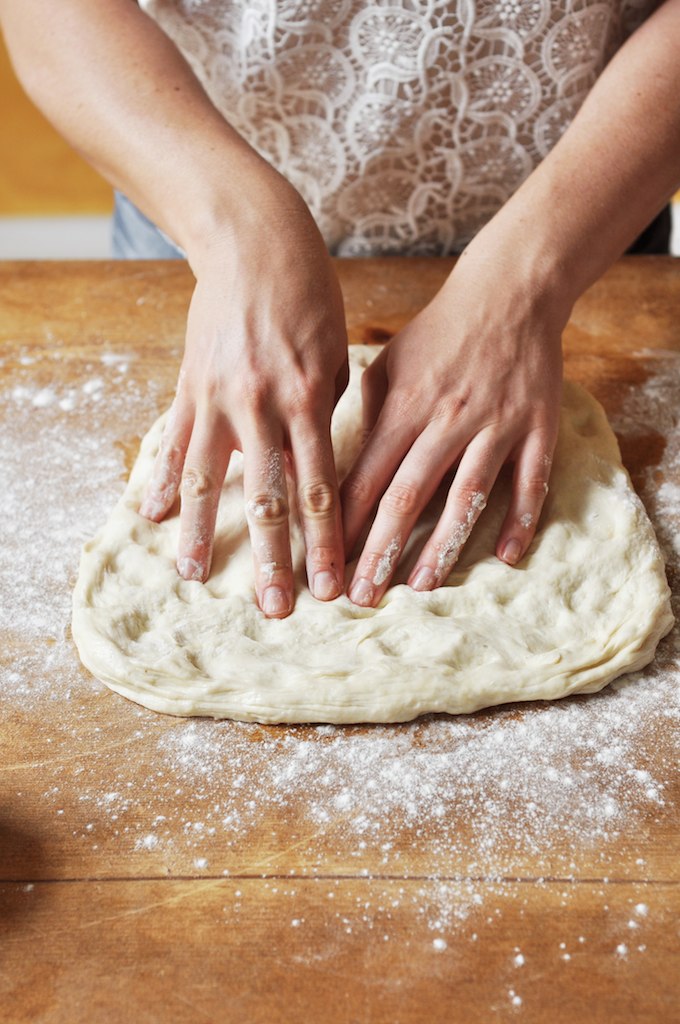
Get in there and manhandle the dough a bit.
Work the dough into a 9×12-inch rectangle by using your fingers to nudge and spread the dough.

Press the corners out.
Patch any holes where your fingers got a little overzealous and poked through.
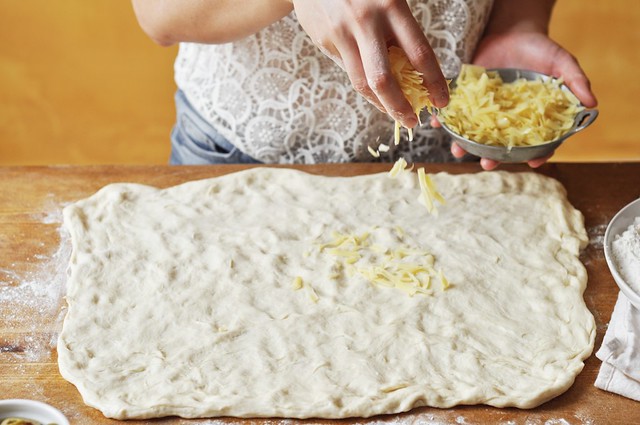
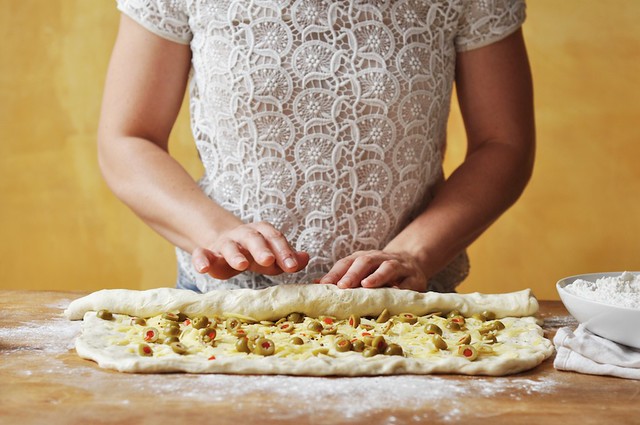
Generously sprinkle Gruyère cheese.
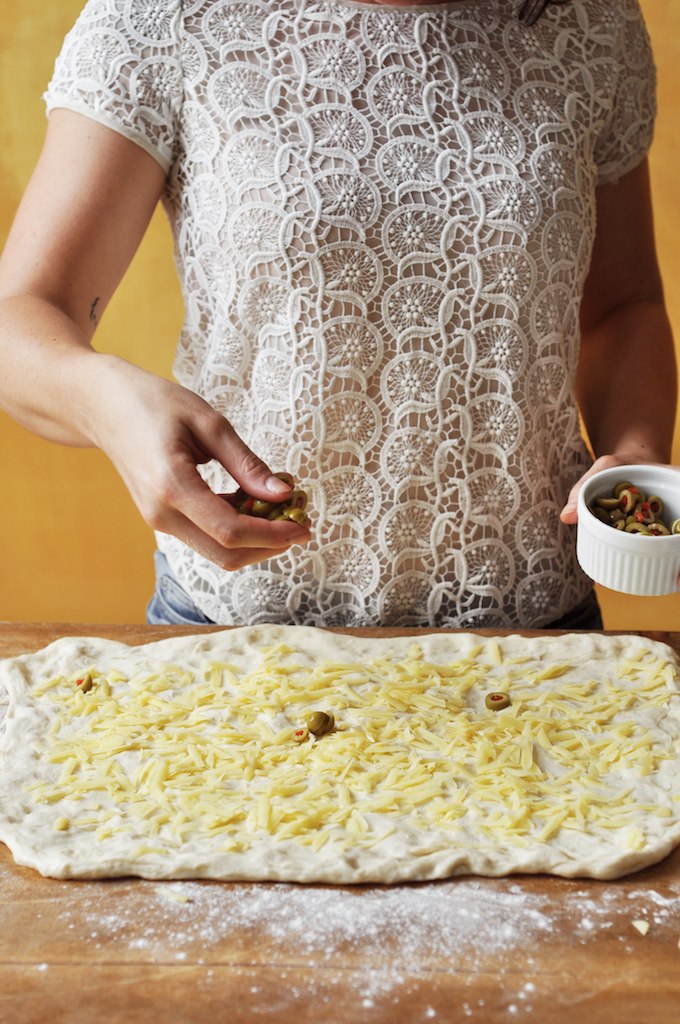
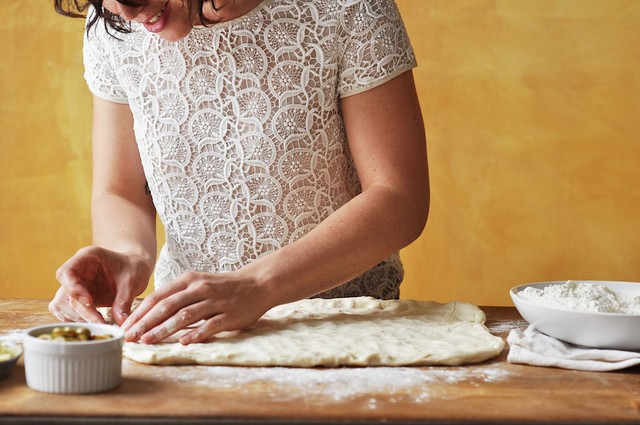
Generously sprinkle sliced green olives.
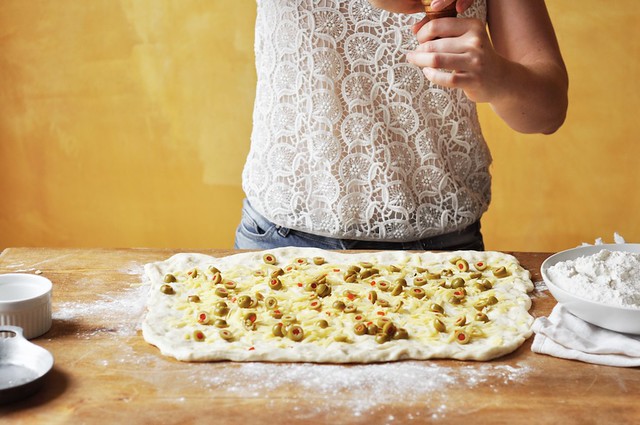
Generously grind fresh black pepper.
Roll from the long end of the dough away from you, creating a relatively tight coil.
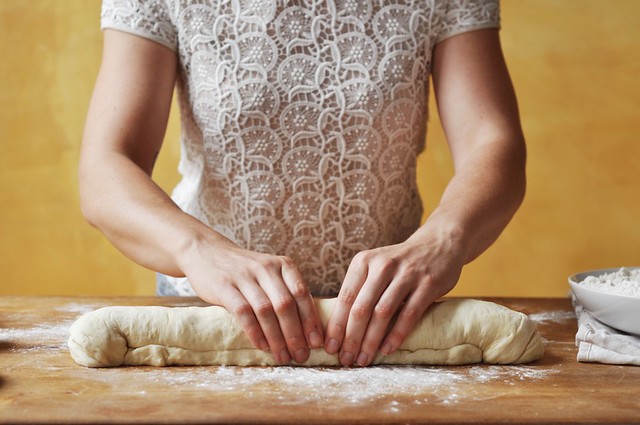
Finish the dough seam side down and press lightly.
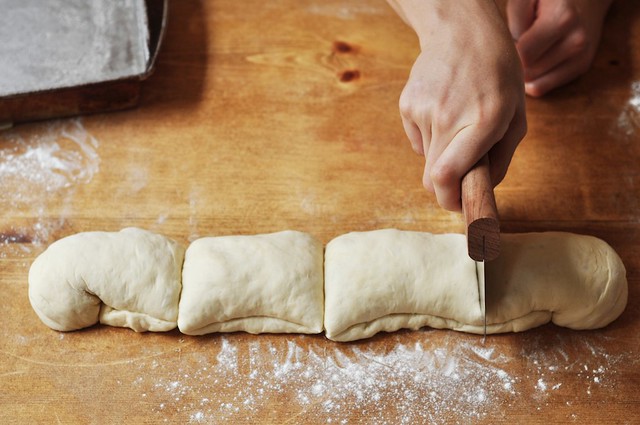
Divide the dough in half or in quarters. Even quarters will create loaves large enough to share between two people.
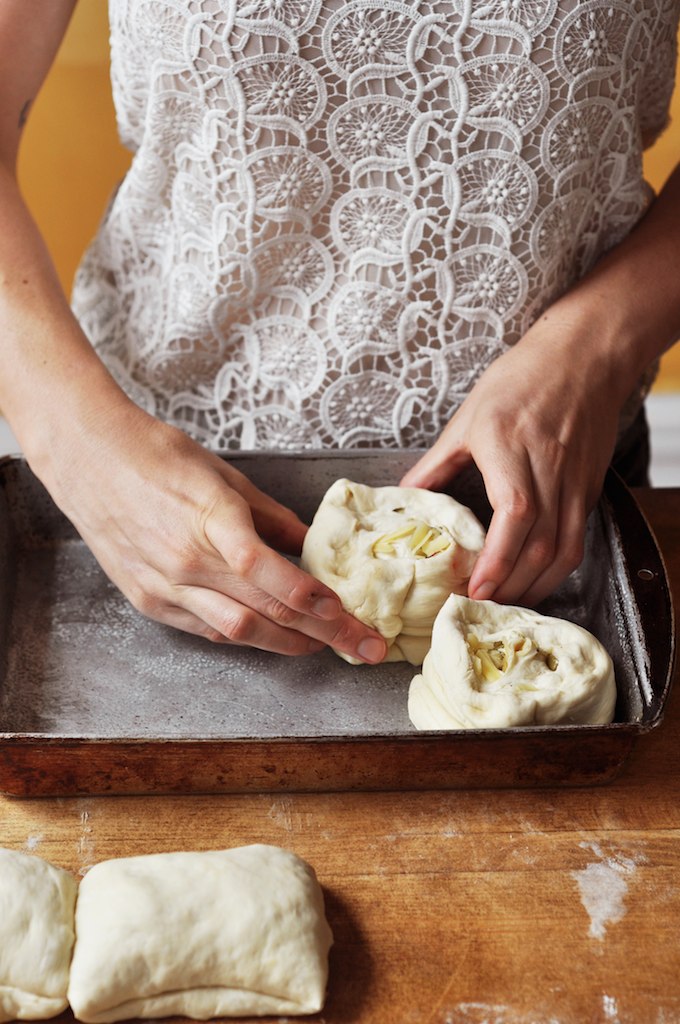
For the four smaller loaves, I greased a 9×13-inch pan and pressed the loaves in. They expanded and baked up to nestle against one another in the pan.
Feel free to use a larger baking sheet for two loaves or for four loaves that you don’t want to touch while baking.
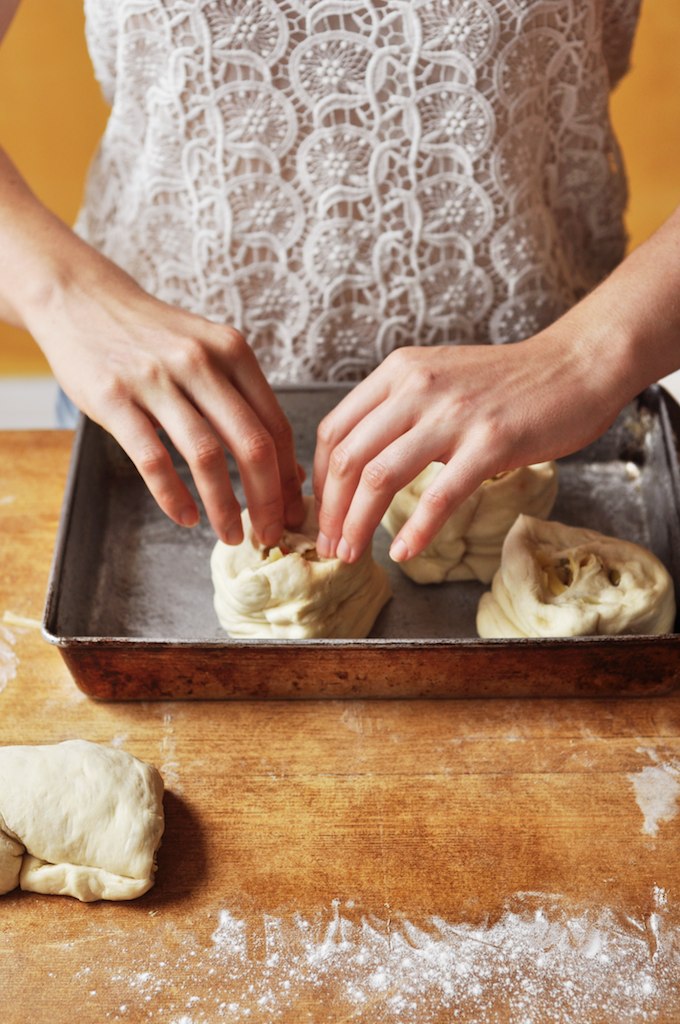
I used my finger tips to press down the dough a bit and expose some of the olive and cheese goodness!
Cover and allow the loaves to rest and rise again. About an hour if you can!
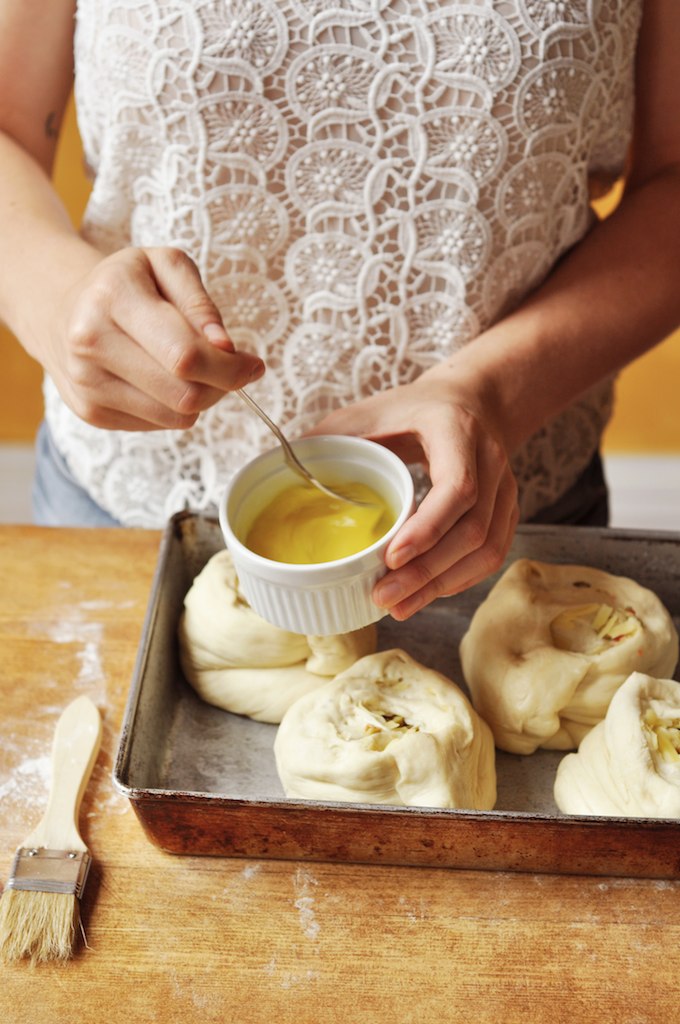
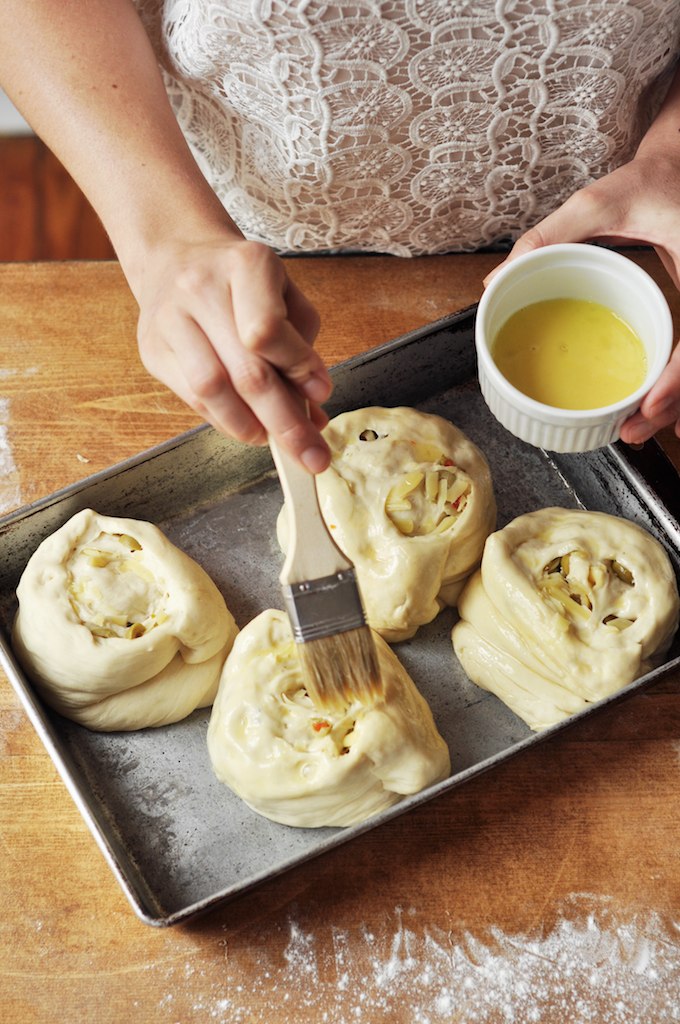
Beat an egg to wash over the eggs. The egg will create a lovely golden brown top for our rolls.
Lightly brushed with egg wash.
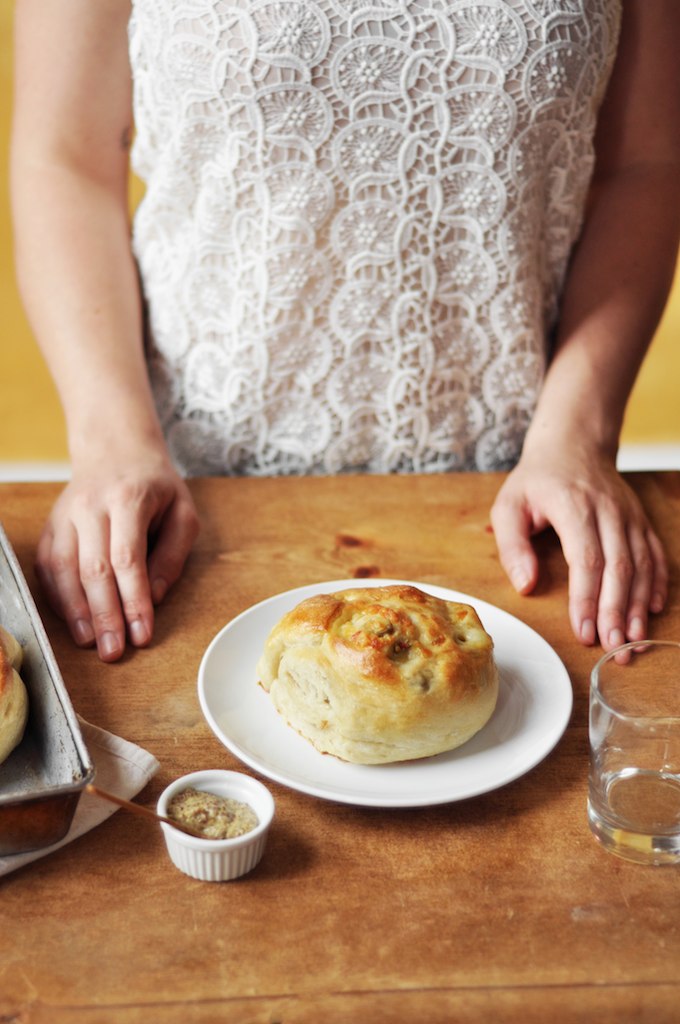
Allow the rolls to cool for about 30 minutes before serving. Pour beer. Grab the mustard. These rolls are chewy, savory, and cheesy. Super satisfying!

Again:
Four Flours + Four Recipes Challenges + One Instagram #bakingbootcamp + Four Awesome Sets of Prizes!
The idea is simple!
• Make these Gruyere and Green Olive Rolls (they’re sooo delicious!) and take a picture of your creation!
• Follow @joythebaker and @kingarthurflour on Instagram
• Photograph your beautiful rolls and post them to Instagram with the hashtag #bakingbootcamp
• When you submit a photo, you’ll be entered to win a one year supply of King Arthur Flour and a Baking Essentials box valued at $250!! Official rules and details can be found here.
By entering the challenge you’ll also have amazing cheesy rolls in your kitchen, so… you really can’t lose.
Thanks to King Arthur Flour, whose Gruyère-Stuffed Crusty Loaves served as the inspiration for this recipe.
Print
Baking Bootcamp: Gruyere and Green Olive Rolls
- Prep Time: 24 hours 30 minutes
- Cook Time: 0 hours
- Total Time: 24 hours 30 minutes
- Yield: two large or four small loaves 1x
Ingredients
For the Starter:
- 1 1/4 cups King Arthur Unbleached Bread Flour
- 1 teaspoon salt
- 1/2 teaspoon instant yeast
- 1/2 cup warm water
For the Dough:
- all of the starter
- 1 cup + 2 tablespoons to 1 1/4 cups lukewarm water
- 1 teaspoon salt
- 3 1/2 cups King Arthur Unbleached Bread Flour
- 1/2 teaspoon instant yeast
For the Filling:
- 2 1/2 cups grated Gruyère cheese, or the grated/shredded cheese of your choice (sharp cheddar, or a mixture of provolone and mozzarella are tasty)
- 1 cup coarsely chopped green olives
- 1 teaspoon coarsely ground black pepper
Instructions
- To make the starter, mix the 1 1/4 cups flour, salt, yeast, and 1/2 cup water in a large measuring cup or small bowl. Mix till well combined; the starter will be very dry. Cover and let rest overnight at room temperature; it’ll become bubbly.
- To make the dough, combine the risen starter with the water, salt, flour, and yeast. Stir until thick and well combined in a bowl then dump onto a well floured work surface to knead by hand until soft and smooth, about 8 to 10 minutes.
- Place the dough in a lightly greased bowl, cover, and let it rise for 1 1/2 to 2 hours, until doubled in size.
- Gently deflate the dough, and pat and stretch it into a 3/4″-thick rectangle, about 9″ x 12″. Use your finger tips and hands to stretch out the dough. No rolling pin required. Sprinkle with the grated cheese and olives.
- Starting with a long side of the dough, roll it into a log, pinching the seam to seal. Place the log, seam-side down on a lightly floured surface.
- Gently cut the log into four crosswise slices, for mini-breads; or simply cut the dough in half, for two normal-sized loaves. Place them on one (for two loaves) or two (for four mini-loaves) lightly greased baking sheets or 9×13-inch pans, cut side up. Use your fingers to press the rolls down and spread them open a bit to more fully expose the cheese.
- Cover loosely with a clean kitchen towel and let it rise for 1 hour until it’s puffy but not necessarily doubled in size. Towards the end of the rising time, place a rack in the upper third of the oven and preheat the oven to 425°F.
- Lightly brush loaves with egg wash.
- Place in the oven to bake.
- Bake for 20 minutes (for the mini-loaves), or 35 minutes (for the full-sized loaves), or until the cheese is melted and the loaves are a very deep golden brown. Remove them from the oven, and cool on a rack.
- Slice into wedges and serve warm with mustard. Rolls will last, well wrapped at room temperature for up to 4 days. They are best reheated gently in the oven or toasted before serving.


71 Responses
Hi Joy, The actual recipe is no longer listed on this page.. just shows [amd-zlrecipe-recipe:39] after your picture demonstrations. Is it possible to repost it? I made them once, but wanted to try it again. Thanks!
Hello Laura! I was having an issue with the plugin, but it’s all fixed now! The recipe should be available now! Thanks for letting me know!
Coincidentally the two recipes I pulled for Sunday dinner were both yours – I made these as well as your Vegan Carrot Jalapeno soup (only I used chicken broth so it wasn’t vegan). Both were excellent!
Made these a few years ago for holiday party and they were a hit! I’m pleased to see the posting is still up. I’m going to recreate the magic for office party 2017. Thanks, @joythebaker!