Hello dear friends!
I’m not going to say this meal is perfect – that’s a big sentiment. The thing is though – it’s not not perfect.
Chicken and Waffles is a tale as old as time. A tale as old as sweet and savory. A tale as old as carbs and fried. A tale as old as crunch and fluff. A tale as old as pass the maple syrup and the salt shaker and hot sauce, please and thank you.
Chicken and waffles is just that meal. It’s breakfast as easily as it’s brunch. It’s surely dinner as easily as it’s a midnight stack eaten cold from the fridge (and that’s how I recommend eating any leftover chicken pieces).
I’ve reworked this recipe to reflect some of the small diet changes I’ve been trying to make lately. Trying because diet changes are challenging and gradual and I always have to find my way back to a treat. This waffle recipe uses mostly garbanzo flour. Savory and protein rich, I love how creamy this flour becomes after a soak with water. These fried chicken pieces feel like a real treat made with a gluten free flour blend, but spiced to the high heavens.
Thank you for letting me navigate this new landscape. I’m keeping it delicious… and sweet, salty, crunchy (with a side of onion rings).
xo

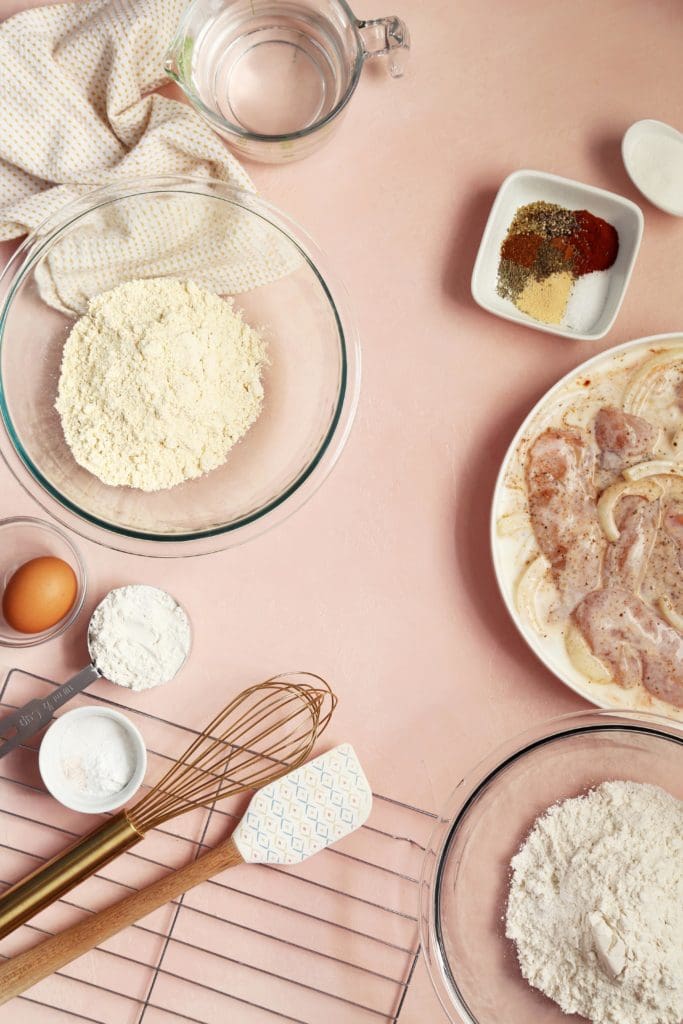
Here’s what you’ll need:
• For the waffles we’ll use a mixture of chickpea flour and all-purpose gluten-free flour. I’ve been making myself a socca a few times a week and transitioning my love for this protein-rich flour into these waffles. The key with chickpea flour is to let it rest once the liquid is added to soften the flour, making it creamy.
• Egg, baking powder, salt, and maple to help the waffles be waffles. You know?
• For the chicken we’ll use a gluten-free flour blend (I used Bob’s Red Mill), a good dose of sea salt and black pepper along with a ton of spices, including but not limited to: cumin, chili powder, garlic and onion powder, oregano, and sugar. It’s all these spices that bring flavor to the batter. It’s spiced with a hint of sweetness which is exactly what we’re going for.
• Buttermilk, a sliced onion, chicken breast tender pieces, salt, pepper, and hot sauce. Aaaand we fried chicken!
A Note: Both components of this recipe require a bit of resting time. The waffle batter needs 30 minutes to rest while the chicken needs at least 30 minutes to marinate in the buttermilk (though overnight in the refrigerator is a delicious option). Read through the recipe and decide which component you want to make first based on the time you have. Sound good?

For the waffles, combine chickpea flour and the all-purpose gluten-free flour blend.

Whisk in salt and baking powder.
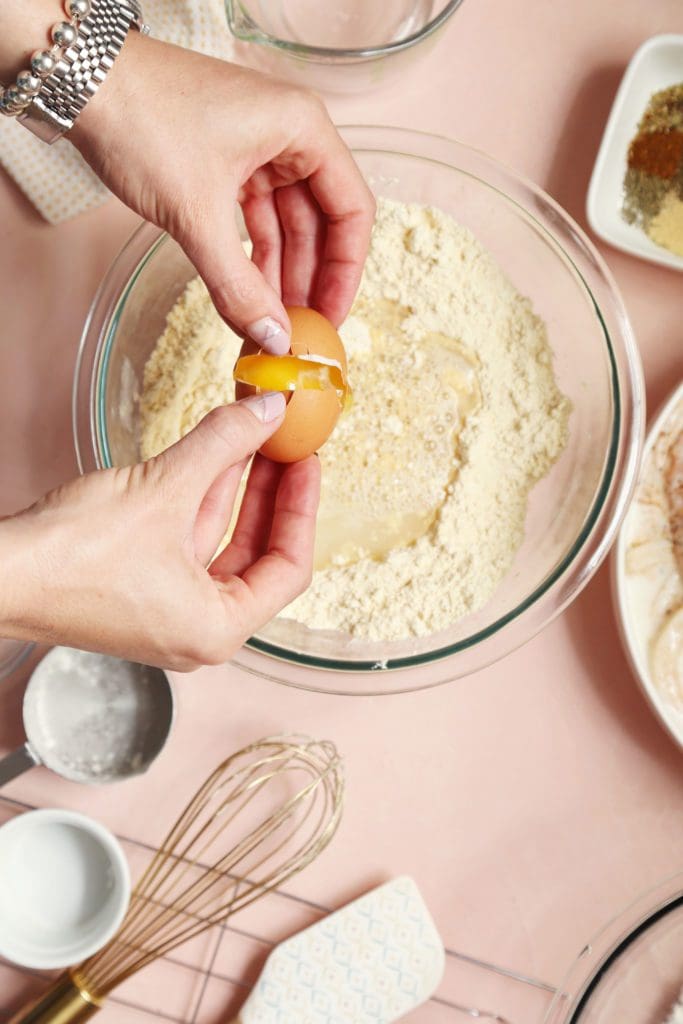
Create a well in the center of the dry ingredients and add water, maple syrup and a large egg.
The sweetness of these waffles is up to you. If you prefer granulated sugar over maple syrup you’re welcome to use it. Honey also makes for a nice alternative.
I’ve added 2 tablespoons of sweetness to these waffles which makes for a veeeery lightly sweetened waffle. If you’d like to add more sweetness, I think these waffles could handle another tablespoon or two. Choose your own adventure!
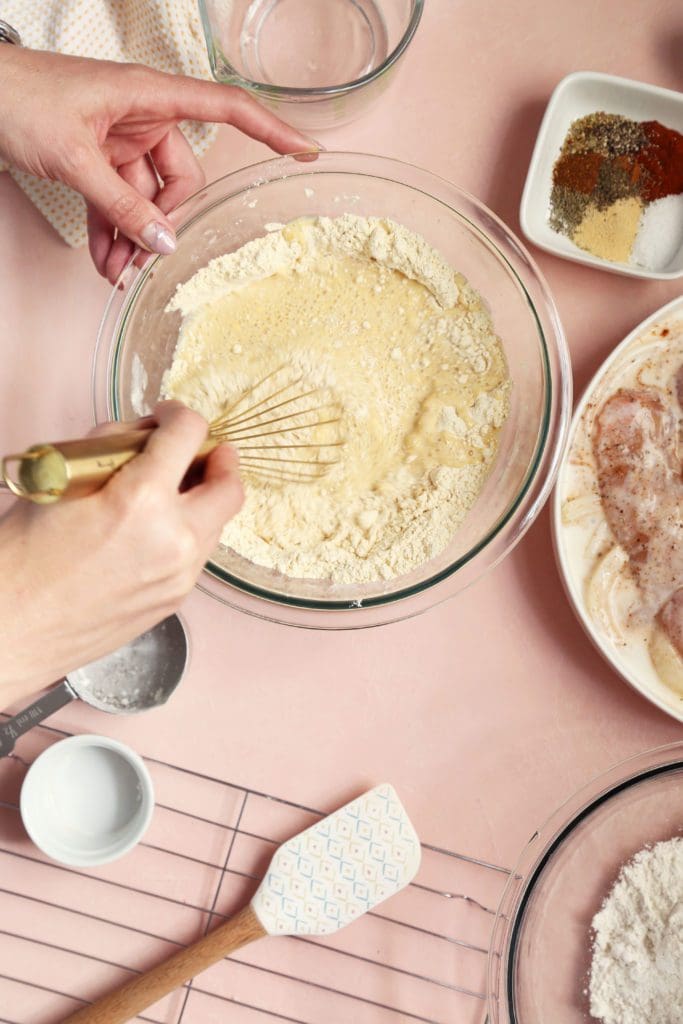
Whisk the wet and dry together, ensuring that the egg is thoroughly whisked in.
You might find yourself fighting a few lumps, that’s ok! Just put your back into it a bit, and know that we’ll have another opportunity to whisk the batter after a 30 minute rest.
Cover the batter loosely with a clean kitchen towel and let it rest at room temperature for 30 minutes. In time, whisk up the fried chicken coating.
Let’s talk about the chicken – it’s been resting, with sliced onions, salt and pepper, in a mixture of buttermilk and hot sauce. I let it come close to room temperature after sitting in the fridge overnight before I mix up the dredging mixture.
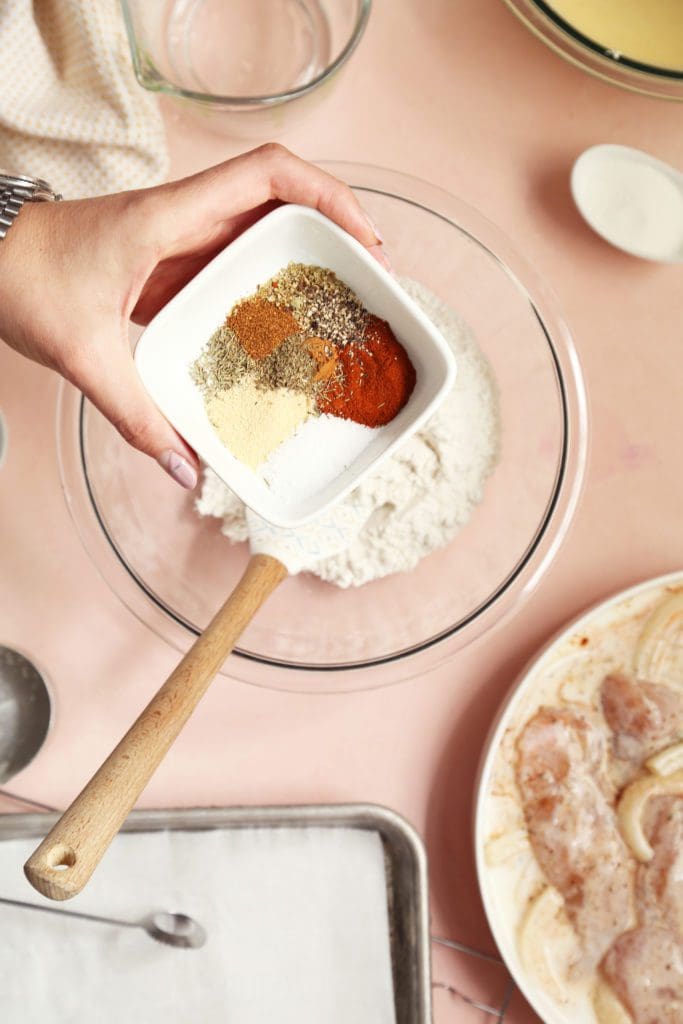
Gluten-free flour is the base to which we’ll add:
dried oregano / cumin / chili powder, smoked paprika / onion and garlic powder / salt and pepper / cinnamon and sugar.
Believe the hype. I promise.
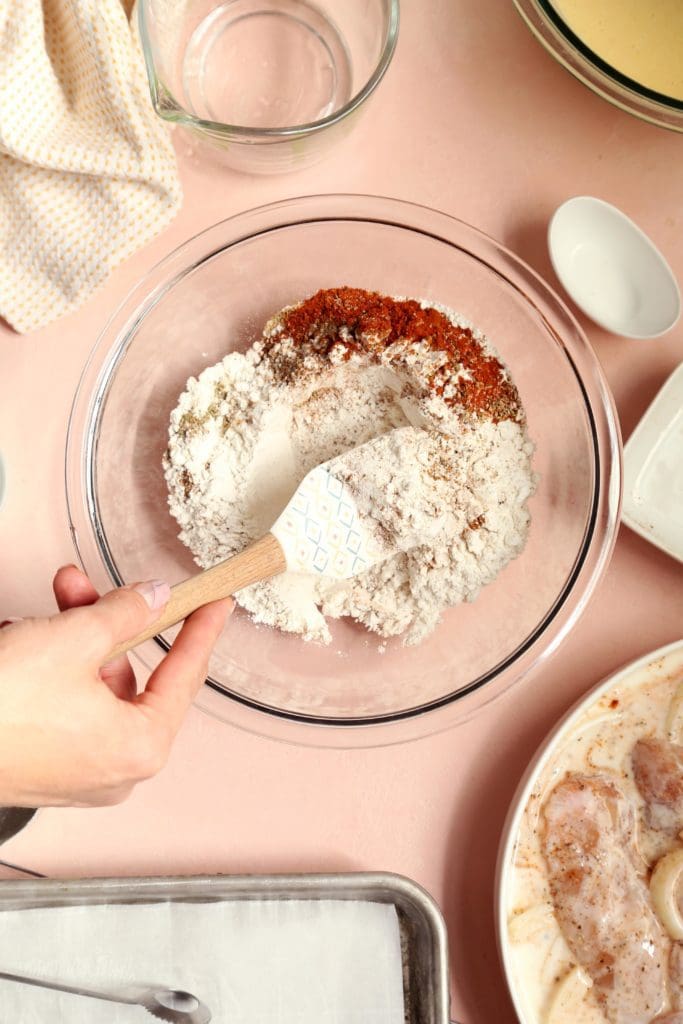
Toss together to evenly combine the spices.
We add so much flavor to the dredging flour because so little of it will actually hit the chicken that we want to make what sticks count for flavor!
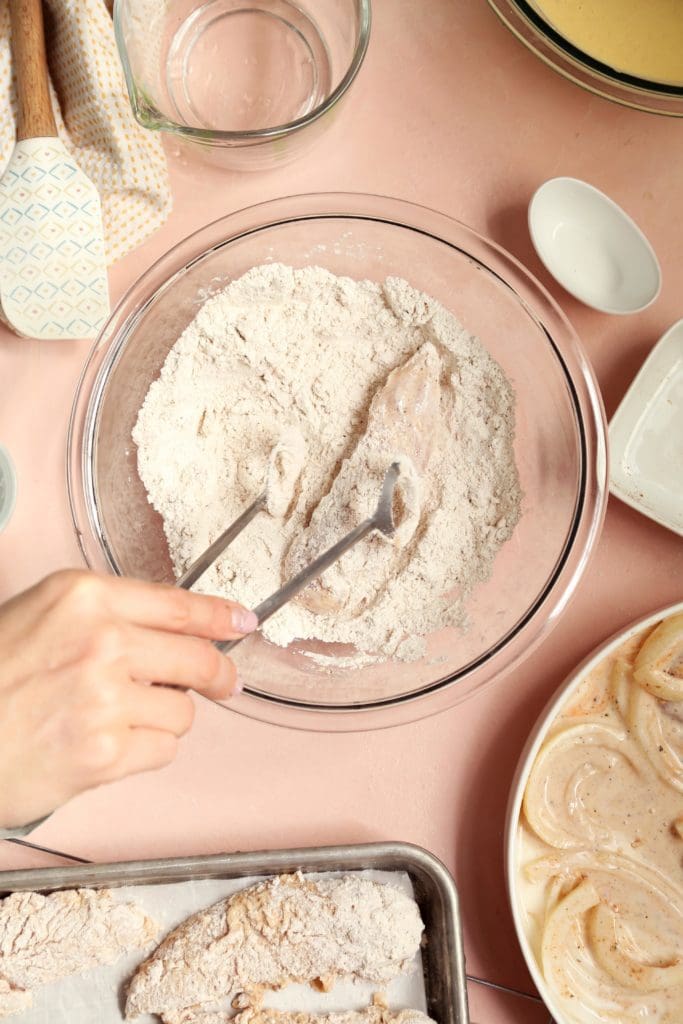
Shake the buttermilk off each piece of chicken and dredge generously in the flour.
Let each piece rest in a single layer on a parchment lined baking sheet.
Coat the onion slices in flour too. We’ll fry those up as a bonus!
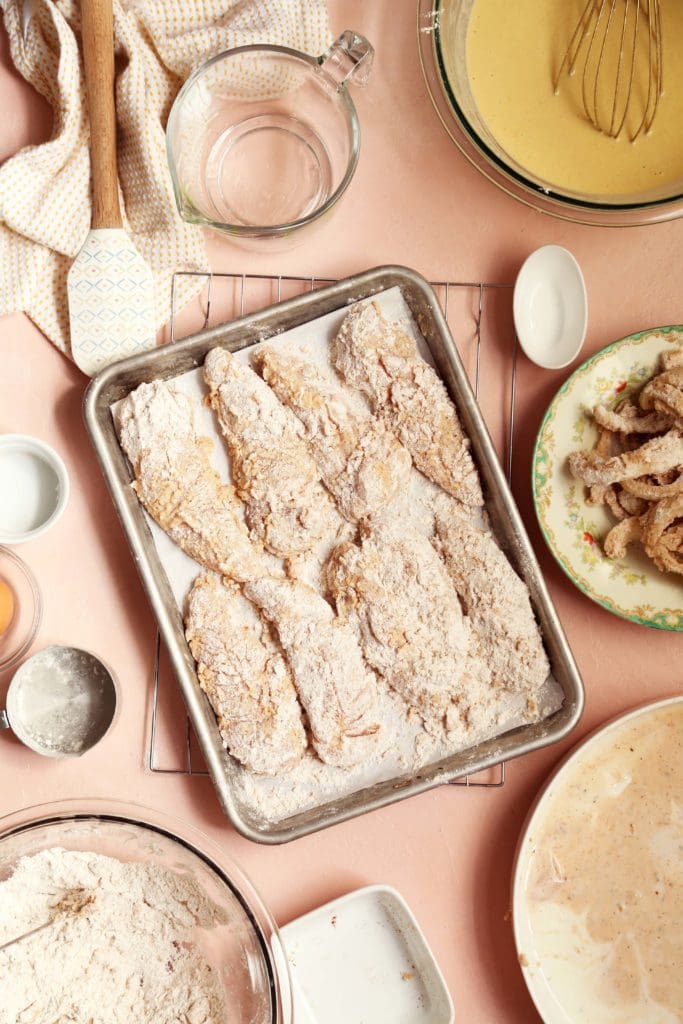
And here’s the trick to frying skinless chicken – more rest time.
Allow the coated chicken pieces to rest, giving the flour blend time to absorb the moisture from the buttermilk. This key step ensures that the coating will stick to the chicken pieces as they fry!
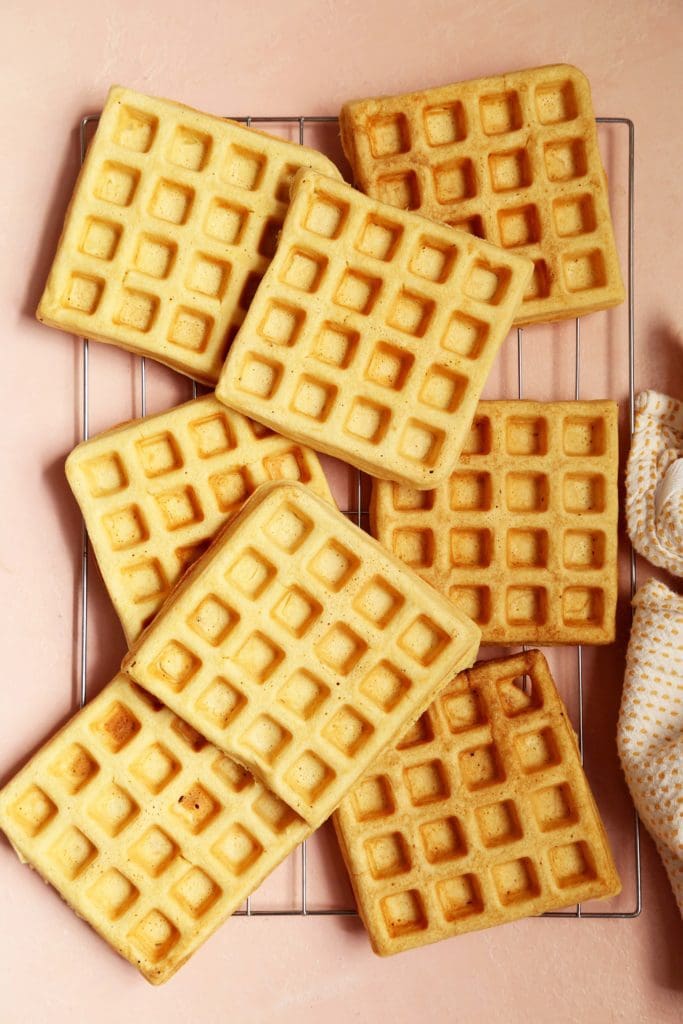
Waffles, baked up to crisp and golden. Allow them to rest on a cooling rack as they bake up in batches, keeping the bottoms from getting soggy.
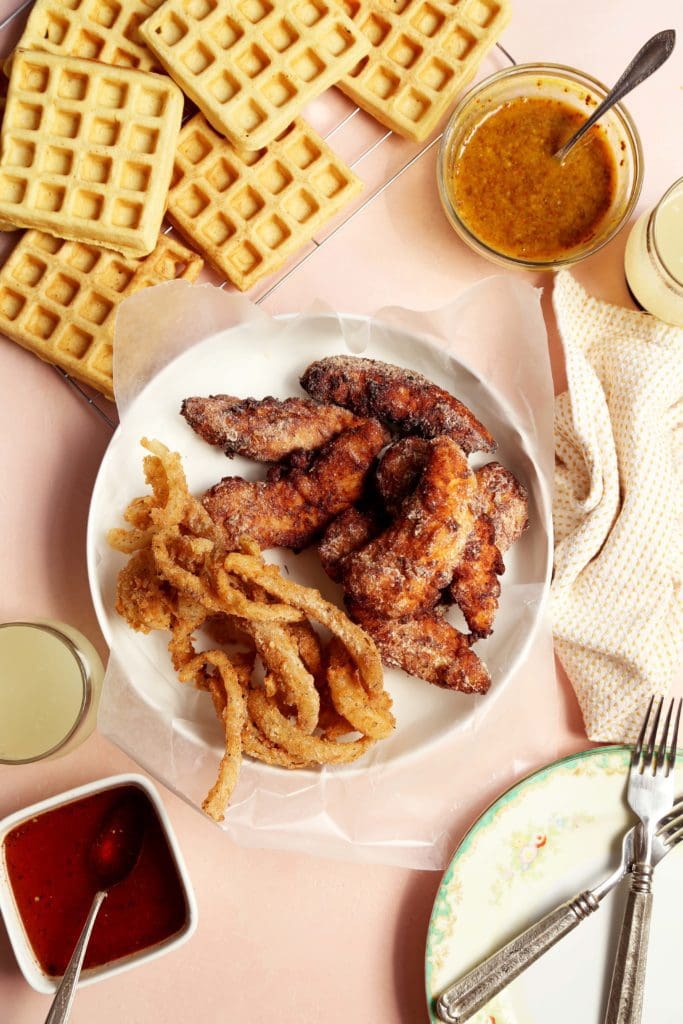
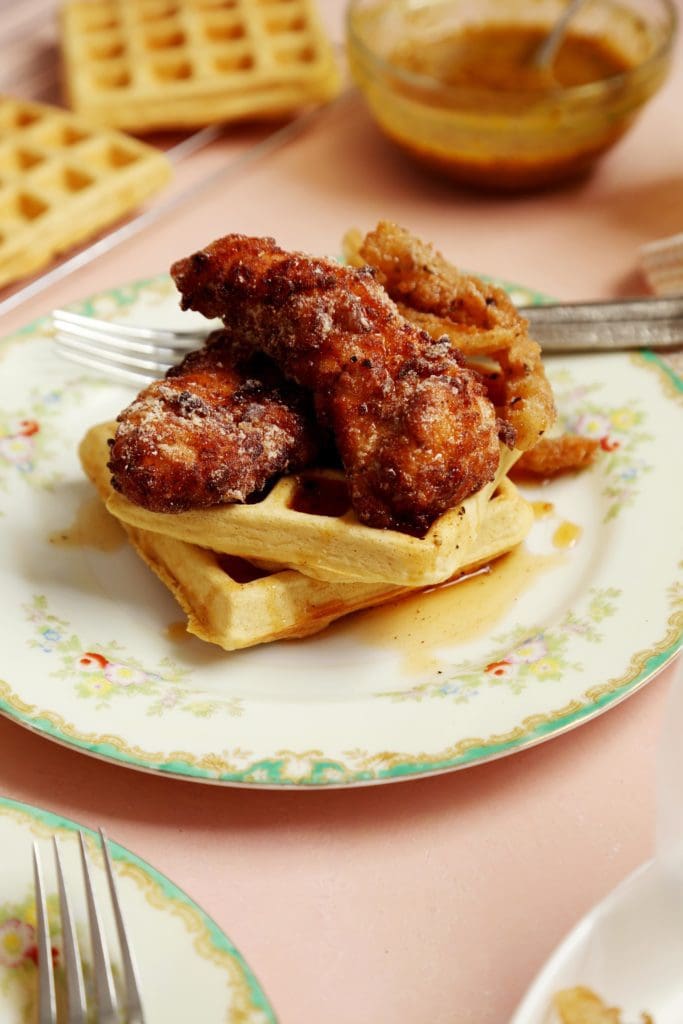
It all comes together!
I’ve whipped up some spicy maple syrup and a quick honey mustard as pouring and dipping options. Keep it simple or get as fancy as you’d like!
Photos with my friend Jon Melendez.
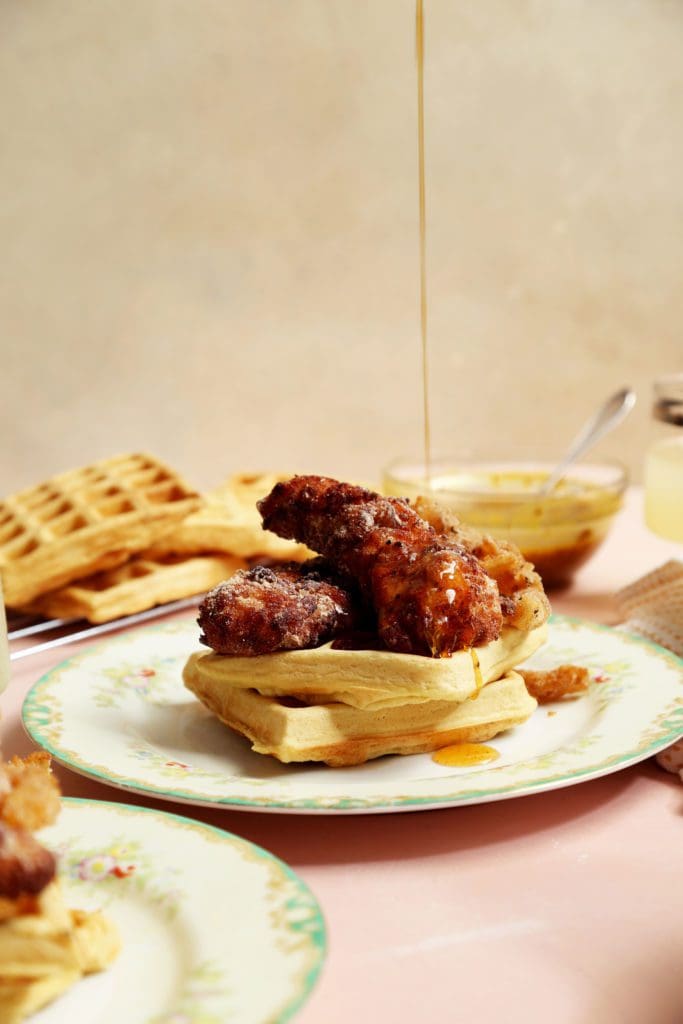
Chicken and such is yours to enjoy.
Print
Gluten-Free and Chickpea Chicken and Waffles
- Prep Time: 0 hours
- Cook Time: 0 hours
- Total Time: 0 hours
Ingredients
- For the Waffles:
- 1 1/2 cup chickpea flour
- 1/2 cup all-purpose gluten-free flour blend (I used Bob’s Red Mill)
- 2 teaspoons baking powder
- 1/2 teaspoon sea salt
- 1 1/2 cup water
- 2 tablespoons maple syrup
- 1 large egg
For the Chicken:
- 1 1/2 – 2 pounds chicken breast tenders
- 1 1/2 cups buttermilk or yogurt mixed with a bit of milk
- a few good dashes of hot sauce (like Crystal)
- 1 yellow onion, sliced thick
- 2 cups gluten-free flour blend (I like Bob’s Red Mill)
- 1 teaspoon freshly ground black pepper
- 1 1/2 teaspoons sea salt
- 1 teaspoons smoked paprika
- 1/2 teaspoon dried oregano
- 1/2 teaspoon onion powder
- 1/2 teaspoon chili powder
- 1/4 teaspoon ground cumin
- 1/4 teaspoon ground cinnamon
- 1/4 teaspoon garlic powder
- 3 tablespoons granulated sugar
- peanut of vegetable oil for frying
- pure maple syrup + a pinch of salt + a few pinches ofred pepper flakes
- a few tablespoons of honey + a few tablespoons of whole grain mustard
Instructions
- To make the waffles, in a medium bowl whisk together the flours, baking powder, and salt. Create a well in the center of the dry ingredients and pour in the water, maple syrup, and egg. Whisk together the wet and dry ingredients until smooth.
- Set the batter aside and allow the batter to rest for 30 minutes. This will help soften the chickpea flour. It’s an important step.
- To make the chicken, first place the chicken in a large bowl. Season generously with salt and pepper. Add the onion slices to the chicken. Top with buttermilk and lots of hot sauce. Toss to coat everything lightly in buttermilk and let rest at room temperature for about 30 minutes. (You can do this step a day ahead and let it marinate in the refrigerator overnight. Just bring the chicken out of the refrigerator for about 30 minutes before frying.)
- In a medium bowl whisk together flour, pepper and salt, and all the spices and sugar. It’s a lot. Whisk it up!
- Dredge the chicken by pulling it out of the buttermilk, giving it a little shake and coating it well in the flour mixture. Place on a parchment lined baking sheet. Continue with all of the chicken pieces and allow the pieces to sit until the flour has absorbed the some of the liquid from the buttermilk and chicken. This short rest will help the coating stick to the chicken pieces better.
- It’s up to you whether you want to cook the chicken pieces or the waffles first. I fried the chicken first, but the choice is yours.
- Heat about 2-inches of oil in a saute pan. Heat the oil to 360 degrees F. Place 3 to 4 pieces of chicken into the hot oil being sure not to overcrowd the pan. The temperature will drop when you add the chicken so be sure that the chicken isn’t too cold when you add it.
- Cook pieces for about 4 to 5 minutes, depending on the size of your pieces. Cut a piece open to test for doneness so you know what you’r working with. Place fried pieces on a cooling rack over a rimmed baking sheet or on a baking sheet lined with a few paper towels. Allow the chicken to cool slightly before serving. Once you’ve fried all the chicken, fry the onion slices too! Fry until just golden brown and crisp.
- To make the waffles, give the batter a good whisk, heat your waffle iron and spray with nonstick cooking spray. Fill the waffle iron with batter and cook according to your specific waffle iron.
- Serve chicken stacked on top of waffles with spicy maple or honey mustard. Enjoy warm!
- The chicken is also delicious cold and the waffles are good stored in the freezer and reheated in the toaster.


8 Responses
I don’t understand this section:
Continue with all of the chicken pieces and allow the pieces to sit until the flour has absorbed the some of the liquid from the buttermilk and chicken.
Help!
Sure, Judy! Essentially what I’m say is, dredge all the chicken pieces in the flour and let them sit on the parchment lined pan to rest. While they rest, the liquid left on the chicken will start to absorb into the flour and make the coated chicken look a bit wet. That’s what we’re going for. Does that make sense?
Thank you for posting about the diet changes you’re making and the ups and downs of navigating those. My boyfriend suffers from severe inflammation attacks and we’re learning to make changes to diet (so far limiting gluten, almonds, eggs) as we listen to his body and what it needs/can’t handle in relation to that inflammation. Sometimes it feels like one step forward and two steps back. Your writing deeply resonates in so many ways. Thank you for your honest authenticity, in this and so many other things.
I appreciate you comment so much. It an be really challenging to make permanent changes, especially when food is such a big part of your life. Stay encouraged though. Every small change you make leads to good. xo!
I think I’ve found my next food project; no work next week, so I’m doing this instead!
Making this right now; first time frying chicken & it is going great. The crunch & flavour is fantastic! Thanks, Joy.
Thanks for sharing, I will try this soon.
I’ve been gluten free since 2012 after being diagnosed with celiac. Navigating my new options brought me closer to food and to cooking than I had been before. There was a lot of trial and error and a few nights that ended with popcorn for dinner, but I’m thankful for the journey and for learning more about food. Best of luck in this chapter and with your new normal!