Oooh oooh, all the ways we’ve come to enjoy cake.
We can stack it high and chocolate frost it. We can top it with candles and light it on fire. We can slice it large and eat it greedily. Heck… we can bake it in a paper cups and still call it a cake. Bundt it? That’s as fine an idea as any.
What’s so deeply glorious about cake is that it signifies an occasion, grand or otherwise. Certainly if there’s cake, there’s something to celebrate like a big birthday or a… big beautiful morning with coffee.
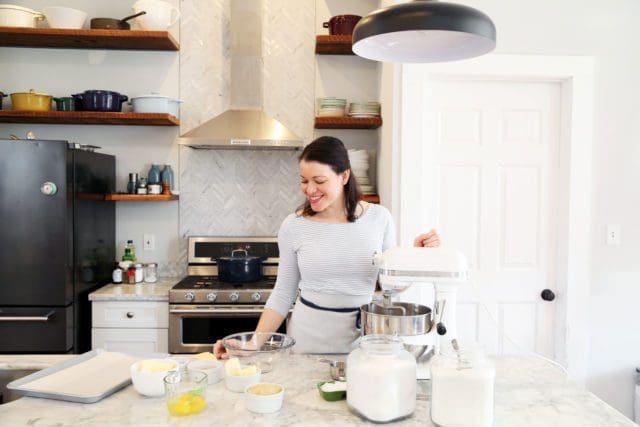
Enjoying cake is one thing… baking a cake is its own saga of heroes and triumphs. I’ve thrown enough flour around my kitchen while becoming a baker to know that every cake has its story of butter temperature, and sugar ratios, egg whipping, and batter folding. Cake, despite what the boxed mixes in the grocery store might have you think, is so beautifully nuanced and specific and in this case… so very French.
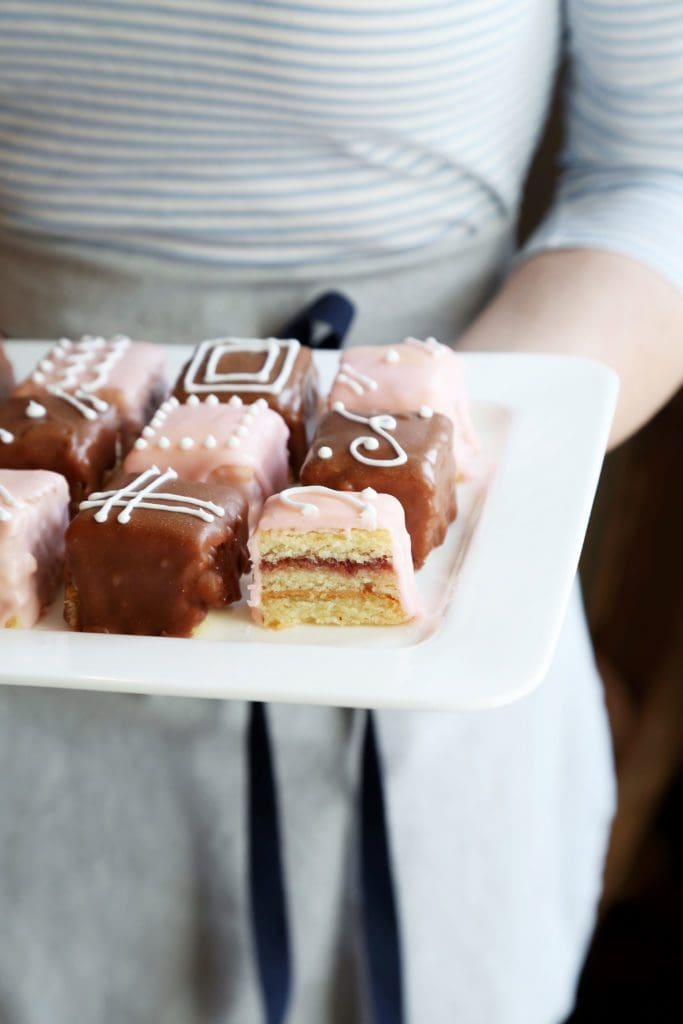
We’re making Petit Fours! These in particular are small, layered, dense almond cakes filled (very American style) with peanut butter and jelly, and frosted with white and semi-sweet chocolate glaze.
So, how do you feel about a baking adventure?
This is a pretty extensive recipe. The cake batter is rather amiable and bakes up sturdy and golden. The filling and stacking is straight forward. It’s just the glazing of the cakes that takes both patience and a metric ton of glaze. All worth it for the sake of sweet, playful, hand-held cakes. Cake heroes indeed, let’s bake!
A good while ago I wrote some words on How To Read A Recipe. A recipe is a formula and a guide and has it’s own specific format. Really though, the most important part of reading a recipe… is actually READING the recipe.
If these little cakes are something you’ve never made before, give the recipe a read before you get started. I promise it’ll help smooth out the process.
This recipe calls for a delightful amount of almond paste. Almond will be the base flavor of these cakes and the paste will keep the cakes both dense and moist.
I found almond paste in the baking aisle of the grocery store. It comes in a tall and skinny box, inside of which there will be a silver cylinder of almond paste. I’ve picked this almond paste up in the grocery store. But King Arthur Flour (we love them!) has an almond paste that’s wonderful.
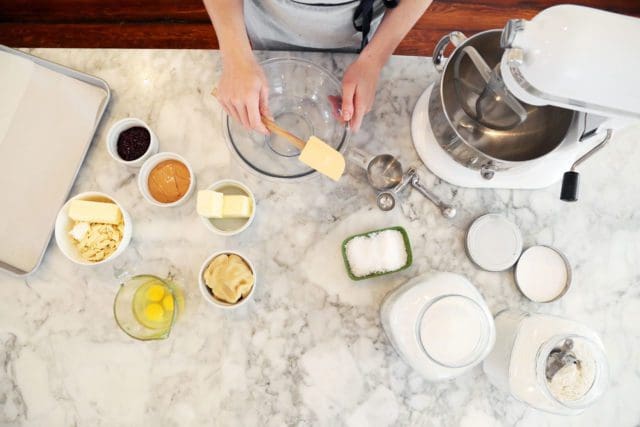
In addition to the base flavor of almond paste, we’ll also need:
- room temperature eggs
- equal parts softened butter, granulated sugar, and all-purpose flour
- salt and pure vanilla extract for a balance of flavors
- white chocolate and semi-sweet chocolate for the glaze
- corn syrup and powdered sugar, in large amounts
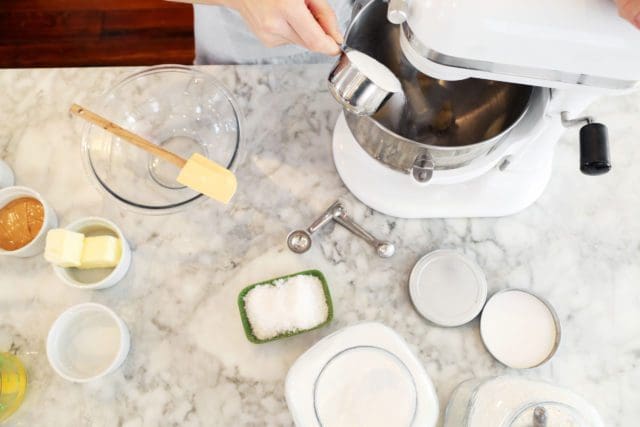
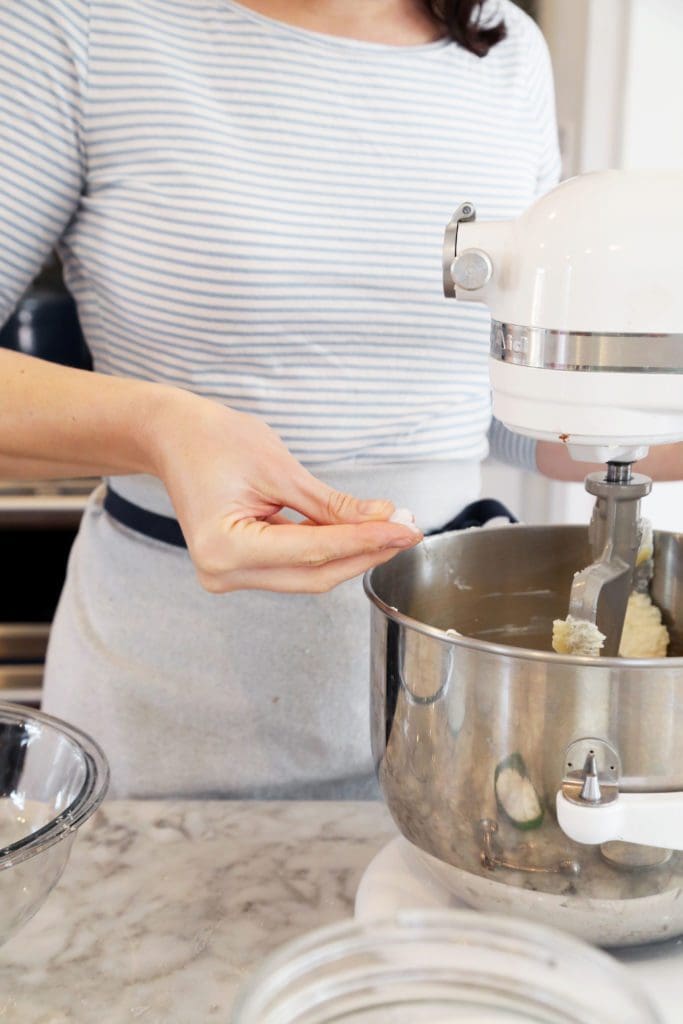
We’ll start by adding the sugar and almond paste to a stand mixer.
Give it a whirl. The almond paste is thick and needs to be broken up in the mixer. The two ingredients won’t be thoroughly combined – they’ll be crumble and that’s right!
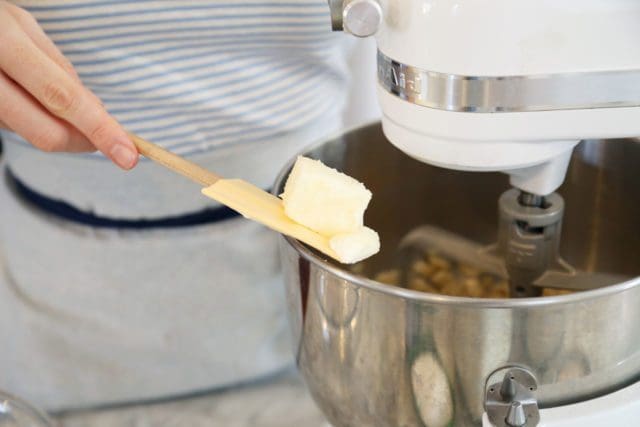
To the almond paste and sugar mixture we’ll add the softened butter – gradually. Add the butter in four of five allotments, mixing well in between additions.
You might even stop the mixer and scrape down the sides and you add more butter. Once all of the butter is added, beat of medium speed until it’s slightly pale and visibly more fluffy than when you started.

The mixture will look like this! Remember, it’s just almond paste, sugar, and butter.
It’s thoroughly combined and well aerated. That’s what you’re going for.
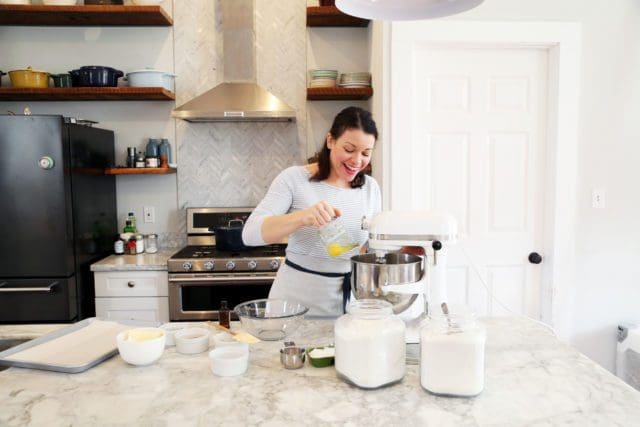
Next we’ll add the eggs.
I’ve measured my eggs into a measuring cup because we’ll need 3/4 cup (or 190 grams) of eggs without the shells. For me, the was three large eggs – but it might be four for you.
The eggs are added one at a time (more of less). Incorporate the eggs for one minute between each addition.
And while you’re being so thorough, stop the mixer and scrape down the sides of the bowl while you’re working the eggs in.
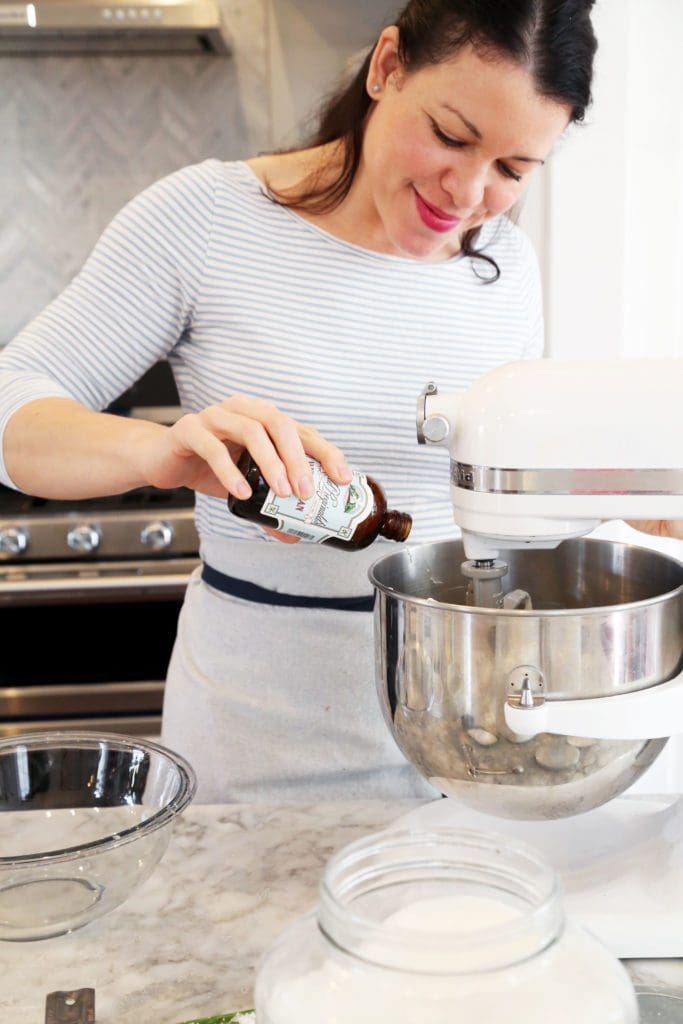
Add the vanilla extract. A good splash of vanilla extract and, if you happen to have it on hand, a small splash of almond extract to reinforce the almond paste.
The last two ingredients of the cake base is salt.
Just a small amount of sea salt will do!

And we’ll incorporate 2/3 cup of all-purpose flour too. Just to bring some added stability to the cake crumb.

Now let’s talk about our baking pan.
We’ll use a 17 1/2 x 12 1/2 x 1 inch – pan. I’ve heard it referred to as a jelly roll pan. If you aren’t sure which of your pan is the right size, bust out that measuring tape and see! It’s very specific, isn’t it? This size pan is important. We want the cake to bake evenly and to the right thickness.
Grease the pan (bottom and sides) with either butter or nonstick baking spray, line with parchment paper (don’t skip this step!), and grease the parchment paper as well.
You’re great! You’re doing great!
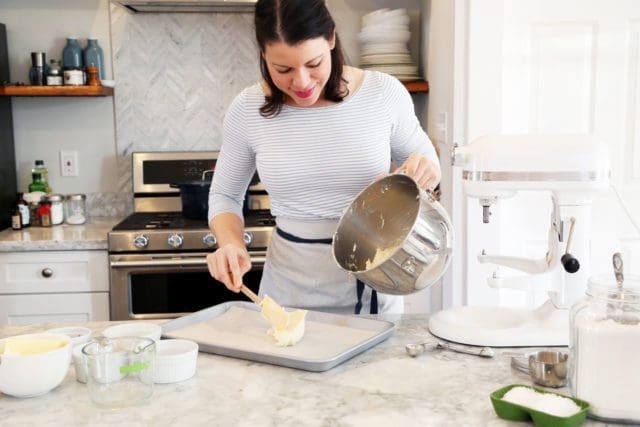

Spoon the thick and fluffy cake batter into the prepared and and spread it evenly from corner to corner.
I used an offset spatula, which comes in super handy. A butterknife would also work. Try to get the batter as evenly as possible across the surface.

Ready for the oven!
The cake will bake for about 15 minutes. Maybe 18. You’ll know it’s done when the cake is golden brown, pulls away from the edges of the pan, and is lightly springy to the touch.

Once out of the oven, allow the cake to cool in the pan for about 15 minutes. Run a knife along the sides of the pan where the cake might be sticking and use a spatula and your hands to coax the slightly warm cake and the attached parchment paper out of the pan and only a big clean cutting board.
This is where a ruler can come in handy. We want to be as exacting as we can be in dividing the cake into thirds.
We’ll trim the edges once all of the layers are pressed together so, for now, divide the cake into three equal pieces.

You can see that, in dividing the cake into thirds, I also sliced through the parchment paper. The attached paper mostly makes the cake pieces easier to transport.
Flip your first third of cake over and place it, top down, on a clean pan (again lined with parchment paper – I swear it comes in handy!).
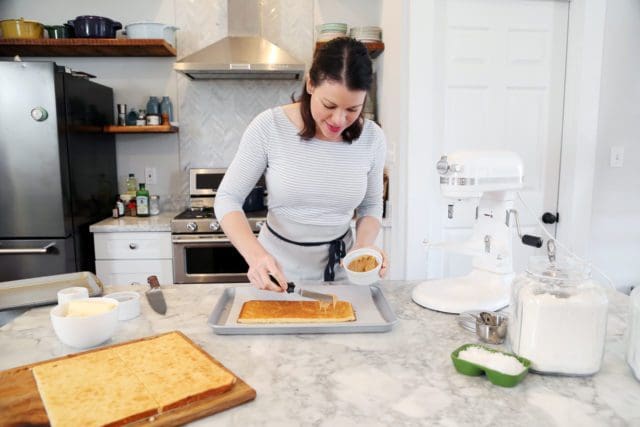
To that first cake layer we’ll spread our smooth peanut butter. Just a thin layer as a glue layer to our cake stack.

Next – the second cake layer. Again top side down. Try to line it up as evenly as possible to the first layer. Edge to edge is the way to be.


The second layer of cake gets a thin layer or seedless raspberry or strawberry jam. Spread evenly and sparingly.
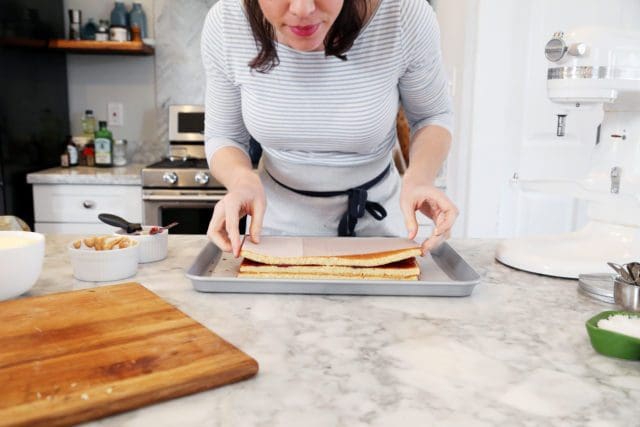
Finally, we add our third and final cake layer, top side down, flush with the first two layers.
You can leave that final piece of parchment paper on top of the cake. It’ll come in handy.

Add a second sheet pan to the cake and place a large can of something on top of the pan. Maybe you have a big can of tomatoes or something in the pantry? Add it to the top of the pan as a weight and let the cake rest in the refrigerator for 2 to 3 hours (though you can leave it in the refrigerator overnight, too.)
The time in the refrigerator helps the cake and filling stick together and solidify. It’s precious / important time.
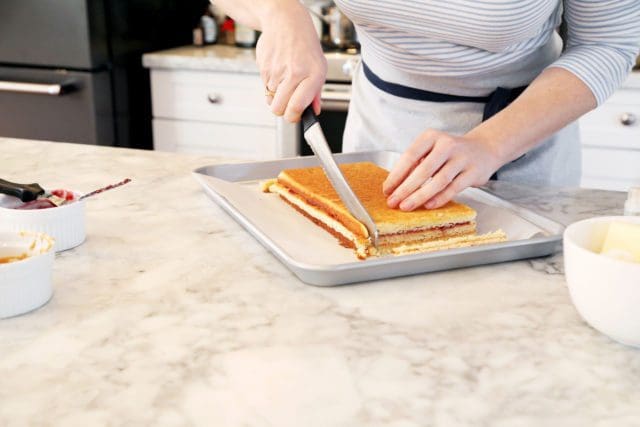
When the cake comes out of the refrigerator the cake will be chilled and firm. This isn’t a crumbly cake (thank goodness) so it will trim and slice well.
Slowly and carefully trim the edges of the cake so that each side of the cake is free of those crisp cake edges.
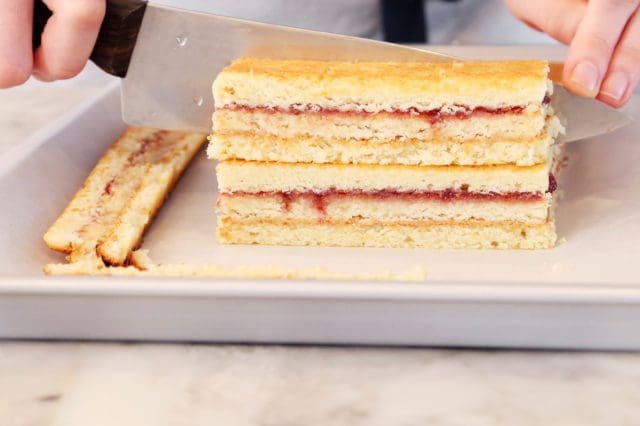
Measure your cake. Yup – pull of that ruler again, and see how you can slice the cake.
With the cake positioned in front of me horizontally, I could slice even 1 3/4-inch slices.
I stacked the cake batons on top of one another to ensure that I cut straight and even.
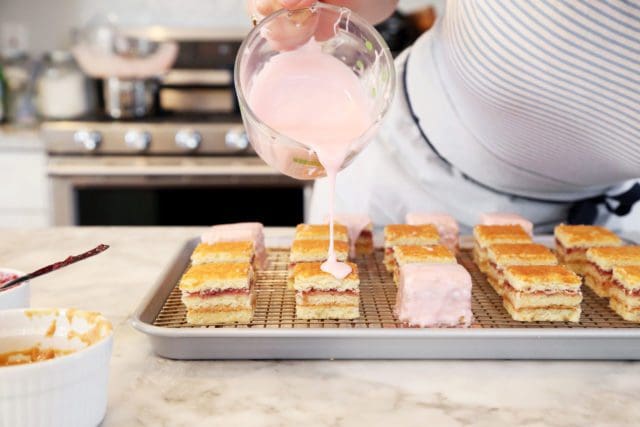
Look at these sweet little squares! Let’s glaze them.
Now…. let me tell you something about this glaze. It’s stable and amiable – but it sure can be a little fussy when it comes to glazing.
The pink glaze is a mixture of white chocolate, powdered sugar, corn syrup, and hot water. I added a swipe of pink food coloring to create this pink hue. There are three things to know to successfully glaze these gems:
• Whisk the glaze together in a heat proof glass or metal bowl. Have a pan of water simmering on the stove and return the bowl of finished glaze to the simmering water creating a double boiler to warm the glaze as it thickens.
• You’ll need a lot lot lot of glaze. It takes a while to get the hang of pouring the glaze. It takes a while to get the hang of keeping the temperature at the 100 degrees F – that seems to be the ideal temperature.
• Glaze these cakes on a wire rack set above a clean parchment lined baking sheet. You can glaze the cakes, and return the excess glass four on the parchment to the bowl, reheat that glaze, and reuse it!

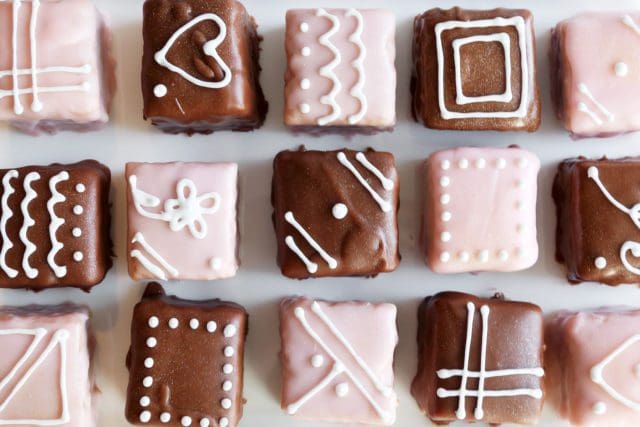
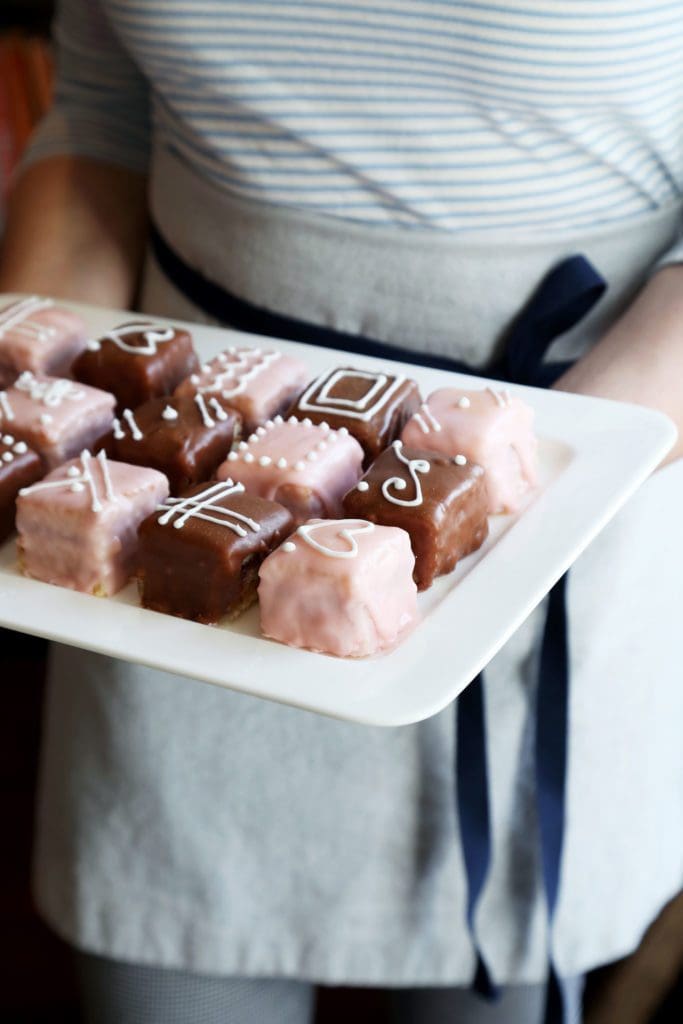
While the pink glaze is a mixture that includes white chocolate, the chocolate glaze is a mixture that contains semi-sweet chocolate chips. I love how the two look together so I made a big batch of both glazes. Honestly, I needed the two big batches. These cakes required more glaze than I anticipated.
Finally, I happened to have edible gold dust on hand (this is just a thing that happens when you live in New Orleans). It’s lovely but not totally necessary.

And finally! Royal icing! It’s simply powdered sugar, citrus, and egg white whipped together. Royal icing is great because it hardens rather quickly and sets into place.
Add some simple dot and line designs. I mean, we’ve come this far… let’s make it nice.

They’re charming.
I mean dang, they were a lot of work, but they’re charming as ever.
And luckily, the density of the almond paste in this cake makes each bite filling and satisfying. In other words, it’s not like me with a tray of deviled eggs, trying to fit as many in my mouth as I can.
All of your hard work will be appreciated.
Jon and I made these photos together and we hope that they’re helpful in your petit four baking adventure.
Print
Peanut Butter and Jelly Petit Fours
- Prep Time: 240
- Cook Time: 18
- Total Time: 4 hours 18 minutes
- Yield: 12 1x
Ingredients
For the Cake
- 2/3 pound (300 grams) almond paste
- 2/3 cup granulated white sugar
- 2/3 cup unsalted butter, at room temperature, cut into 5 medium pieces
- 1 teaspoon pure vanilla extract
- small splash pure almond extract (optional)
- 3/4 cup (about 4 large eggs) (190 grams without shell), at room temperature
- 2/3 cup all-purpose flour
- 1/4 teaspoon sea salt
For the Filling
- 1/3 cup smooth peanut butter
- 1/3 cup seedless raspberry or strawberry jam
For the Glaze
- 1 cup white chocolate chips
- 1 cup semi-sweet chocolate chips
- 8 cups powdered sugar, divided
- 1/2 cup light corn syrup, divided
- 1/2 cup hot water, divided
- 2 teaspoon vanilla extract, divided
- pink food coloring
For the Decorative Royal Icing
- 1 large egg white, at room temperature
- 1 teaspoon freshly squeezed lemon juice
- 1 1/2 cups powdered sugar, sifted
- pinch of salt
Instructions
- Preheat your oven to 375 degrees F. Butter or spray a 17 1/2 x 12 1/2 x 1 inch (44 x 32 x 2.5 cm) baking pan and line the bottom of the pan with parchment paper. Butter or spray the top of the parchment paper as well. Set aside.
- Place the almond paste in a stand mixer, fitted with the paddle attachment, and beat until broken up. Add the sugar and beat until thoroughly combined. The mixture will be crumbly.
- Gradually add the butter, in 5 or 6 pieces, and continue to beat until light and fluffy (2-3 minutes). Stop the mixer and scrape down the sides of the bowl as necessary to thoroughly combine.
- Beat in the vanilla extract and almond extract (if using). Scrape down the sides of your bowl as needed. Add the eggs, one at a time, beating for 1 minute between each addition until well combined.
- Lastly, beat in the flour and salt. Use a spatula to finish incorporating the batter.
- Evenly spread the batter into your pan and bake for about 15-18 minutes or until lightly browned, springy to the touch, and a toothpick inserted into the center of the cake comes out clean.
- Remove from oven and allow to cool in the pan for 15 minutes. Run a knife or spatula along the sides of the pan and then gently slide the cake, along with the parchment paper, onto a cutting board. Allow to cool completely.
- Use a ruler to measure and divide the cake into three equal pieces.
- Take the first layer and flip it top side down onto a clean baking sheet that has been lined with parchment paper.
- Peel off the parchment paper and spread the peanut butter evenly over the top of the cake. Take a second layer of cake and turn it upside down on top of the peanut butter, lining up evenly. Peel off the parchment paper and spread the raspberry or strawberry preserves evenly on the top of the cake. Finally take the last layer of cake and turn it upside down on top of the preserves. Cover the whole cake with plastic wrap loosely and then place a baking pan and large can of something (tomatoes or something) on top of the pan as a weight. This will compact the cake layers. Place in the refrigerator to chill for 3 hours, or overnight.
- Once the cake is firm, remove from refrigerator, and use a serrated knife to evenly trim the edges of the cake.
- Again use a ruler to measure out even rectangles and then squares and slice as evenly as possible.
- Place the mini cakes on a baking rack placed over a rimmed baking sheet that;s been lined with parchment paper. Next, make the glaze.
- We’re making two batches of glaze: one white chocolate glaze tinted pink, and one semi-sweet chocolate glaze. In a saucepan set over medium heat, bring a few inches of water to a boil. Place a heatproof bowl over the simmering water – add and melt the white chocolate, stirring until smooth.
- Sift in 4 cups of powdered sugar and 1/4 cupcorn syrup and 1/4 cup hot water, stirring until smooth. Add 1 teaspoon vanilla and a small amount of pink food coloring and stir in.
- Do the same for the semi sweet chocolate batch of glaze in a separate bowl.
- If the mixture is too thick to pour, reheat it briefly over the double boiler, and stir in 1 to 3 tablespoons additional water. The mixture is easiest to work with, and pours smoothly, at about 100°F.
- Generously pour one glaze at a time over half of the cakes, one at a time. The corners are the hardest to cover to concentrate your efforts. You can scoop the unused glaze from the parchment paper back into the bowl, reheat it oner the double boiler, and continue to glaze each cake.
- Change out the parchment paper and do the same with the chocolate glaze, generously pouring warmed chocolate glaze over the remaining half of the cakes, one at a time. Recycle the glaze as you need.
- To make the royal icing, place the egg whites and lemon juice in the bowl of a stand mixerand whisk until frothy. Add the sifted powdered sugar and mix until smooth. Add a pinch of salt. If needed, add a few drops of water until you get the correct piping consistency. Spoon into a piping bag fitted with a narrow round tip. Decorate the tops of the cakes with dots and stripes.
- Store the Petit Fours in a covered container in the refrigerator for about 7-10 days. They can also be frozen for about a month. (If freezing, do not decorate with the royal icing.) To defrost, place in the refrigerator for several hours or overnight.


24 Responses
These look incredible! Petit fours are one of my favorite indulgences and I have been dying to make them myself for ages! Thank you for giving me the perfect guide!
Living for over decade in France and finally fluent, I am ashamed to admit how long I thought petit fours had something to do with the number 4, instead of the French word for oven.
Re reading recipes, I have a bunch of old French cookbooks (1920s and ’30s), and the style was completely different. No list of ingredients. Not much in the way of steps. No temperatures or measurements (take some butter, add some flour…). They’re in the form of a paragraph or two, and they assume a lot of prior knowledge. Times change.
Do you bake this at 375 for a reason? It seems hot for baking, and I thought a low temp, like 325, is sometimes used for things like wedding cakes, to keep them nice and flat and even and without a crust on the edges. Is rising not a problem, since this recipe doesn’t have leavening? OTOH, I just peeked around at other jellyroll cakes, like bûche de Noël, and some of them bake at 400! So confused…
I think the reason you bake thin cakes often made in jelly roll pans at a higher temp is that they are often fatless (although this one isn’t) and can dry out quickly, so baking them fast in a hot oven ensures that you get the rise and bake you want, but means that they still retain some moisture.
Petit fours are just the cutest! I love your PB&J take on them. Also, I am awful when it comes to reading recipes fully through before I start making something. You totally got me there! ;) xo
I love the step by step photos…will be a great reference for me, having never made these tiny cakes…might try making them for our upcoming Easter dinner….love the pink and brown glaze together. Thank you
Joy you are a queen! Watching the Great British Bake-off has made me want to make these so many times, but you actually make it look do-able. I can’t wait to try!
Those look so pretty!
OMG!!! Can you just send me some to dallas…I so love this recipe..especially P&J
These are so adorable! And I love the peanut butter and jelly combo. That means they qualify as a lunch sandwich replacement, right?
Petit fours have always seemed like some complicated treat that I’d never be willing to try…until reading your recipe. Even with all the steps, you once again have a recipe that feels manageable. Now I want to make these!
TASTY!!
The taste of cake is amazing.As cake have an important part in our life like birthday,anniversary & other occasion of celebration.”All the world is birthday cake, so take a piece, but not too much”these words describe a human life.
Knowing you, Joy, these will be petit fours worth eating with our mouths, rather than just our eyes. That almond paste cake recipe looks ridiculously versatile. I’m going to have a lot of fun with it. :D
Question re the glaze. Do you think it could withstand a tablespoon or two of powdered, dehydrated fruit? I really like the idea of punching up the flavor on the outside, as well (plus, it’ll deepen the color, I imagine, though it may also make the end result less than silky on the tongue).
Beautiful! Sometimes its lovely to take your time when baking, especially when the end result is this pretty!
https://victoriaspongepeasepudding.com/
Wow what darling cakes, such a treat!!
I enjoyed the way you wrote this piece. And yes, the term jelly roll pan has always confused me. It has been ages since I have baked petit fours. I like your fun spin on the traditional French recipe.
These are beautiful! Wondering if you have any suggestions for fillings other than the peanut butter and jam? It would be a shame for non-nut eaters to miss out on such a treat! Many thanks. And please continue to inspire us – you make a difference!
Oh dear ! These beauties are so delicate and inviting ! Thank you so much !
So so darling! And the flavor combo sounds awesome. I am scared to use almond paste after a traumatic Italian rainbow cookie attempt!
you are a brilliant beyond brilliant person. these look fantastic.
THS looks amazing. Yummy! Look lie you are having fun!!!
i like the end result, must try it soon in my kitchen
Joy, I saw this recipe when you posted in it March and knew the right event would come and I would make them. The moment has come, it’s a friend’s bridal shower, and I am terrified. I am not a novice baker and I have accepted that these are on the labor intensive side. What I am afraid of is attempting to glaze my little guys, standing in my kitchen at 11pm, white chocolate melted and hardened onto everything and lumpy little cakes that won’t quite accept the glaze. Send my your good vibes and I will try to channel you. Deep breath. Off to buy almond paste…
I’ve wanted to make these for ages and finally had time and decided to try them. Some tips/comments for the layperson to (hopefully) save them from making my mistakes:
1. Measure your pan — I had a pan I bought based on another recipe’s measurements that that recipe’s author claimed was a jelly roll pan — not all jelly roll pans are the same size. MEASURE FIRST! (Mine was too small which meant my petit fours turned into little skyscrapers once I stacked them…
2. I LOVED the cake. I followed the recipe (other than the pan size) exactly and the cake was moist and almond-y and delicious. If I were on death row, that cake would be a part of my last meal – no question.
3. The peanut butter/jelly filling didn’t do as much for me as I thought. I love PB&J and I LOVED the cake, but together? Eh. Would probably try a different filling next time.
4. The glaze: Because of my petit four towers, I only made one glaze (the white chocolate one). I used 2/3 of the sugar and it was way more than plenty. It did harden nicely. To glaze it, I put the petit four between my left hand (thumb and index) and held it sideways over the glaze and then drizzled the glaze over the sizes, rotating to get it to cover each size. Once done, I put it on the rack over the parchment paper-lined pan and drizzled the smallest amount to cover the top. All in all, worked pretty well and got nice even sides.
5. By all of this, I was too tired/a little lazy to then try and decorate it. Meh. Will try another version (anything that includes that cake recipe) and be more adventurous then.
Good luck bakers! And thanks, Joy, for a Saturday baking adventure.
My mom used to make Petit Fours when I was small. I think she may have had a recipe similar to McKenzies, Gambino’s or Swiss C in New Orleans. I don’t remember the filling, or even if some of them had it.
I was hoping you can help guide me as to what those are filled with. Your cake base recipe is great.