Friends! Game faces – ON! The most delicious holiday of the year is fast approaching!
Yea… we’re talking about Thanksgiving though here in New Orleans I throw a giant Friendsgiving at The Bakehouse.
We’re four years into Friendsgiving and I, even thought, I have more than a dozen chairs in my house, it feels like I might need even more this year. These are all problems I welcome this time of year because my love languages are butter and feeding people.
In the spirit of both BUTTER and FEEDING PEOPLE I come to you with a plan! It’s early in November and now is as good a time as any to devote some time to a baking project that will set you up for success. There is no greater success (in my kitchen, at least) than puff pastry, especially puff pastry that we can master and tuck away in the freezer for Thanksgiving week when we’ll pull out all the stops.
You feel me. I know you do. And I’ll share for Friendsgiving entertaining tips below!
Today’s recipes (and yes, there are several because aaalll the things we can do with puff pastry) is in partnership with Vermont Creamery’s Cultured Butter. Follow me, let’s bake!
Puff pastry starts with butter, amen. It’s actually a really simple combination of butter, flour, salt, water, and acid. The tricks come in the technique, but I’ve got tips for that. When pastry calls for so few and such simple ingredients, it’s important to use the best ingredients you can get your hands on. Each one will shine through.
Vermont Creamery’s Cultured Butter is really special!
Dairy from Vermont family farms is fermented for 20 hours then churned into super creamy, 82% butterfat, super butter! The fermentation gives this butter hints of buttermilk and hazelnuts – just a bit of tang and nuttiness that adds an incredible depth of flavor to our baked goods – perfect for this puff pastry.
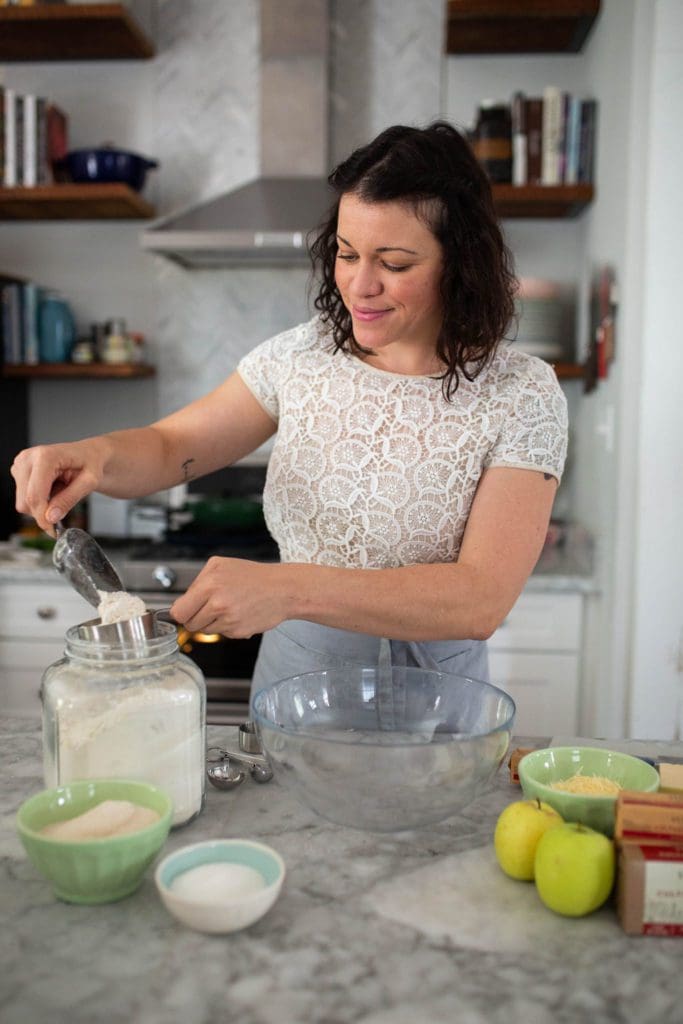
We’ll start by measuring flour into a large bowl.
For this recipe I like a mixture of all-purpose and whole wheat flour.
The whole wheat flour adds a nuttiness to complement the butter.
Note: If you’d like to up the proportion of whole wheat flour in this recipe, you’re welcome to – you just may need to add more water as you bring the dough together.
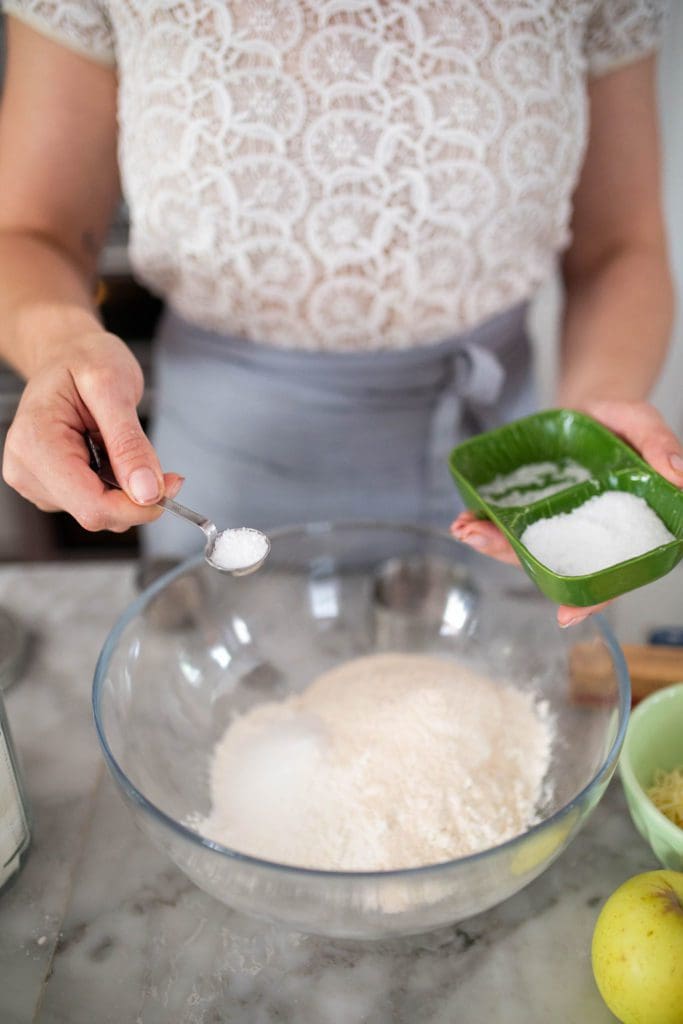
Kosher salt and granulated sugar to add flavor and balance.
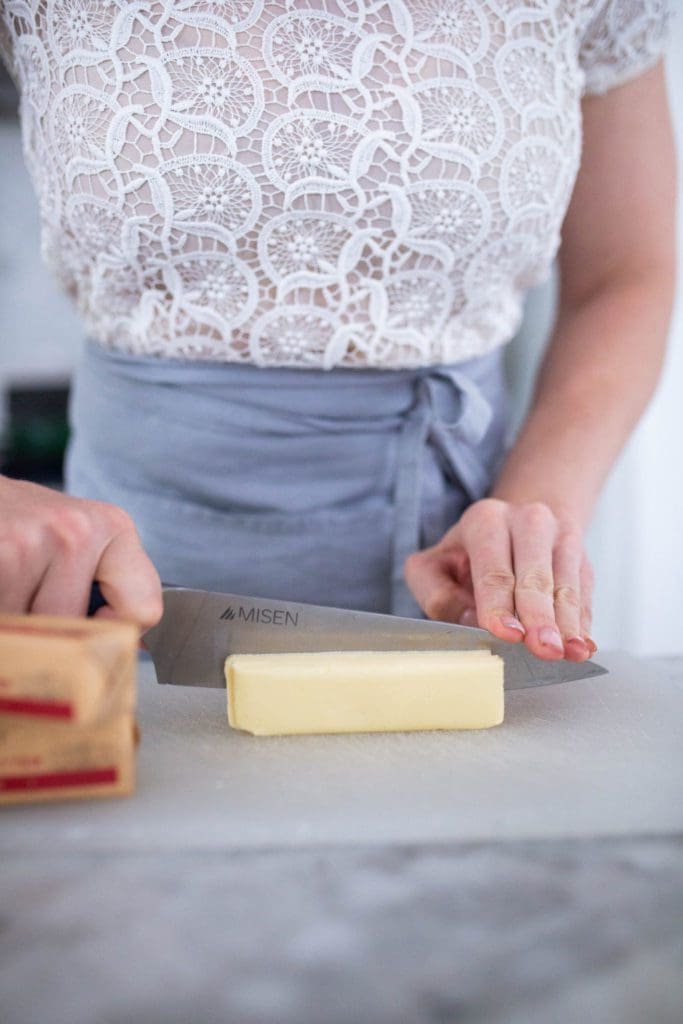
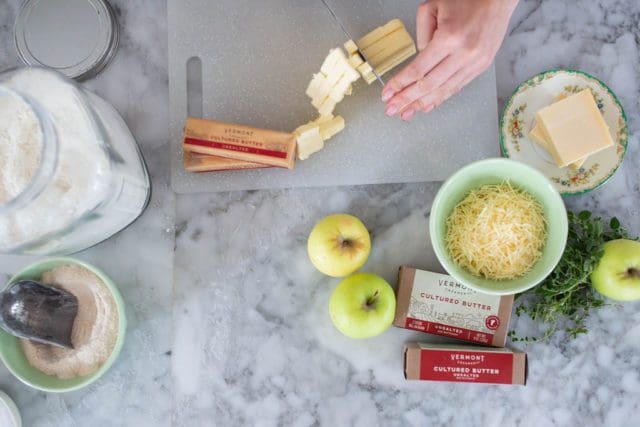
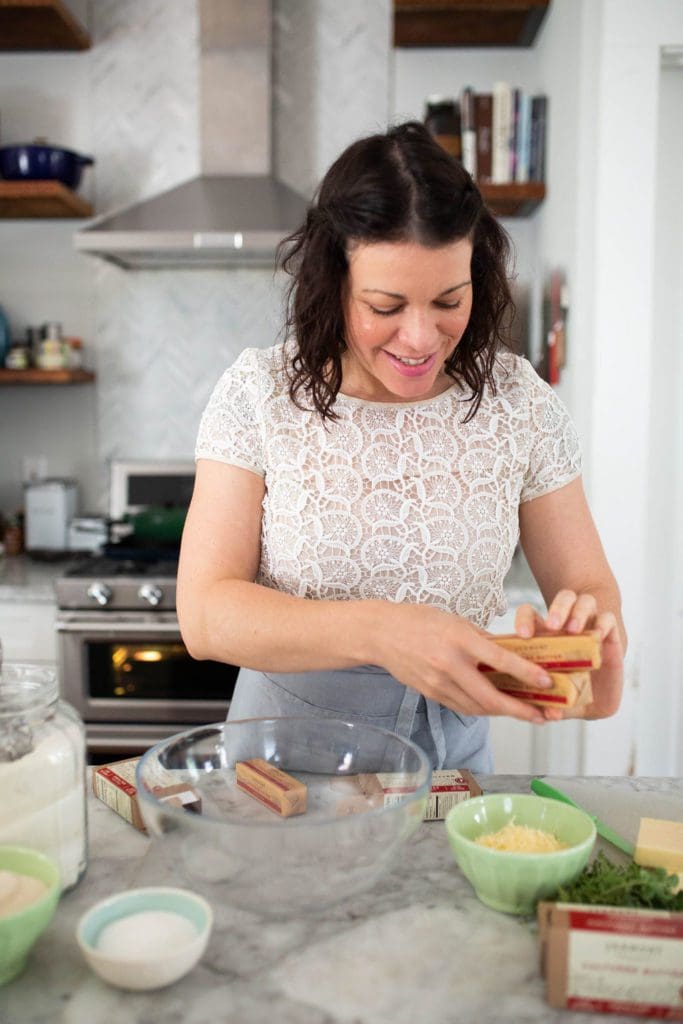
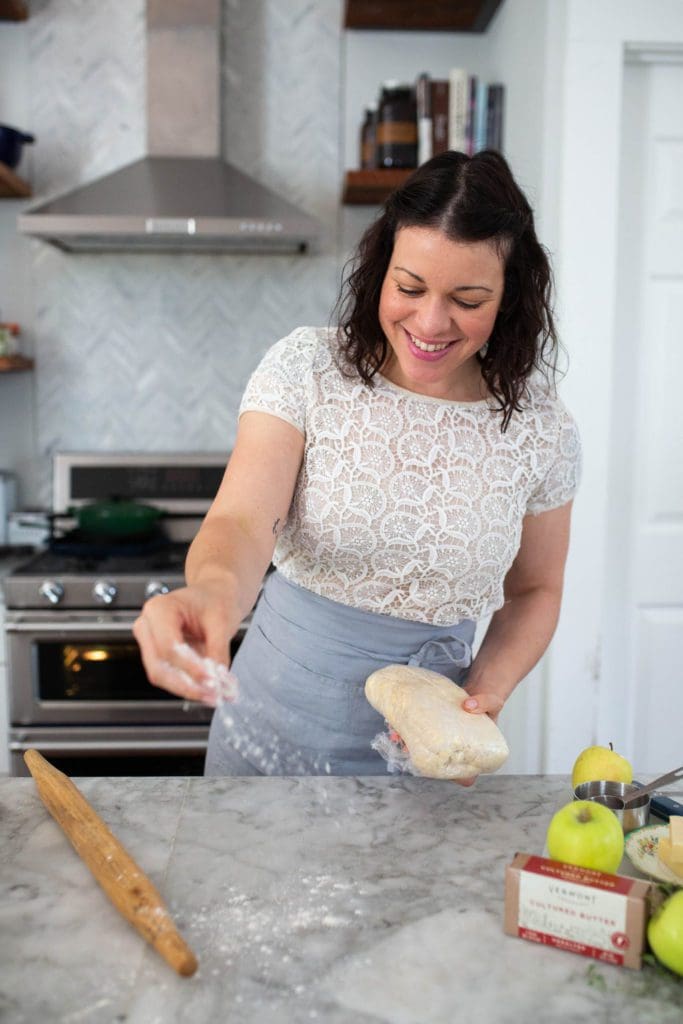
And cold, unsalted Vermont Creamery Cultured Butter.
Cold butter is key to this recipe. We want to break down the butter while it’s cold to keep large butter bits throughout the dough. This will help as we begin to layer the dough later.
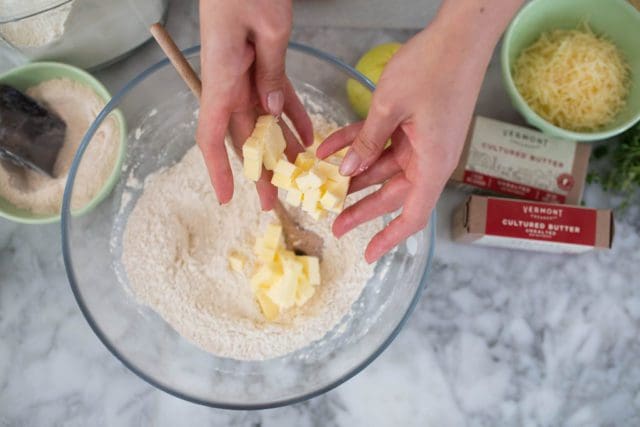
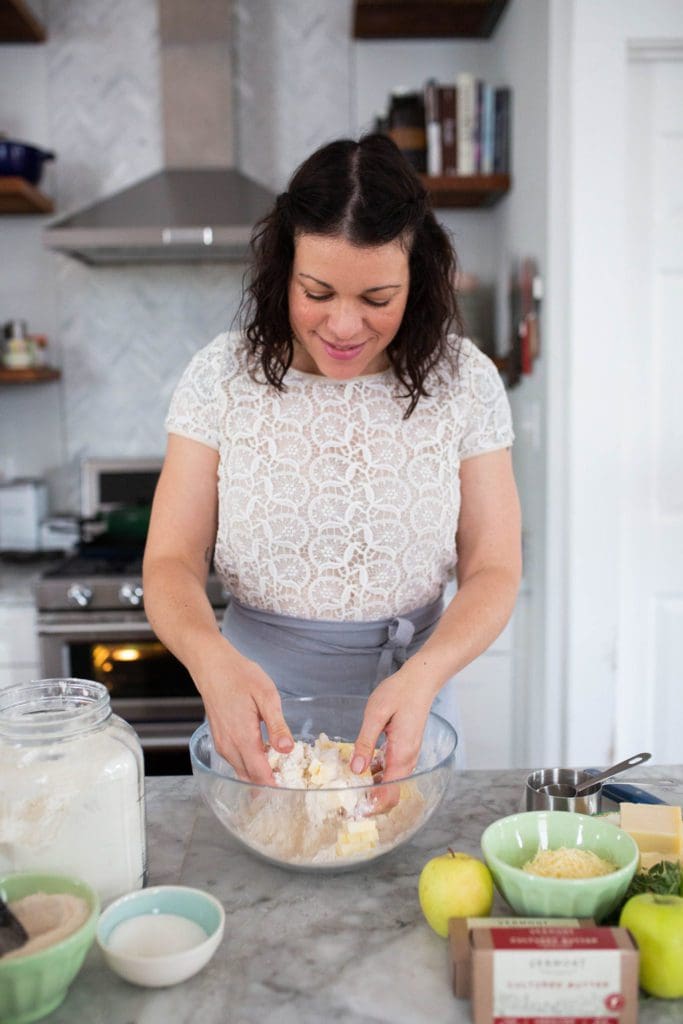
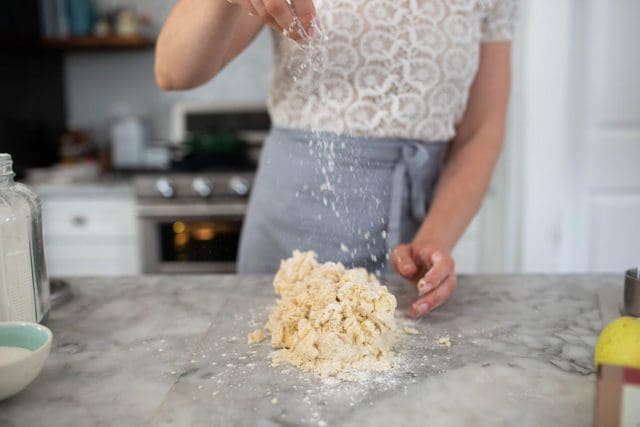
Drop the cold butter into the dry ingredients and use your hands to fluff the two together.
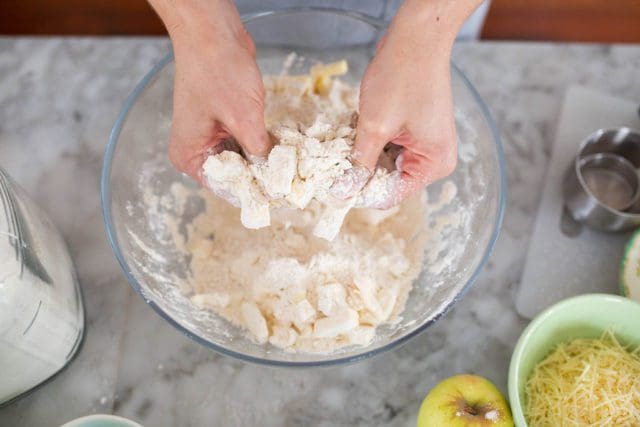
Working fairly quickly, begin to press the cold butter chunks into smaller chunks and flat sheets of butter. I like to gather the butter and flour in my fingers and press the butter with my thumbs to create bits and sheets.
Quick Puff Pastry has a high proportion of butter to flour, so if this feels like a lot of butter – that’s because it is!
Work the butter into the flour, pressing the butter into smaller pieces, for about 5 to 7 minutes. The dough will still be shaggy and some larger butter pieces will remain. That’s ok! We’re well on our way!
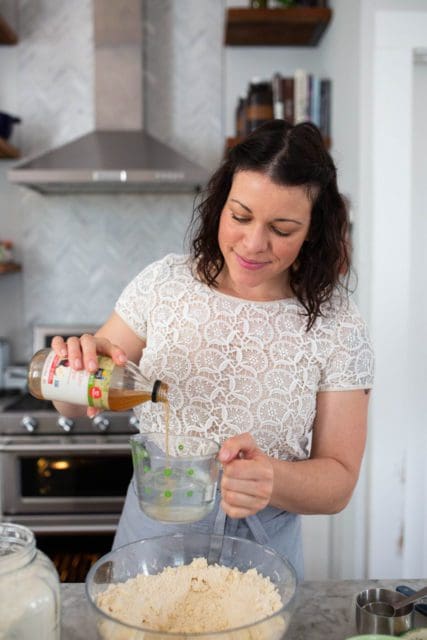
Our next step is hydration!
We’ll combine a good splash of apple cider vinegar with cold water.
Remember – cold is key. We want to keep our butter as cold as possible, so we’ll add cold water to this dough.
Apple cider vinegar helps bolster the tang of the cultured butter in this recipe and helps keep the pastry from oxidizing after a few days in the refrigerator.
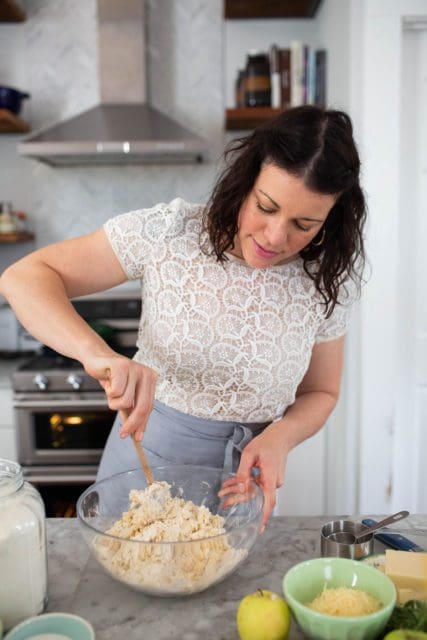
Create a well in the center of the butter and flour mixture and add the water and vinegar all at once. Use a wooden spoon to fluff and stir the mixture into a shaggy dough.
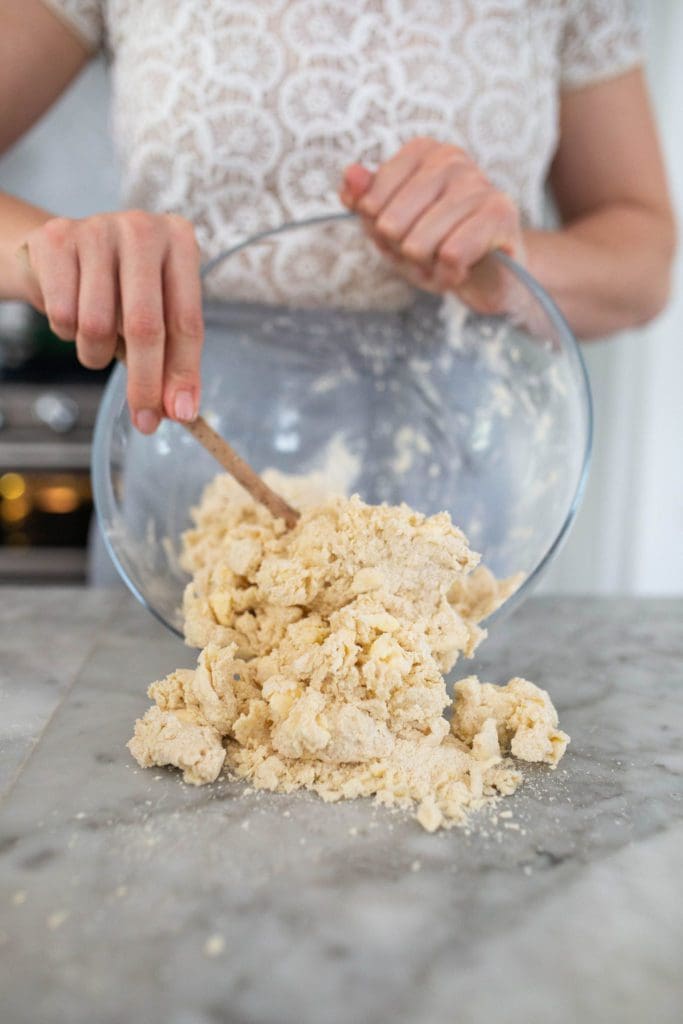
This is the shaggy dough I’m talking about.
Some clumps of dough are held together with water while other bits are more sandy. Even after dumping the dough out onto the counter we can add more moisture if we think the dough needs it.
Sprinkle a bit more flour on top of the dough and begin to knead it from a shaggy dough to a more cohesive dough ball.
Of course the dough won’t be super smooth like say, a yeasted dough – but it should have enough moisture to hold together.
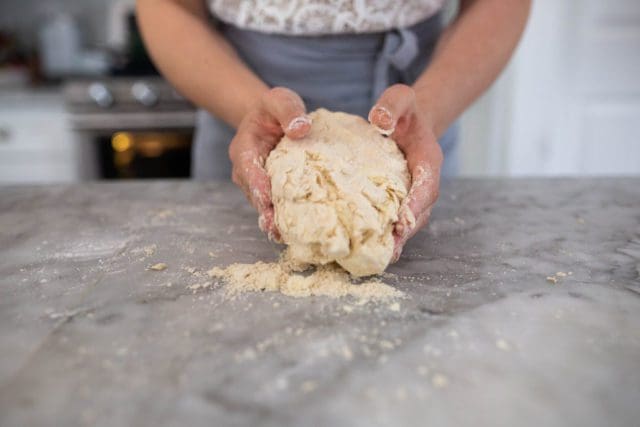

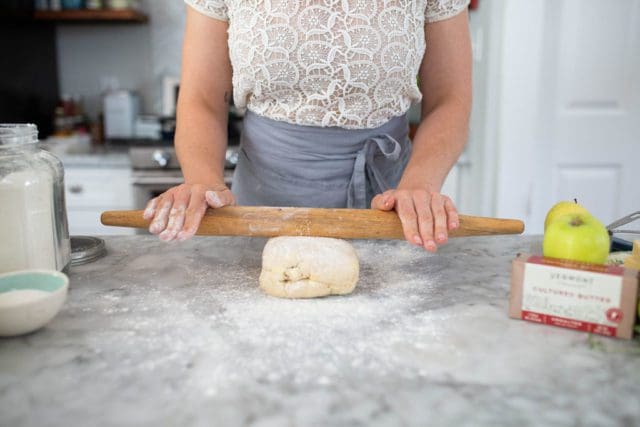
As the dough begins to come together we’ll give it one quick roll-and-fold before setting it in the refrigerator to rest and chill.
Use a lightly floured rolling pin to roll the dough about three times as long as it is wide. The dough should still be about an inch thick – this is just a quick fold.
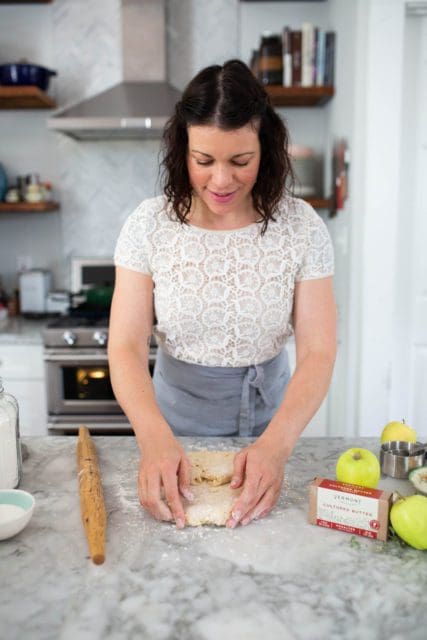
From the bottom, fold the dough up 2/3rds of the dough.
Fold the top down over the first fold so that the top edge meets the bottom fold. Rotate the dough a quarter turn and lightly press together.
Wrap the dough in plastic wrap or waxed paper and refrigerate for at least 1 hour, or overnight.
Once the dough has chilled through, it’s time to roll and fold 4 MORE TIMES!
That’s right – let’s do this!
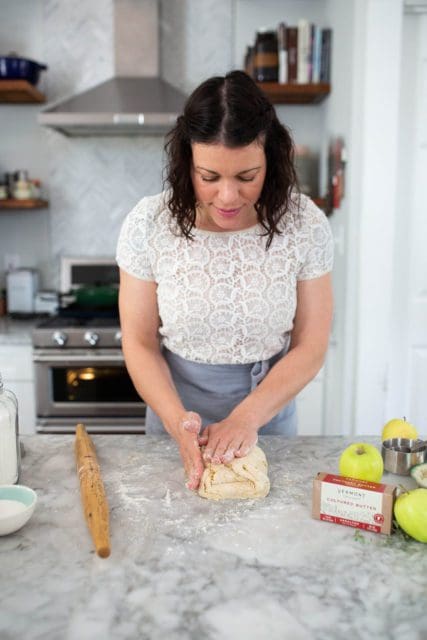
Lightly flour the counter and a rolling pin and start with the ragged edges facing towards and away from you – smooth folded edges to the left and right.
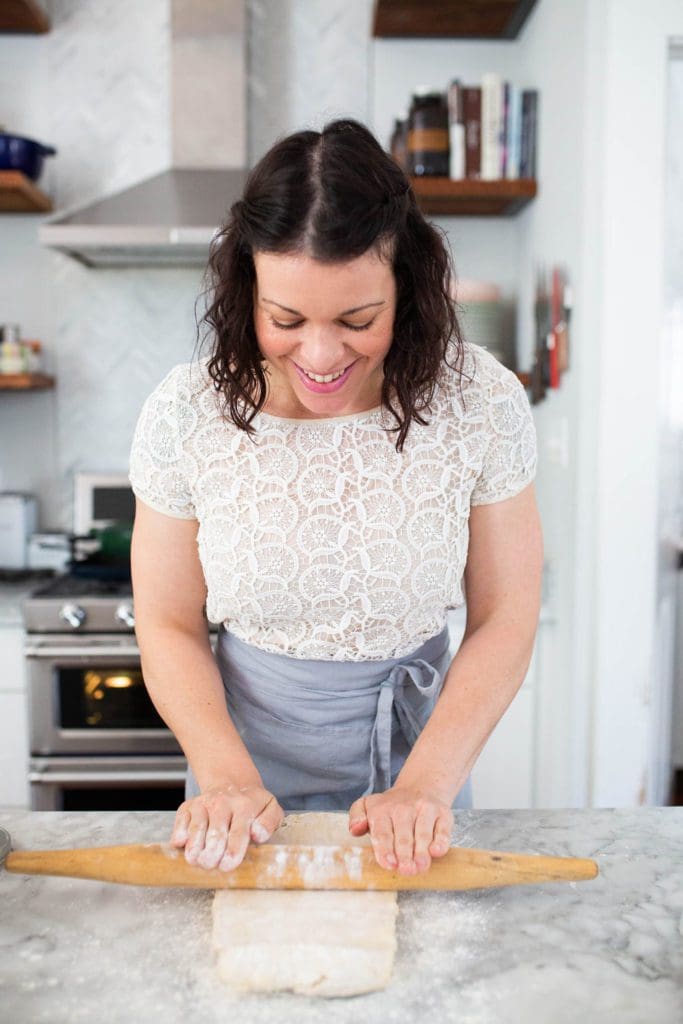
With even pressure, roll the dough three times as long as it is wide.
Again fold the bottom of the dough up 2/3rds and fold the top 1/3 of dough down to meet the bottom fold.

Rotate the dough a quarter turn so that the ragged folded edges face toward and away from you.

Again roll the dough three times longer than it is wide and fold again.

Continue rolling and folding the dough for 4 turns.
Try to work fairly quickly to ensure that the butter and dough remain chilled.
The dough should be fairly easy to work with as long as it remains cold.
Note: If you feel like the dough is being fussy and warming up too much as you work with it, no problem – just rewrap the dough and let it chill in the refrigerator for 30 minutes.
Take it out of the refrigerator and continue to roll, fold, turn and roll again.

You’ll notice that with each fold and turn, the dough will begin to smooth significantly. You’re welcome to fold the dough more than 4 turns. Six fold and turns could work too!
You want to see a smooth and pliable dough (like the one above!) after your turns. Vermont Creamery’s high butterfat will get you there!
Here’s the recipe for the Quick Puff Pastry. This is the gateway to the recipes below!
Print
Quick Homemade Puff Pastry with Vermont Creamery
- Prep Time: 0 hours
- Cook Time: 0 hours
- Total Time: 0 hours
Ingredients
- 3 1/4 cups all-purpose flour
- 1/2 cup whole wheat flour
- 3/4 teaspoon sea salt
- 2 tablespoons granulated sugar
- 12 ounces (3 sticks) Vermont Creamery Unsalted Cultured Butter, cold and cut into cubes
- 1 cup cold water
- 1 tablespoon apple cider vinegar
Instructions
- To make the pastry, in a large bowl whisk together the two flours, salt, and sugar. Add the cold butter all at once to the flour mixture and use your fingers to fluff and combine, coating all the butter.
- Use your fingers to break the butter down into the flour. Press the butter chunks between your thumb and index fingers into rough sheets of butter.
- Break all of the butter pieces down, creating pea size chunks of butter along with flattened sheets of butter. This usually takes me about 5 to 7 minutes. Work quickly as to not heat the butter with your hands too much.
- Make a well in the center of the flour and butter mixture. Stir together cold water and vinegar. Add 3/4 of the liquid to the flour. Mix the flour mixture towards the center, tossing together the wet and dry ingredients. Add more of the water mixture as necessary to create a moist but still fairly dry dough. Dump the dough out onto the counter and start to gently knead together into a thick rectangle. Add more water as necessary and you’ll know you have enough liquid when there are no dry patches remaining.
- Wrap the dough in plastic wrap and chill for at least 1 hour, or overnight.
- Once the dough is well chilled, remove it from the refrigerator and place on a well floured counter. Roll the dough into a 1/2-inch thick rectangle roughly 6×16-inches wide and along.
- Position the rectangle the long way from where you stand extending out long in front of you. Fold the bottom third of the dough up towards the center. Fold the top third of the dough down over the first fold. This is a letter fold we’ll repeat.
- Rotate the dough a quarter turn clockwise so the ends of the folds are facing towards you and away from you. Roll the dough out long into a 1/2-inch thick rectangle again so that it extends long out in front of you. Fold into the letter fold once again. Rotate and roll and fold once again.
- Complete 4 roll and fold laminations. You may need to return the dough to the refrigerator to rechill the butter in the middle of working. Cold butter is best.
- After the 4th fold, divide the dough in two. Wrap the dough in plastic wrap and refrigerate for at least 2 hours or overnight.

Before we get baking, here are a few Thanksgiving entertaining tips I use to to help me navigate Friendsgiving with ease. Maybe you’ll find them helpful for your holiday!
- Start Thanksgiving food prep in the two weeks before the actual big day! I make a few pie crusts and a batch of Quick Puff Pastry two weekends before Thanksgiving and keep them double wrapped in the freezer until the Monday or Tuesday before Thanksgiving. Thaw the frozen pastry in the refrigerator overnight and roll out for easy pies and tarts as your menu calls for! It’s a life saver!
- Thanksgiving Day is the most crowded day around my dining room table. The number of friends and family often increases up until the moment we’re all sitting around the table passing platters of stuffing and cranberry sauce. If you don’t have enough plates, bowls and silverware of one set – mix and match place settings. Even ask a good friend to bring a few plate and silver sets for you to mix into the table. Let the setting mirror the eclectic group of friends.
- Friendsgiving at my house is part potluck which saves helps me keep the day low-stress. Ask friends to bring their favorite family Thanksgiving dish. Once gathered around the table, each person tells the story of their dish. It’s sweet to bring each friend’s family story to the Thanksgiving table.
- The best part of Thanksgiving is all of the leftovers Have guests bring their own labeled to-go containers so no one is scrambling to find mis-matched lids or random pieces of foil at the end of the night.
Now let’s get BAKING!
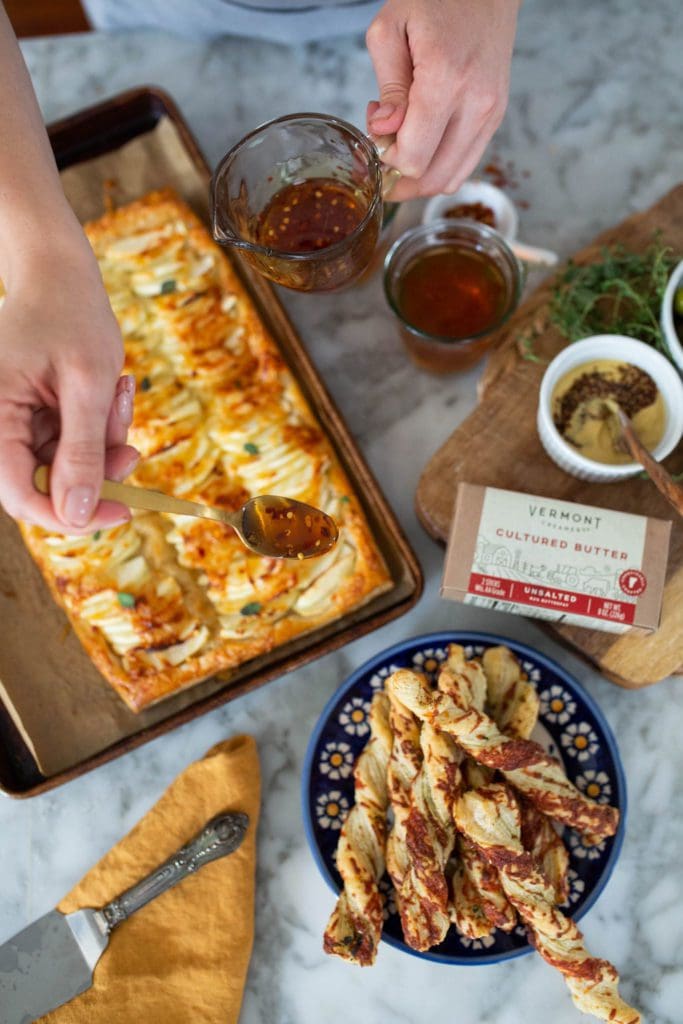
First: Cheese and Herb Straws – a savory appetizer snack for Friendsgiving.
Divide the puff pastry in half with a sharp knife or bench scraper.

Sprinkle Parmesan cheese or whatever cheese blend you’d like onto a clean counter.

Sprinkle shredded cheese on top of the puff pastry as well.

Use a rolling pin to roll the chilled pastry into a 1/8-inch thickness, simultaneously pressing cheese into this buttery pastry.


The size doesn’t matter so much – just get the dough to a 1/8-inch thick rectangle.
Sprinkle half of the dough with fresh herbs and a few sprinkles of za’atar.

Fold the dough in half to seal in the herbs.

Sprinkle more cheese top and bottom and roll into a 1/8 – 1/4 inch thickness.

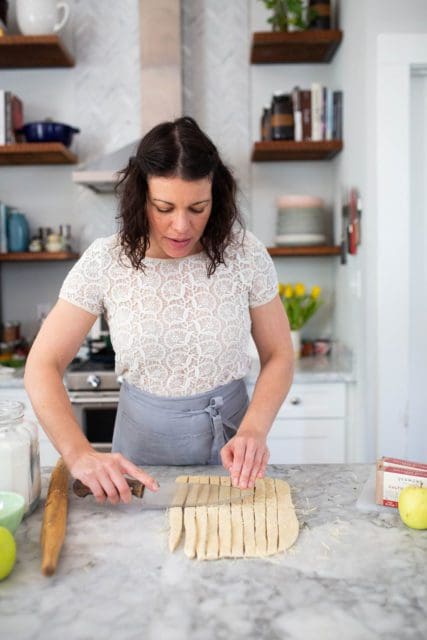
Use a sharp knife to slice the dough into 3/4-inch strips.
I sliced my strips in half to keep them appetizer size.

Give each strip a twist.

And arrange / press onto a parchment lined baking sheet.
Allow the straws to chill in the refrigerator while the oven preheats and bake to puffed and golden!

The light tang from Vermont Creamery Cultured Butter speaks so nicely to the salty cheese and fresh herbs.
I love these warm with mustard and olives, but then again… there’s no wrong way to enjoy these!
CLICK HERE for Herb and Parmesan Cheese Stick recipe!

With the last half of the Quick Puff Pastry we’ll make a simple apple and gouda tart!
Roll the chilled dough to a 1/4-inch thickness and trim the edges to an even rectangle.

Place the trimmed dough on a parchment lined baking sheet.

Score the dough 1-inch inside the rectangle. This will help the edges puff and rise.

Brush with egg was and sprinkle generously with Gouda cheese.
Apples are sliced to 1/4-inch thickness and tossed with lemon juice, a sprinkle of salt, sugar, and cornstarch.

Fan the apples atop the cheese, down the pastry. It doesn’t have to be perfect.

And sprinkle with much more cheese.
Bake to deeply golden brown, puffed, and bubbling.
Drizzle the cooling pastry with honey and crushed red pepper flakes.
A bit of sweet and spicy to complement the sweet and tangy flavors of the apple, cheese and pastry.

CLICK HERE for Apple Gouda Spicy Honey Tart recipe!
I hope this inspires some holiday baking prep with Vermont Creamery Cultured Butter!
Leave a comment below with any Quick Puff Pastry questions – I’m here to help! xo


7 Responses
Thanks so much for this – I always buy my pastry in so I must give it a go, especially as cheese straws are a firm favourite in our house over the holidays – I’m already a batch down!
Also: have you tried cheese straws made with little chunks of crystallised ginger folded into them? (https://www.rachelphipps.com/2018/12/ginger-cheese-straws.html) So, so good!
Mmmm, looks delish. Can’t wait to try puff pastry! New oven going in shortly before Thanxday;) Yay, no more run away baking!
How are you definining “quick”? LOL. I don’t think this is what most people think of when they think of making something “quick.” Seems a bit out of touch, to be honest.
Kris – It’s not that this puff pastry is quick compared to other recipes on the internet; it’s that this recipe in particular is quick relative to other classic lamination processes. No one sets out to make puff pastry quickly, it’s a labor of love. Buy it frozen if you don’t want to make it. Withhold judgment before education.
I’ve purchased this butter but haven’t had the chance to use it yet. Thank you for the very thorough instructions on making puff pastry and all the photos.
One better than the other!!!
So excited to make both of these! How long do you think the sticks and the tart will hold? Thanks!